I’ve been making quilts for about 18 years now and during that time there has been a lot of trial and error.
One of the things that seems to be the biggest issue/annoyance/hated job etc is basting your quilt for quilting.
So today I’m going to take you through a few of the options and the pros and cons of each. Best advice though is to try a few and find the one that suits you.
Side note: If you are quilting your own projects please follow the methods laid out below. If you are sending your quilt to a long-arm quilter (like me) please DO NOT baste your quilt. It unnecessary as we load the three layers of your quilt onto our frames separately. When in doubt ask your long-armer.
Spray Baste
This is the quick and dirty option. I LOVE spray baste because it is so quick and easy to do. However, its biggest downside is that it’s harder to baste really big projects unless you have a lot of room and a lot of spray. It’s also better to do this method with a friend, as the more hands the easier it is to handle the quilt top into position.
Spray baste is my go to for small projects – placemats and table runners. I even use it a bit for my machine embroidery projects. As it is a temporary hold its perfect for small jobs where pinning would take more time than is practical. The biggest quilt I have spray basted is probably a double bed size quilt. It wasn’t a quilt of mine – I was helping a customer and we did end up pinning around the outside edge.
The tips with spray baste are:
- buy the best quality one you can as it reduces build up on your needle while quilting
- once you’ve basted your quilt, run an iron over it as will stick better
- don’t overspray – you don’t need a lot – spray a bit and then let it become tacky – the tackiness will guide you to how much you need
- use in a well ventilated area/outside and if you have breathing issues a mask will help
- don’t spray the fabric – spray the wadding, both sides
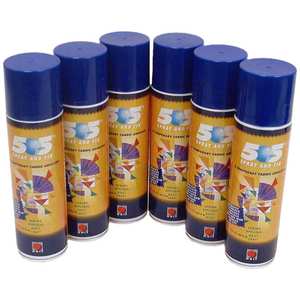
My favourite brand of spray baste is 505. I have tried others and I always come back to 505.
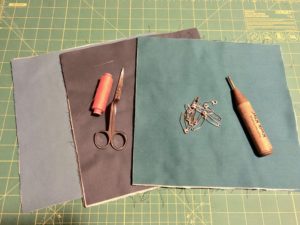
How to spray baste:
1. Lay your backing on a flat surface. Tape the edges down with masking tape so its taut but not tight.
2. Spray your wadding on one side, allow it to dry a bit and then lay the tacky side down on your backing fabric. Run your hands from the centre out, smoothing as you go. If you get wrinkles you can lift it back up and smooth it out again.
3. Spray the topside of the wadding. Wait for it to go a little tacky and then with your quilt top folded in half, place one side of the quilt top down, then unfold and lay the other half in place. Folding the quilt top up will allow you to position the quilt without too much hassle. Run your hands from the centre out, smoothing as you go. If you get wrinkles you can lift it back up and smooth it out again.
4. Once you are happy with the position of everything, remove the masking tape from your backing fabric. Then run your iron over both sides of the quilt, checking for lumps, wrinkles and any spot that might need more spray.
5. If your quilt is large, place some pins around the outside edge to stop it lifting as you handle the quilt during the quilting process.
The spray baste is temporary and will wash out when you wash your quilts. If you have any further queries regarding 505 spray baste please head here for the safety data PDF.
Pinning
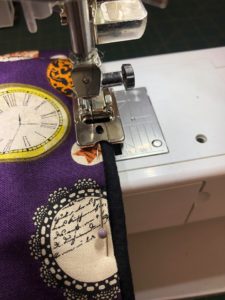
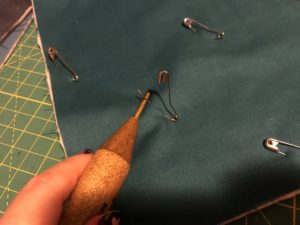
Pinning is the original place I started basting my quilts. It was…let’s just say not fun. More injury than anything else. But it did get better with appropriate tools so I would recommend if you do go down the pin path to make sure you have a pin tool. It will save you time and stabbing yourself a bajillion times.
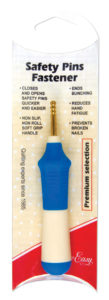
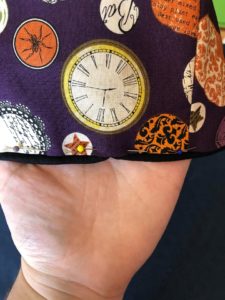
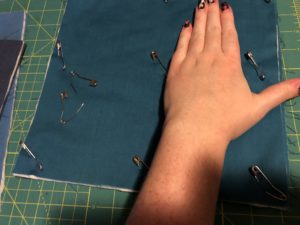
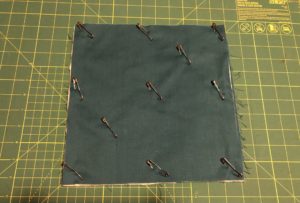
The best and most often method of pinning is to use curved safety pins and pin approximately 4in apart. The reasoning for this is because most wadding is advised to quilt no further apart than 4in so it’s keeping you in a working space that matches and is manageable under your needle. I use my hand as a guide because from my thumb to my pinky across the middle of my hand is pretty close to 4in. And if your hands are smaller that’s fine – pinning closer together isn’t a bad thing, it just means you will use more time and pins.
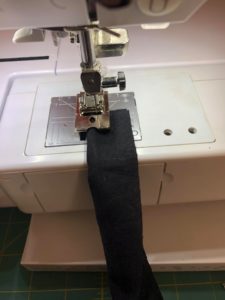
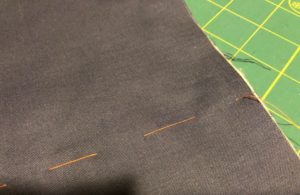
Thread basting
Honestly this is the original basting from when quilting was a baby and it is still used today – in a variety of uses. I personally do not use this method. Mainly because I loathe hand-sewing. Just not my thing. I do thread baste my EPP projects depending on the shape, most are glue basted with my Sewline glue pen. Thread basting can be done in two ways – needle and thread by hand or if its a big project you can have it machine basted by your long-armer (me!). Doing this by hand is great on small projects and is often the preferred method for those who like to hand-quilt.
Tips:
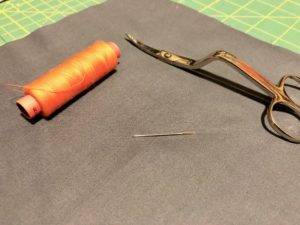
- Use a good needle with a large eye, or a long needle (like a doll needle) – that way you can do the stitch faster, but make sure its a nice sharp needle
- Use a high contrast thread so you can see it while you are basting and more importantly when you are trying to remove it
- Use the length of the needle as your stitch guide if you are using a regular length needle and have trouble with eyeballing stitch placement
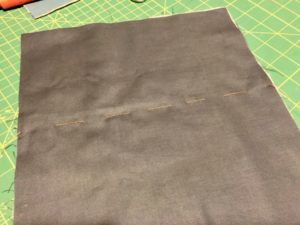
How to thread baste:
1. Lay your backing on a flat surface. Tape the edges down with masking tape so its taut but not tight. Place your wadding on top of the backing fabric and smooth it out. Then do the same with your quilt top. Smooth from the centre and make sure you have sufficient allowance on all sides.
2. Thread your needle with a long length of thread – not too long that you get tangled but a decent length.
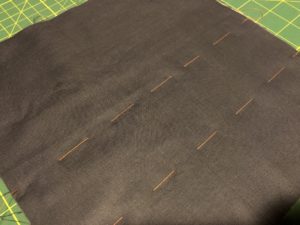
3. Starting on one side in the middle of the quilt, stitch down into the quilt sandwich, com back up and go down again making a small loop. You can knot the end if you like but I find it easier to have no knots when removing threads at the end.
4. Work your way across the quilt in a 4in grid pattern.
Summary
Basting is a skill that will take practice and patience to master. Try all the techniques out there and find the one that works for you. It is achievable and you can do it. Start small and practice before you dive into larger projects. If you have questions please ask – there are no silly questions when you’re learning a new skill.
If you decide basting is not for you, you can always get in touch with me for a quote to baste your quilt for you or to machine quilt it with a design/custom quilting. My contact details can be found here.