Hello everyone and welcome to 2026!
This year is going to be a bit different here at FF HQ as there’s been a lot going on behind the scenes. Just a little longer and then I can work out what this is going to look like. Thanks for your patience.
However, 2026 is bringing the second year of the FF UFO Challenge. We are running things the same way as last year – no pressure, no competition – just working steadily on UFOs so that we can achieve progress.

We are starting on February 1st and as we did last year each month on the 1st I will randomly draw a number for you to work on. All you need to do is create a list with 10 UFOs and then match the numbered project to the number I draw and work on it that month. You can swap things out if you need to (for example you need to buy backing fabric and the shipping time is 4 weeks) so you can adjust for any issues. There’s no hard and fast you “must work on this number”. It’s more a suggestion, a bit of mystery, leaving it up to fate kind of thing.
I also have a Facebook group where I post the numbers (also posted on FB main page and IG) so you can join there if you want but it’s not necessary. We used the group last year to post photos of progress and ask questions etc.
This is self-paced, with a smidge of accountability because I know that’s what I need to get things done.
So if you’re ready to follow along here are the links:
FB: https://www.facebook.com/frankiesfabrics
FB Group: https://www.facebook.com/groups/1401125050180861
IG: https://www.instagram.com/frankiesfabrics/
First number will be posted 9am on Sunday 1/2/26.
For me this year I’m keeping to my online, blog lists.
| Number | Quilt Name | Month | DONE |
|---|---|---|---|
| 1 | Tarot Quilter | ||
| 2 | Vladimir's Memorial | March | |
| 3 | Halloween QAL | ||
| 4 | Pinwheel Jellyroll | February | |
| 5 | Halloween Wedding Ring | ||
| 6 | Gemstone Layer Cake | April | |
| 7 | Gemcut | ||
| 8 | Cherrylicious | ||
| 9 | Tapestry 1 - Snake | May | |
| 10 | Tapestry 2 - Triqueta | ||
| BONUS |
UFO Challenge 2026 - Assorted Projects
| NUMBER | QUILT NAME | MONTH | DONE |
|---|---|---|---|
| 1 | Witchy Cross-stitch | ||
| 2 | Chair - mach emb | March | Postponed |
| 3 | Snake quilt FP | ||
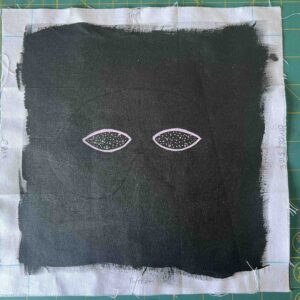
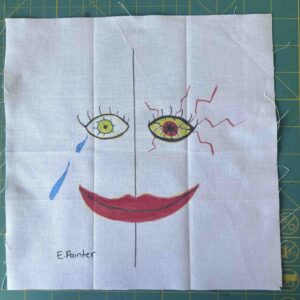
| 4 | Witches Hat - hand sewing | February | In progress |
| 5 | WS Cross-stitch | ||
| 6 | Journal | ||
| 7 | Spider resins | April | Supplies on order |
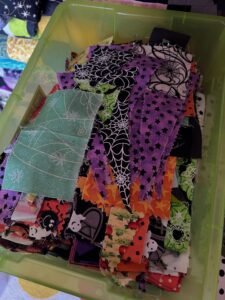
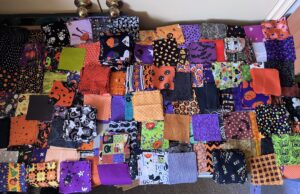
| 8 | Halloween Scrap Quilt | ||
| 9 | Paint bookshelf | May | |
| 10 | Asstd Cross-stitches |
Any questions about the challenge please let me know – just message via whichever way you are following along.
Happy sewing!
M x