There’s so much going on in the world right now that I though I might pop up a quick freebie project.
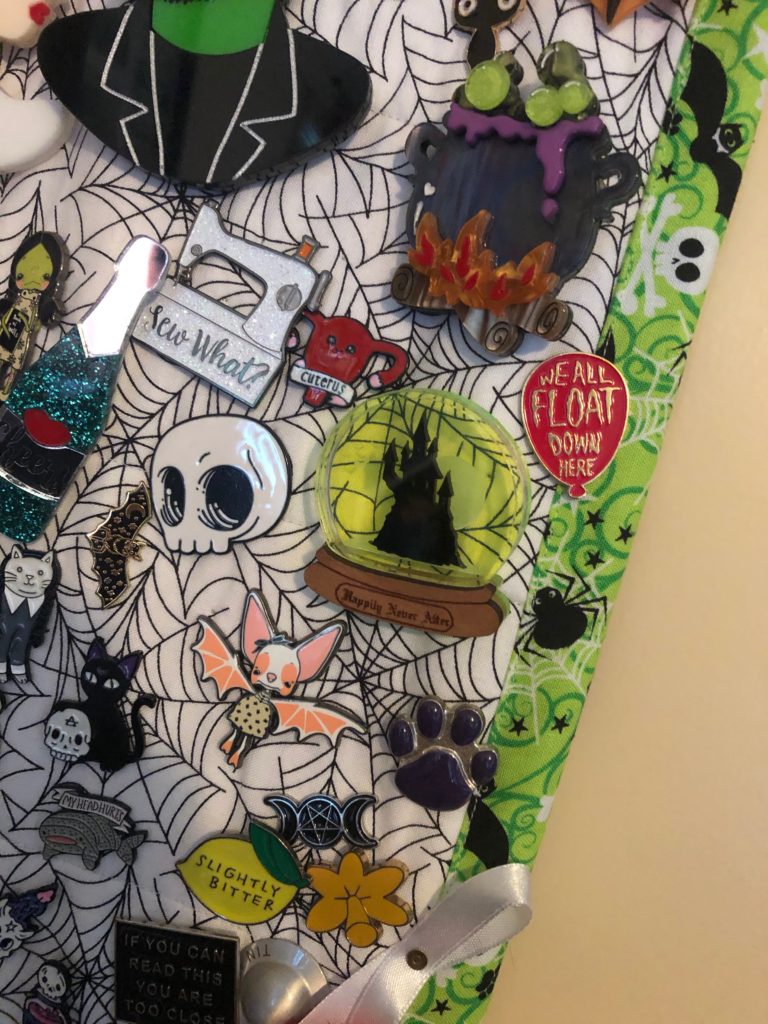
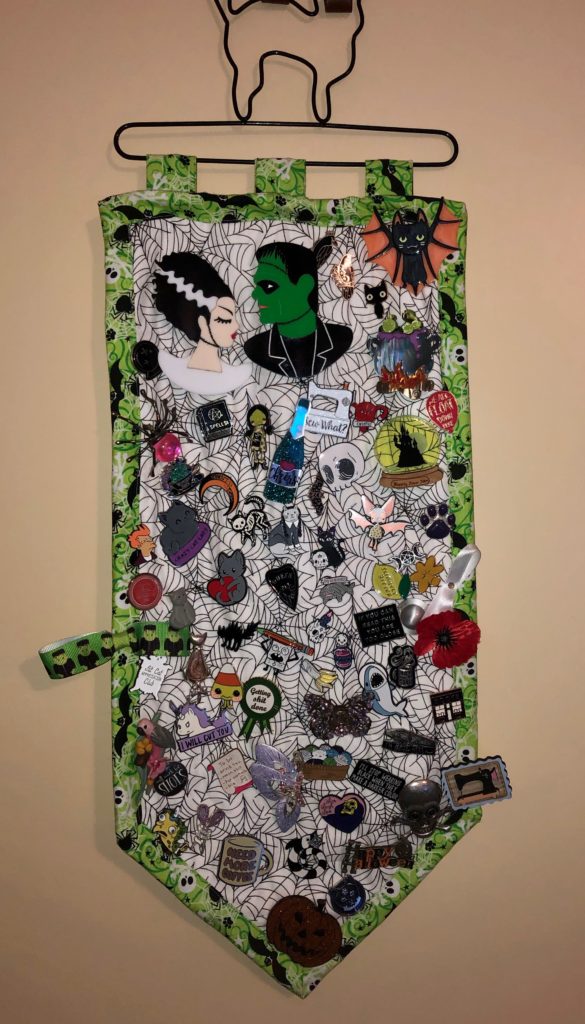
This is my Pin Keeper. It is a flag/banner style hanging that I made to keep my collection of enamel pins and brooches on.
Materials
10in x width of fabric strip
10in of Parlan (thin cotton fusible wadding)
6in of binding fabric
Spray baste or safety pins
Rotary cutter, ruler and mat
Sewing machine with walking foot
Thread
General sewing supplies
Cutting
Two, 3in binding strips
Three, 3in x 6.5in tab strips
Assembly
Trim off the selvedges and cut along the fold to separate the fabric.
Fold one piece in half lengthways (long length) and cut a 45degree angle across one end, approx 4.5in from the edge.
Fuse Parlan to the wrong side of the backing fabric piece. Baste the angled fabric piece to the backing and Parlan piece. You can use spray baste like 505 for a quick baste or just a handful of pins.
Quilt as desired. I simply straight line quilted across the short side a few times. Stitch 1/8in around the edge to secure and then trim back to the fabric line.
Tabs
Take the 3in x 6.5in strips for your tabs and fold them in half lengthwise. Press the fold. Open the fold and then fold the sides into the centre line and press again. Topstitch if desired. Then, fold the tabs in half to make a loop. Place the 3 tabs across the squared end of your flag with the raw edges matching the edge of the flag, spacing them evenly. Then pin and baste in place.
NOTE: Depending on how you want to hang your pin flag check the method that they will go onto your hanging rod. If they can slide onto a dowel make the tabs as above. If you have to insert your hanger into the tabs, do so before pinning and basting in place, and remember to be careful with the hanger and your machine while binding.
Binding
Join your main binding strips end-to-end using a 45degree seam, as you would normally prepare your binding. Trim and press all the seams open. Press the binding strip in half lengthways with the wrong sides facing.
Starting about one-third of the way along one side of the flag and leaving a tail for joining, sew the binding to the backside of the flag, mitring the corners as you go. You will need to do angled joins for the flag point that are 120 and 60degrees. Click here for my full post regarding this type of mitre. Stop about 6in from where you started, join the ends using your favourite method and finish attaching the binding.
Fold the binding around to the front side of the flag and stitch it down. Follow the other post regarding mitring the corners again.
Finish
Hang your pin flag up and add all of your pins!
![]()