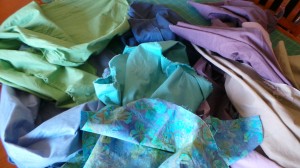
After washing all of your fabrics, iron and starch them.
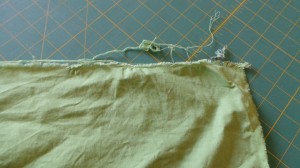
This is how much fraying and threads that happened when we washed these homespuns, we lost just under 3/4in on this green fabric and the others lost about the same but none more than an inch. This is why I urge you to consider buying extra fabric to save you the grief and hassle of going back and buying more fabric.
Watch this video for using starch.
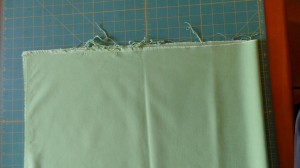
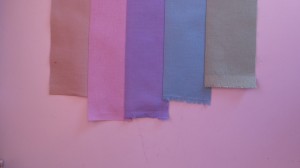
Fold your fabrics in half with wrong sides together, selvedges aligned. You may need to allow the fabric to dictate to you where the fold is, which may pull the selvedges out of line but they will be cut off so don’t worry too much. Your selvedges will not match up – in the photo below you can see the teal fabric selvedges are way off – this is due to two things, washing and grain line. When we washed our fabrics they have shrunk, we removed the sizing that was keeping them nice for the shelves in the shop and the grain line has been ‘relaxed’. By adjusting the position of the selvedge when folding your fabric in half for cutting you will get a much better and more natural grain line and it will be straighter.
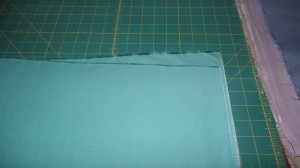
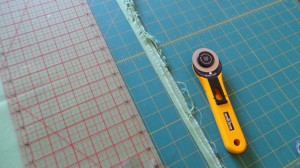
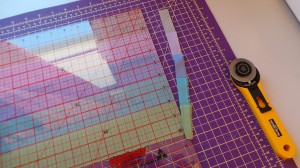
Trim off the frayed edge to straighten up the fabric. If you are left-handed you can continue cutting as the fabric is laid out in the right position for you. Right-handers turn the fabric’s newly straight edge to the left-hand side of your board and then continue cutting.

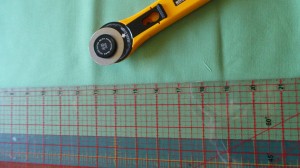
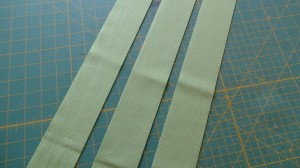
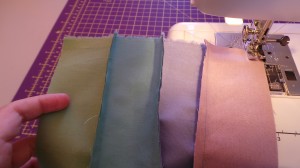
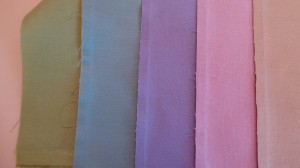
From your five fabrics (50cm pieces of homespun in the materials list) cut three 2 1/2in strips.
Note: the remaining fabric will be used to piece the backing for Mum’s quilt, you can choose to do the same if you wish.
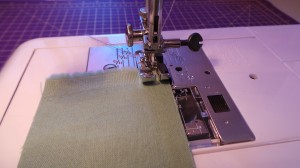
Set up your sewing machine with the neutral thread for piecing, the 1/4in foot and a straight stitch that is the average for your machine – check your manual for tips on this. My Janome likes a stitch width of 5.5 and a length of 2.
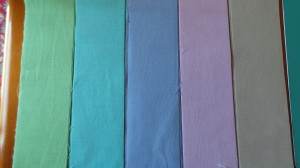
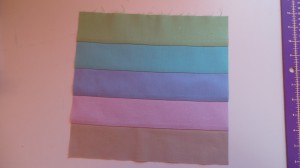
Piece the strips together in the sequence of your choice. This is the sequence we have chosen for mum. There is reason behind it, it’s not just random. If you paint put your mind into that way of thinking, but I will explain.
1. Green is on this end because it has a yellow base colour and is essentially the odd one out in this range of colours.
2. Teal is next because it is made up of blue and green so it can sit nicely next to green to help tie it into the block.
3. The blue is in the middle as it is the darkest fabric and will draw the eye in, but it is also there because it is blue – the teal has blue in it so they can sit next to each other, and the blue also is used in making the colour for the next strip so it is tying the two sides of this block together.
4. Purple has a red base (mix red and blue together to make purple) and so this is why it’s next to the blue.
5. Brown is often classed as a red based colour so it belongs next to the purple for this reason. It is also technically an odd one out so it is also balancing the green’s oddness on the other side.
Piecing
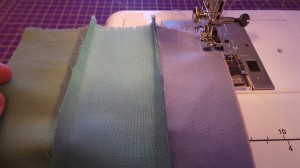
Start with the green strip and place it on top of the teal strip. Pin if you feel you need to hold the strips together.
Note: I like to sew my strips together so that as they are being joined so that they are off to the left side of the machine – this keeps them out of the way and doesn’t clutter up the throat of the machine. I am right-handed, as is mum. Left-handers may like to try both ways and see what suits you better. Like all my other notes these are just suggestions of things that I find easier and have discovered over many years of quilting, it’s not gospel and you don’t have to treat it as such. Find what is comfortable for you and your machine.
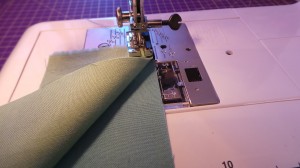
Continuing adding your strips, keeping them in order and making sure that you are sewing so that the seams are all on the same side. Always start from the same edge.
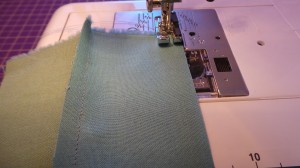
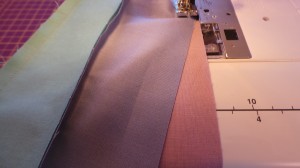
Once you have joined the 5 strips, press the seams in one direction.
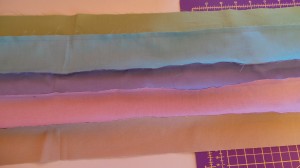
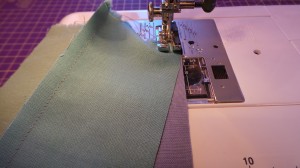
You may notice that the strips are not all the same length.
This is fairly common and is a manufacturing issue and a washing issue. It’s not something that can be fixed. But if you always start from the same edge when joining strips you will reduce the waste of fabric.
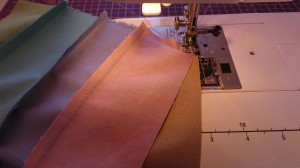
Trim the selvedges off the edge that you started piecing on.
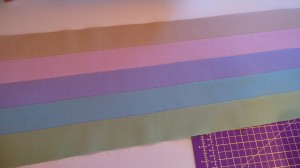
Then cut your pieced unit into four 10 1/2in blocks.

Repeat for your other sets of strips and you have made all of your blocks.
In the next blog post we will be cutting the focal piece, adding a small border, assembling the quilt top and preparing for quilting.