So who wants a free pattern?
I’ve made this Christmas Table Runner using only a mini charm square pack and just over half a metre of Riley Blake Honeycomb Dot in grey (available in the store).
I know so many people who pick up pre-cuts thinking that they will make something from them, but inevitably they end up in a box or cupboard and don’t see the light of day for a very long time. I know it happens, I’m guilty of it myself. But this year one of my resolutions was to FINISH things and so in an effort to help you out there in quilt-blog-land finish things as well…here we go…
Materials
Aspen Frost mini charm square pack (42, 2 1/2in squares)
55cm of Honeycomb Dot in grey
14in x 39in rectangle of wadding
You will also need
Sewing machine with 1/4in and walking feet
Rotary cutter, cutting mat and patchwork ruler
Iron and ironing board
Pins
Scissors
Optional
Spray starch
Camera
To start there’s a few little things that I need to make sure you know so we are all on the same page.
- We will not be washing these fabrics. Pre-cuts don’t take well to pre-washing and you will lose more of a 2 1/2in square in fraying than you will have left to sew.
- There will be minimal left overs as we will have scraps of the grey and a handful of squares that you won’t use.
- Starch is optional but recommended. Starch will help your tiny pre-cuts retain what stability they have and will make your finished blocks easier to handle. Starch washes out. Starch recommendation is Mary Ellen’s Best Press, which you can purchase here.
- If you have trouble remembering a layout sequence, make sure you have your camera nearby. Snap a quick picture of the blocks once you are happy with the design so you can refer back to it if needed when you start piecing.
- The techniques used in this tutorial can apply to any quilted project you just need to adjust your measurements and design as needed.
Preparation
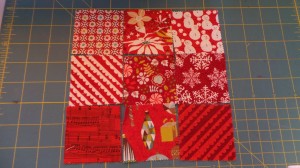
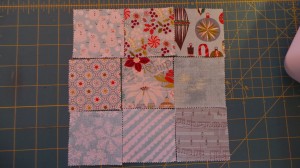
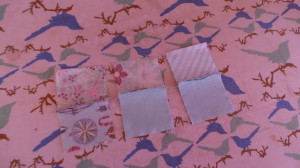
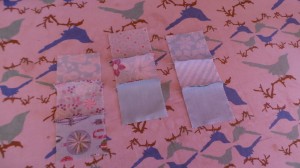
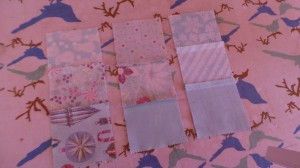
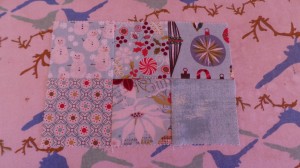
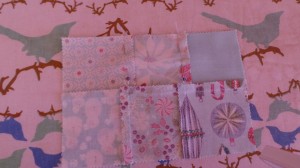
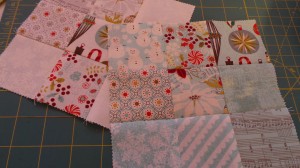
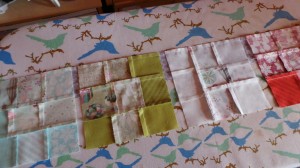
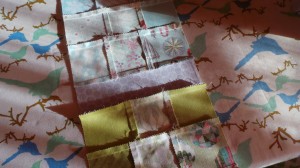
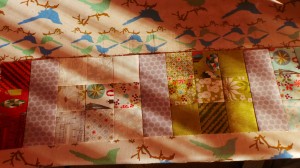
From your mini charm square pack select four lots of nine sets of squares. From the Aspen Frost pack I was able to refine my choice by colour – red, green, blue and white – but whatever pack you have you need to make that judgment call. It could be by print, scale, theme, directionality* etc.
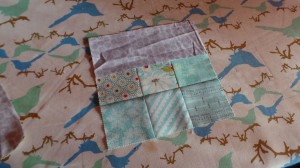
Layout your nine squares in a 3×3 block that you like. Take a photo for reference if needed. See note 5.
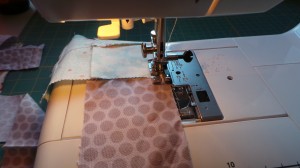
Thread up your machine with neutral colour thread (cream, white, black, grey) and your 1/4in foot. Set the machine for straight sewing, with average stitch length and width. My Janome likes a stitch width of just over 5 and a length of 2.
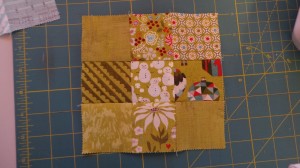
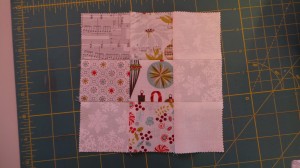
9-Patch Blocks
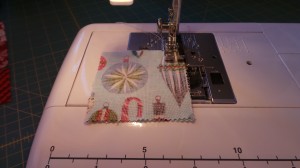
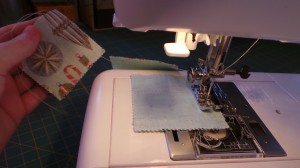
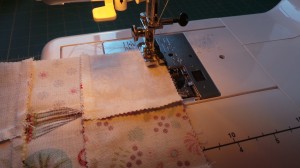
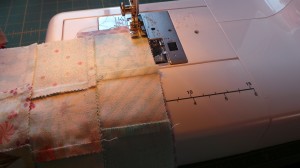
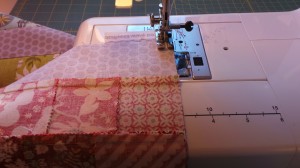
Take two of the mini charm squares and place them right sides together. Stitch the squares together down one side. Without taking the stitched squares off the machine continue piecing all the pairs of squares that you can from each block (this is where the photos of the blocks will help). Once you have stitched the pairs (12 pairs) you can remove the strand of pairs off the machine. This is called chain piecing** and saves time and thread.
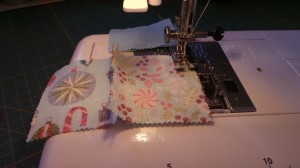
Starting with the first of the stitched pairs go along and add the third square for that row.
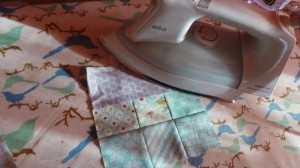
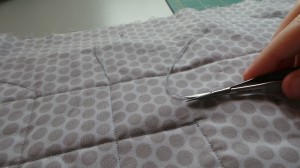
Once you have joined the rows of three squares, take everything over to your ironing board, bring your scissors or thread snips.
Snip the threads holding each row together. Set the three rows for one block face down on the ironing board. Check that you have them in the right order (use your photos) and press the seams in alternating directions.
Taking two rows align the seams as shown. This is called abutting*** the seams and will ensure that you have better matching points. This technique can be used anytime you have two seams meeting.

Pin the two rows together making sure you have the seams matching.

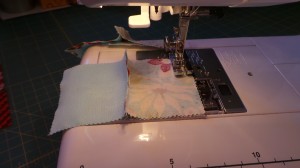
Stitch along the edge, remove the pins and check you intersecting seams. Press the rows open and then repeat the process for the third row of that block.
Assemble all 4 of your 9-Patch blocks.
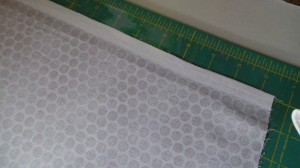
From your 55cm of grey fabric cut three, 2 1/2in strips.
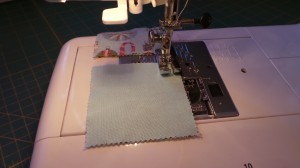
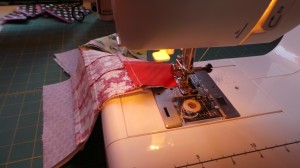
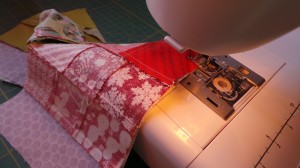
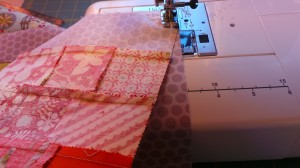
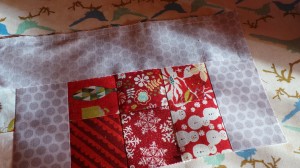
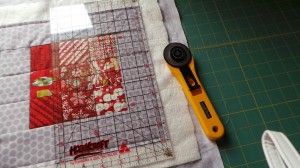
Place your 9-patch block right side down on the right side of one grey strip and stitch along the edge. Attach all four blocks onto the strip in this way
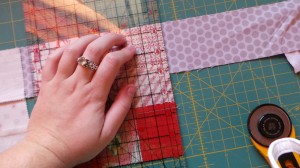
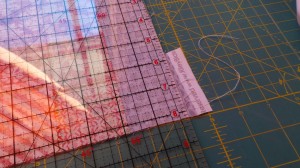
Place the pieced strip down on your cutting mat as shown in the picture and trim the blocks/strip down to size.
At this point I like to spray starch my blocks to aid in keeping them straight and neat, it also helps press out the strips that I’ve just attached to the centre blocks.

Set the seams and then press the strip away from the block.
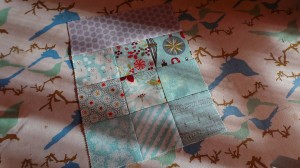
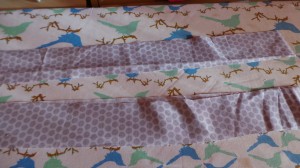
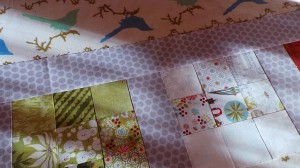
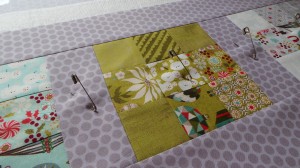
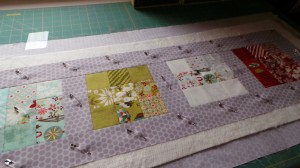
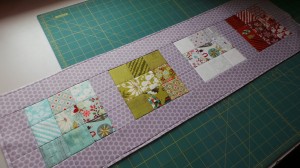
Layout your blocks in the order you want them in.

Piece the blocks together making sure there is a strip of grey in between each block. You can piece one by one or piece in pairs and then piece the pairs together.
Make sure you have a strip of grey on either end of your table runner length as well.
Trim down any excess grey fabric and press the seams you just stitched in towards the grey strips. Turn the runner over and press from the front to make sure there are no pleats in your seams.

Take one of the remaining grey strips and place it right sides together with your runner, and stitch along the length. Pin if you feel you need to.
Trim the excess fabric strip and then set the seam.
Starch the strip and then press it away from the centre of your runner.
Repeat for the other grey strip and your runner top is finished!

Basting
Press your remaining grey fabric (approx. 35cm). Starch if you like.
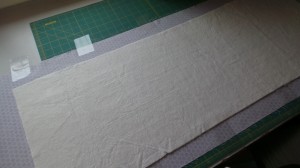
Lay the fabric right side down on a flat surface. Tape the selvedge edges down and then tape at intervals along the length, making sure the fabric is taut but not stretched.
Lay your rectangle of wadding on top of the fabric and smooth out so its flat and there are no lumps, wrinkles or loose threads.
Place your table runner right side up on the wadding and smooth from the centre out so there are no lumps or folds.

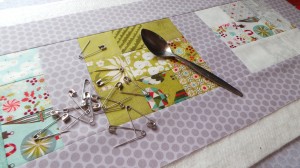
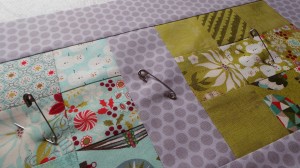
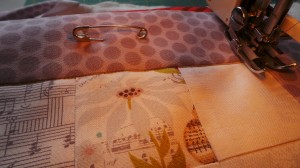
Pin baste with safety pins, no more than 4in apart. If the pins hurt your hands to close them – use a teaspoon.

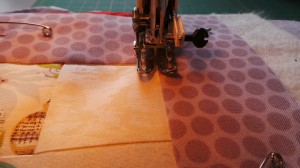
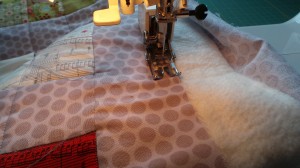
Set your sewing machine up with your walking foot. You can increase your stitch length slightly, I tend not to but it does make it harder to unpick if you have a small stitch when quilting. Test a few sizes to find one you like.
Quilting
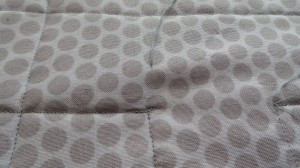
I quilted this runner in straight lines – ditch stitching in each of the 9-Patch blocks and then ditch stitching the rows and extending it out onto the border. I also did a 1/4in stitch away from the edge of the border to secure the whole runner edge to make binding easier.
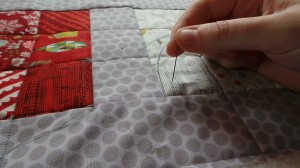
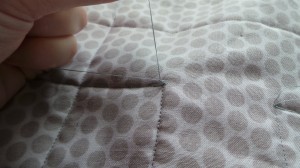
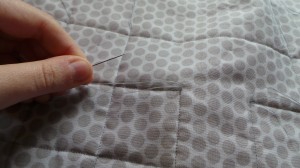
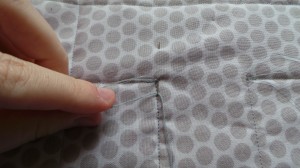
To tie in the loose thread ends – from the top of the runner thread the ends onto a needle and pull through to the back of the runner. Tie the threads in a knot and let the knot sit about 1/8th of an inch away from the runner surface. Thread all four threads on to the needle and thread into the runner and away from the stitches, hiding the threads and the knot inside the runner. Wiggle the knot so that it slips under the fabric, if you need to. Clip off the excess thread.
Trim down your backing and wadding to the edge of the table runner and you are ready for binding.
*Theme, scale, print, directionality
Theme: Christmas, novelty, country, shabby chic etc
Scale: The size of the print – small, medium, large.
Print: Floral, dots, stripes, scrolls etc
Directionality: Stripes, text, arrows
**Chain piecing
Piecing by means of continuing to sew without stopping. Piecing everything that needs piecing before you need to stop and press, cut or attach the next section
***Abutting the seams
Also known as nesting the seams. Making sure that the folded part of each seams is ‘butted’ up to the next seam so that they sit as flat as possible and reduce bulk.