This month’s block is challenging only in its size – tiny 1.5in squares! There is no PDF for this block as its all pieced construction. 🙂
So in order to make this block pick out one of the three colours (pink, blue or green), some of the beige background fabric and a contrasting colour to the main colour you picked 9 (try not to pick a blue as the sashing for the quilt is blue).
Let’s get started!
Cutting ~
– from the beige background fabric cut two 1.5in strips and crosscut 31, 1.5in squares
– from the selection of coloured fabrics cut 50, 1.5in squares (I chose the pink so I cut 10 squares from one fabric and 8 squares from each of the remaining five prints – divide 50 by the amount of fabrics you have or juggle the numbers like I did)
– from your contrasting fabric cut one, 2in strip, crosscut this strip into 2 x 9in strips and then cut the remaining piece in half
NOTE: The border strip is cut larger than it needs to be – this is so we can reduce the warping when such a narrow piece is stitch on and pressed. It will be trimmed down to the correct size at the end.
Assembly ~
Lay out your squares next to your machine so you can stitch and return them to position (so you can keep track). I also suggest taking a photo of the block once you’ve settled on your placement just in case you mix up some squares and need reference. Accuracy is a must and you need to make sure your squares are 1.5in and you are using a 1/4in foot on your machine.
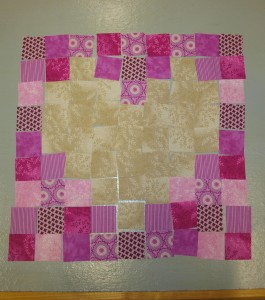
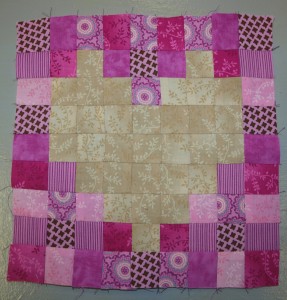
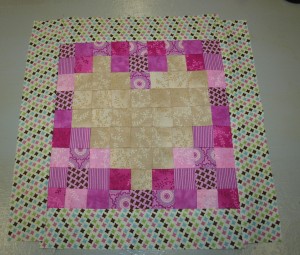
Lay out the 1.5in squares as shown – mix up our coloured squares to whatever suits you.
Stitch the squares together in pairs working your way through the whole block (don’t worry about the 9th square in a row he gets attached later). Then go back through the rows and piece two pairs together (still leaving square #9 out), then once again going through the rows piece the four-square sections together. Finally come back through and stitch that lonely little 9th square onto the end of each row.

NOTE: I chain pieced this entire block because in my head I knew what square was where – you can chain piece as I have done BUT if you do this method please make sure you take a reference photo to help with the layout as it can get confusing.
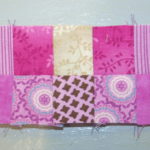
Layout and check your block – check the colour placement and overall design.
Once all the rows have been pieced press the seams in alternating directions – see photo below.
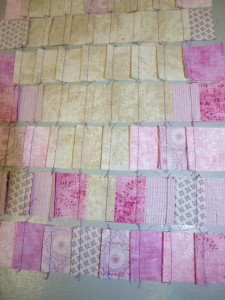
alternating seams
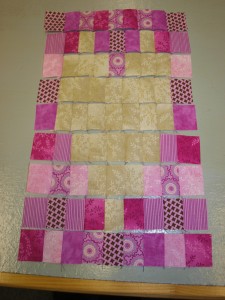
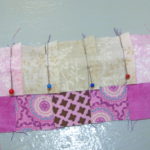
Then carefully nest the seams as shown in the next photo, pin them and then stitch the rows together. Go slowly as you need every point to line up as best you can to help create the pixellated image.
-

- Nesting the seams
-
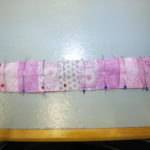
- Pin each seam
-
- Stitch
-
- Press
-
- Continue to add row by row, pinning and pressing as you work.
Press the entire block and trim any edges that may need it.
Press and trim block.
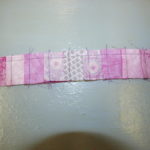
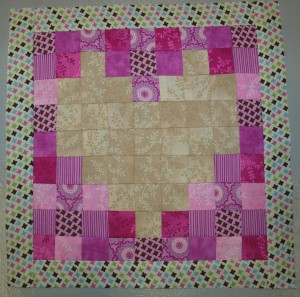
Lastly attach your side border, press the seams and then attach the upper and lower borders.
Attach borders and press seams.
Trim the border down to 1in from the seam line. then pop this block with the other three blocks.
Trim and press.
We are now a quarter of the way through the BOM. 🙂