Welcome to the very first block of the month at Frankenstein’s Fabrics.
This project is scheduled to finish up at the end of the year – with each block being posted here on the FF blog with a link for you to download the patterns as a PDF or if you have previously let me know the PDFs will be emailed to you. I will post the tutorial here at the beginning of each month.
I will be making this quilt with you so the final result will be a mystery to us all and that makes it more exciting. 🙂
So here we go with Block 1
Love….
I’m starting you off with the easiest of the 7 appliquéd blocks. They have straightforward shapes and you can do as many or as few of the embellishment options as you like.
In your kit you will have all of the fabrics for the entire quilt (except for backing and wadding). The only fabrics that I have dictated are the border, binding, sashing and background. You have 20cm of each of all of the other fabrics, some vliesofix, stitch-n-tear, 6-stranded embroidery floss and some small rickrack. The 20cm pieces of fabric will allow you to select what fabrics you want for each block which means no two quilts will be the same. Below is a basic materials list – there may be things that I add as we go along, but not many.
Materials List
- Pencil
- Paper and fabric scissors
- Lightbox or window
- Teflon mat (or baking paper)
- Small hand needle
- Iron and ironing board
- Rotary cutter, ruler and mat
- Microtex machine needle – size 60/8 or Universal 70/10 (used for appliques)
- Universal machine needle – size 80/12 (used for quilt assembly)
- BOM fabric kit
- Matching threads – machine embroidery, cotton threads
- Lighter or candle or fray stop (optional)
Before you start…
I must stress you need to be accurate. If you do not have the tools (rotary cutter, ruler and mat) please borrow from a fellow patchworker or use a pencil and mark on the wrong side of the fabric the squares you need to cut out and then use good fabric scissors. Cut slowly and carefully.
Please read through the instructions carefully before you begin. See notes at the bottom for extra tips that will help you as you sew.
Cutting –
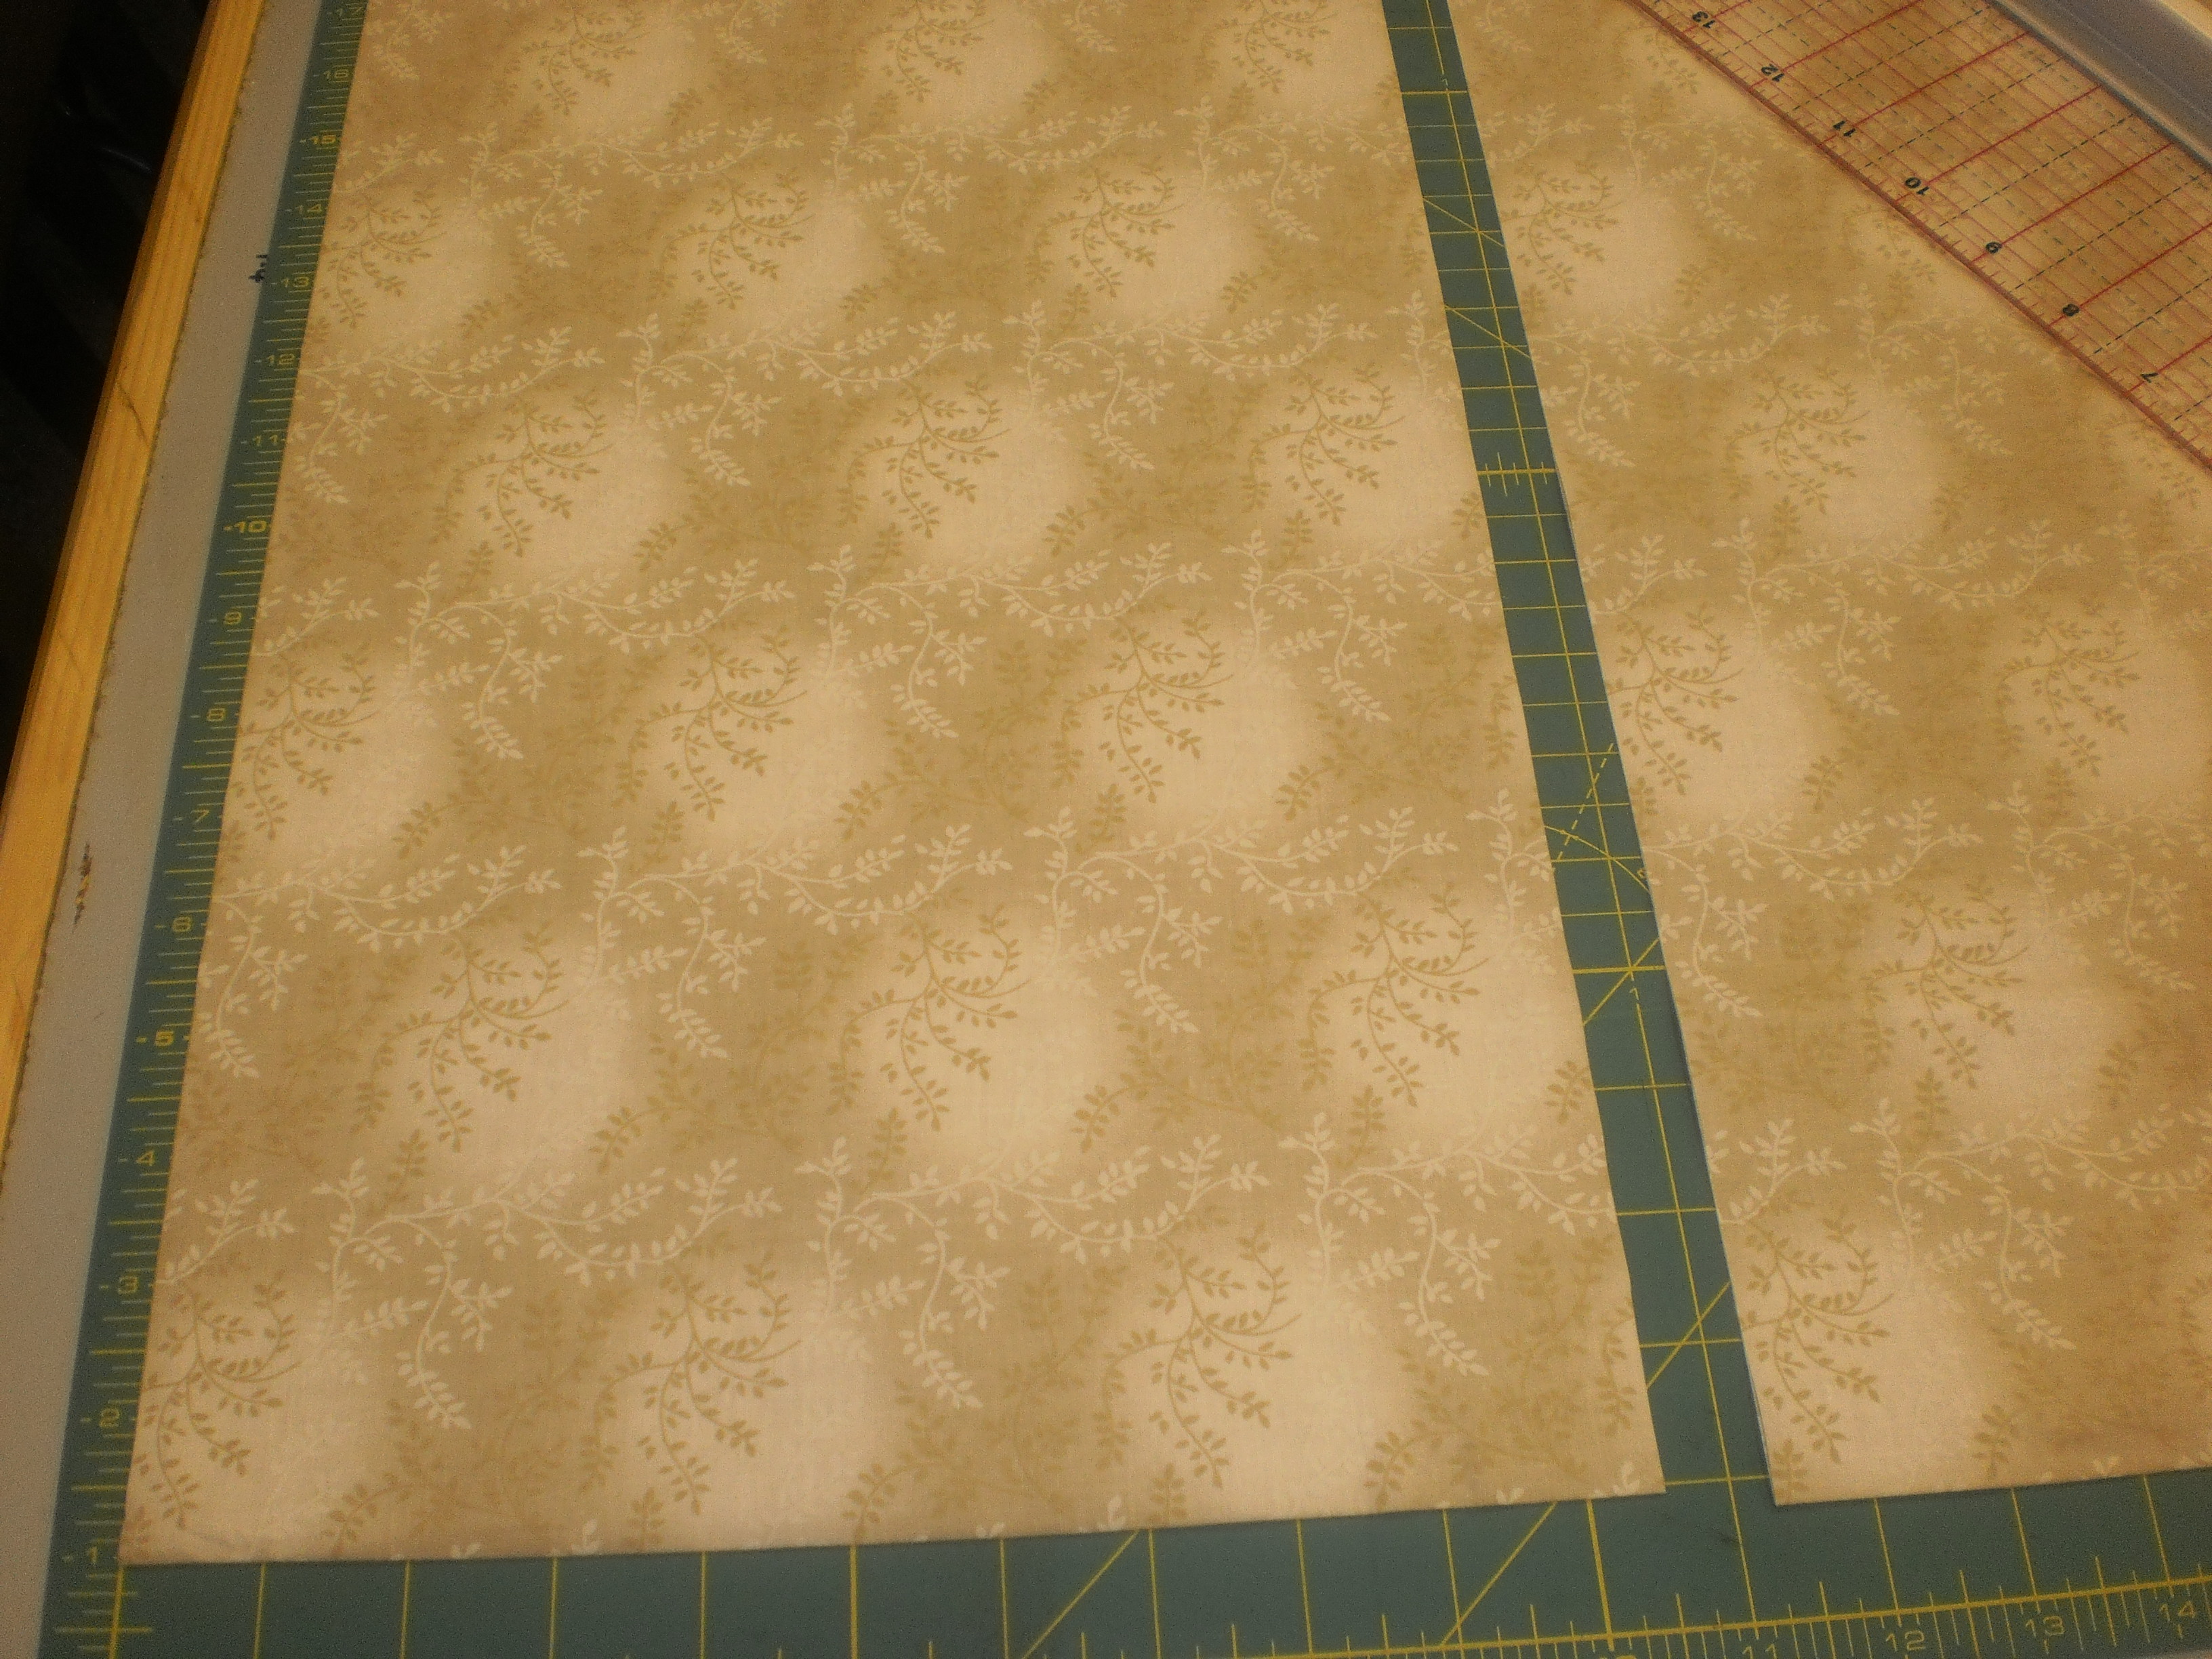
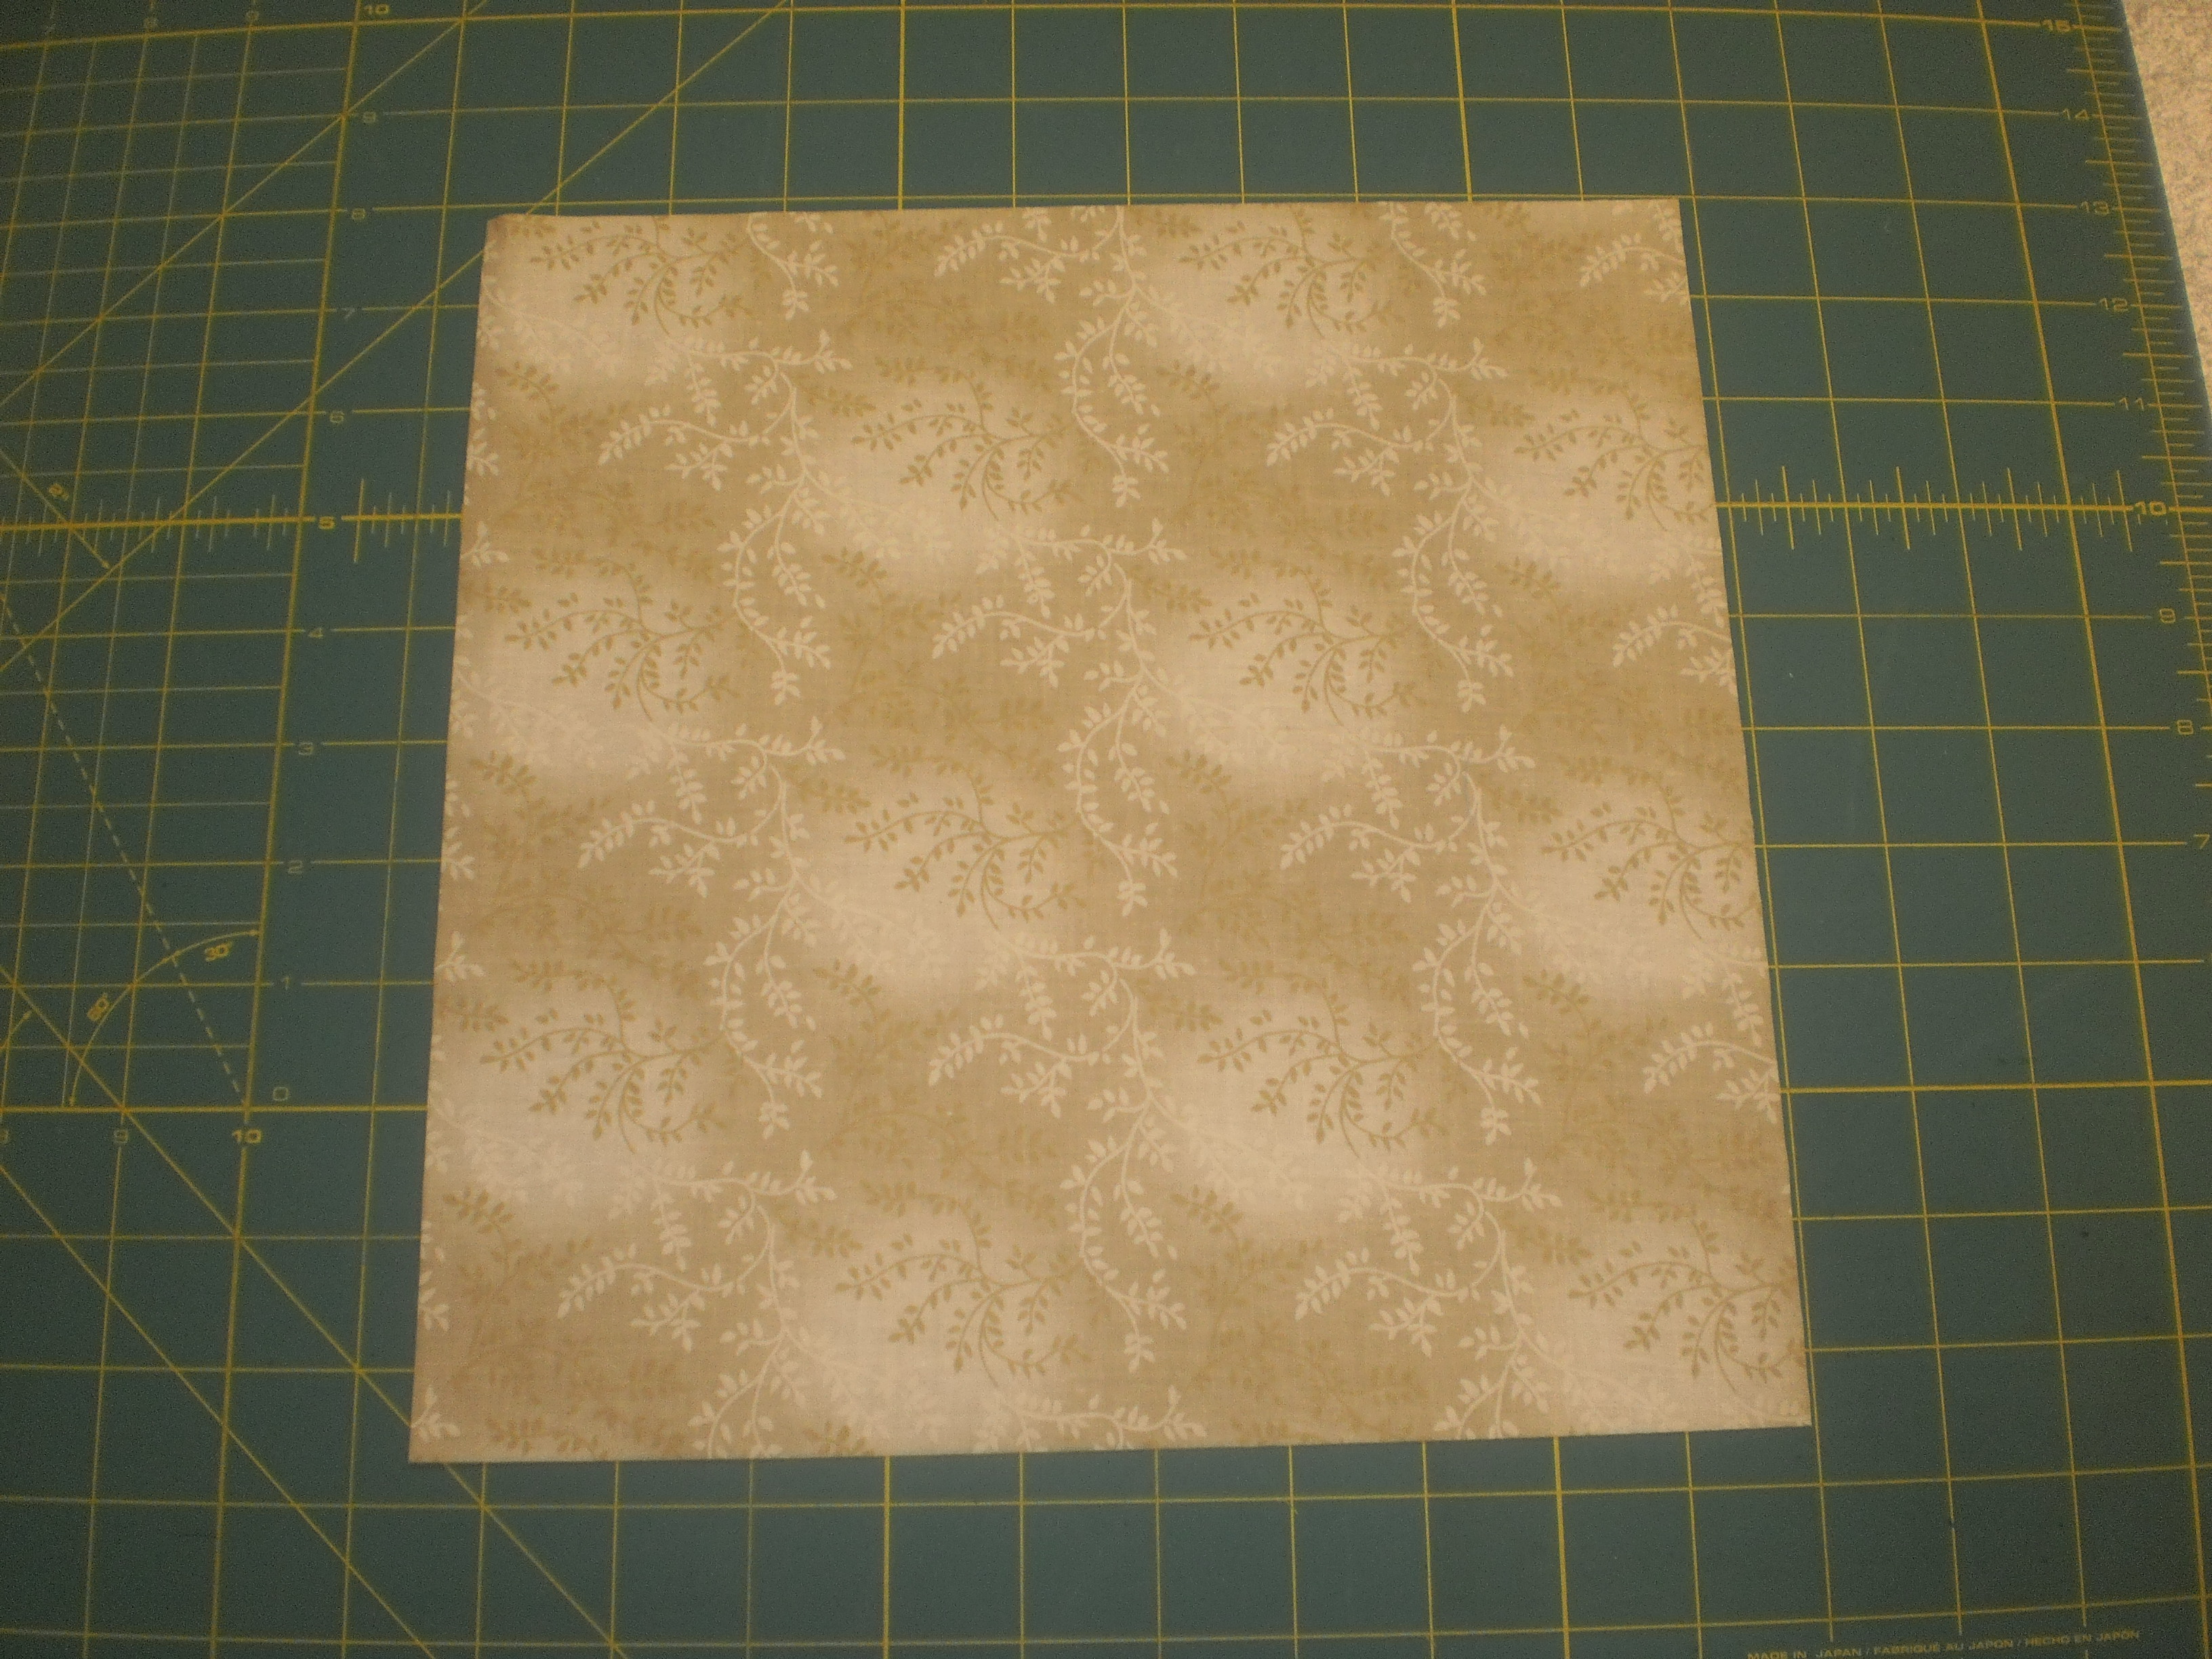
From the background fabric cut two 10.5in strips. Cut the selvedges off and crosscut from each strip four 10.5in squares (you only need seven but always good to have a spare). See photos 1-4.
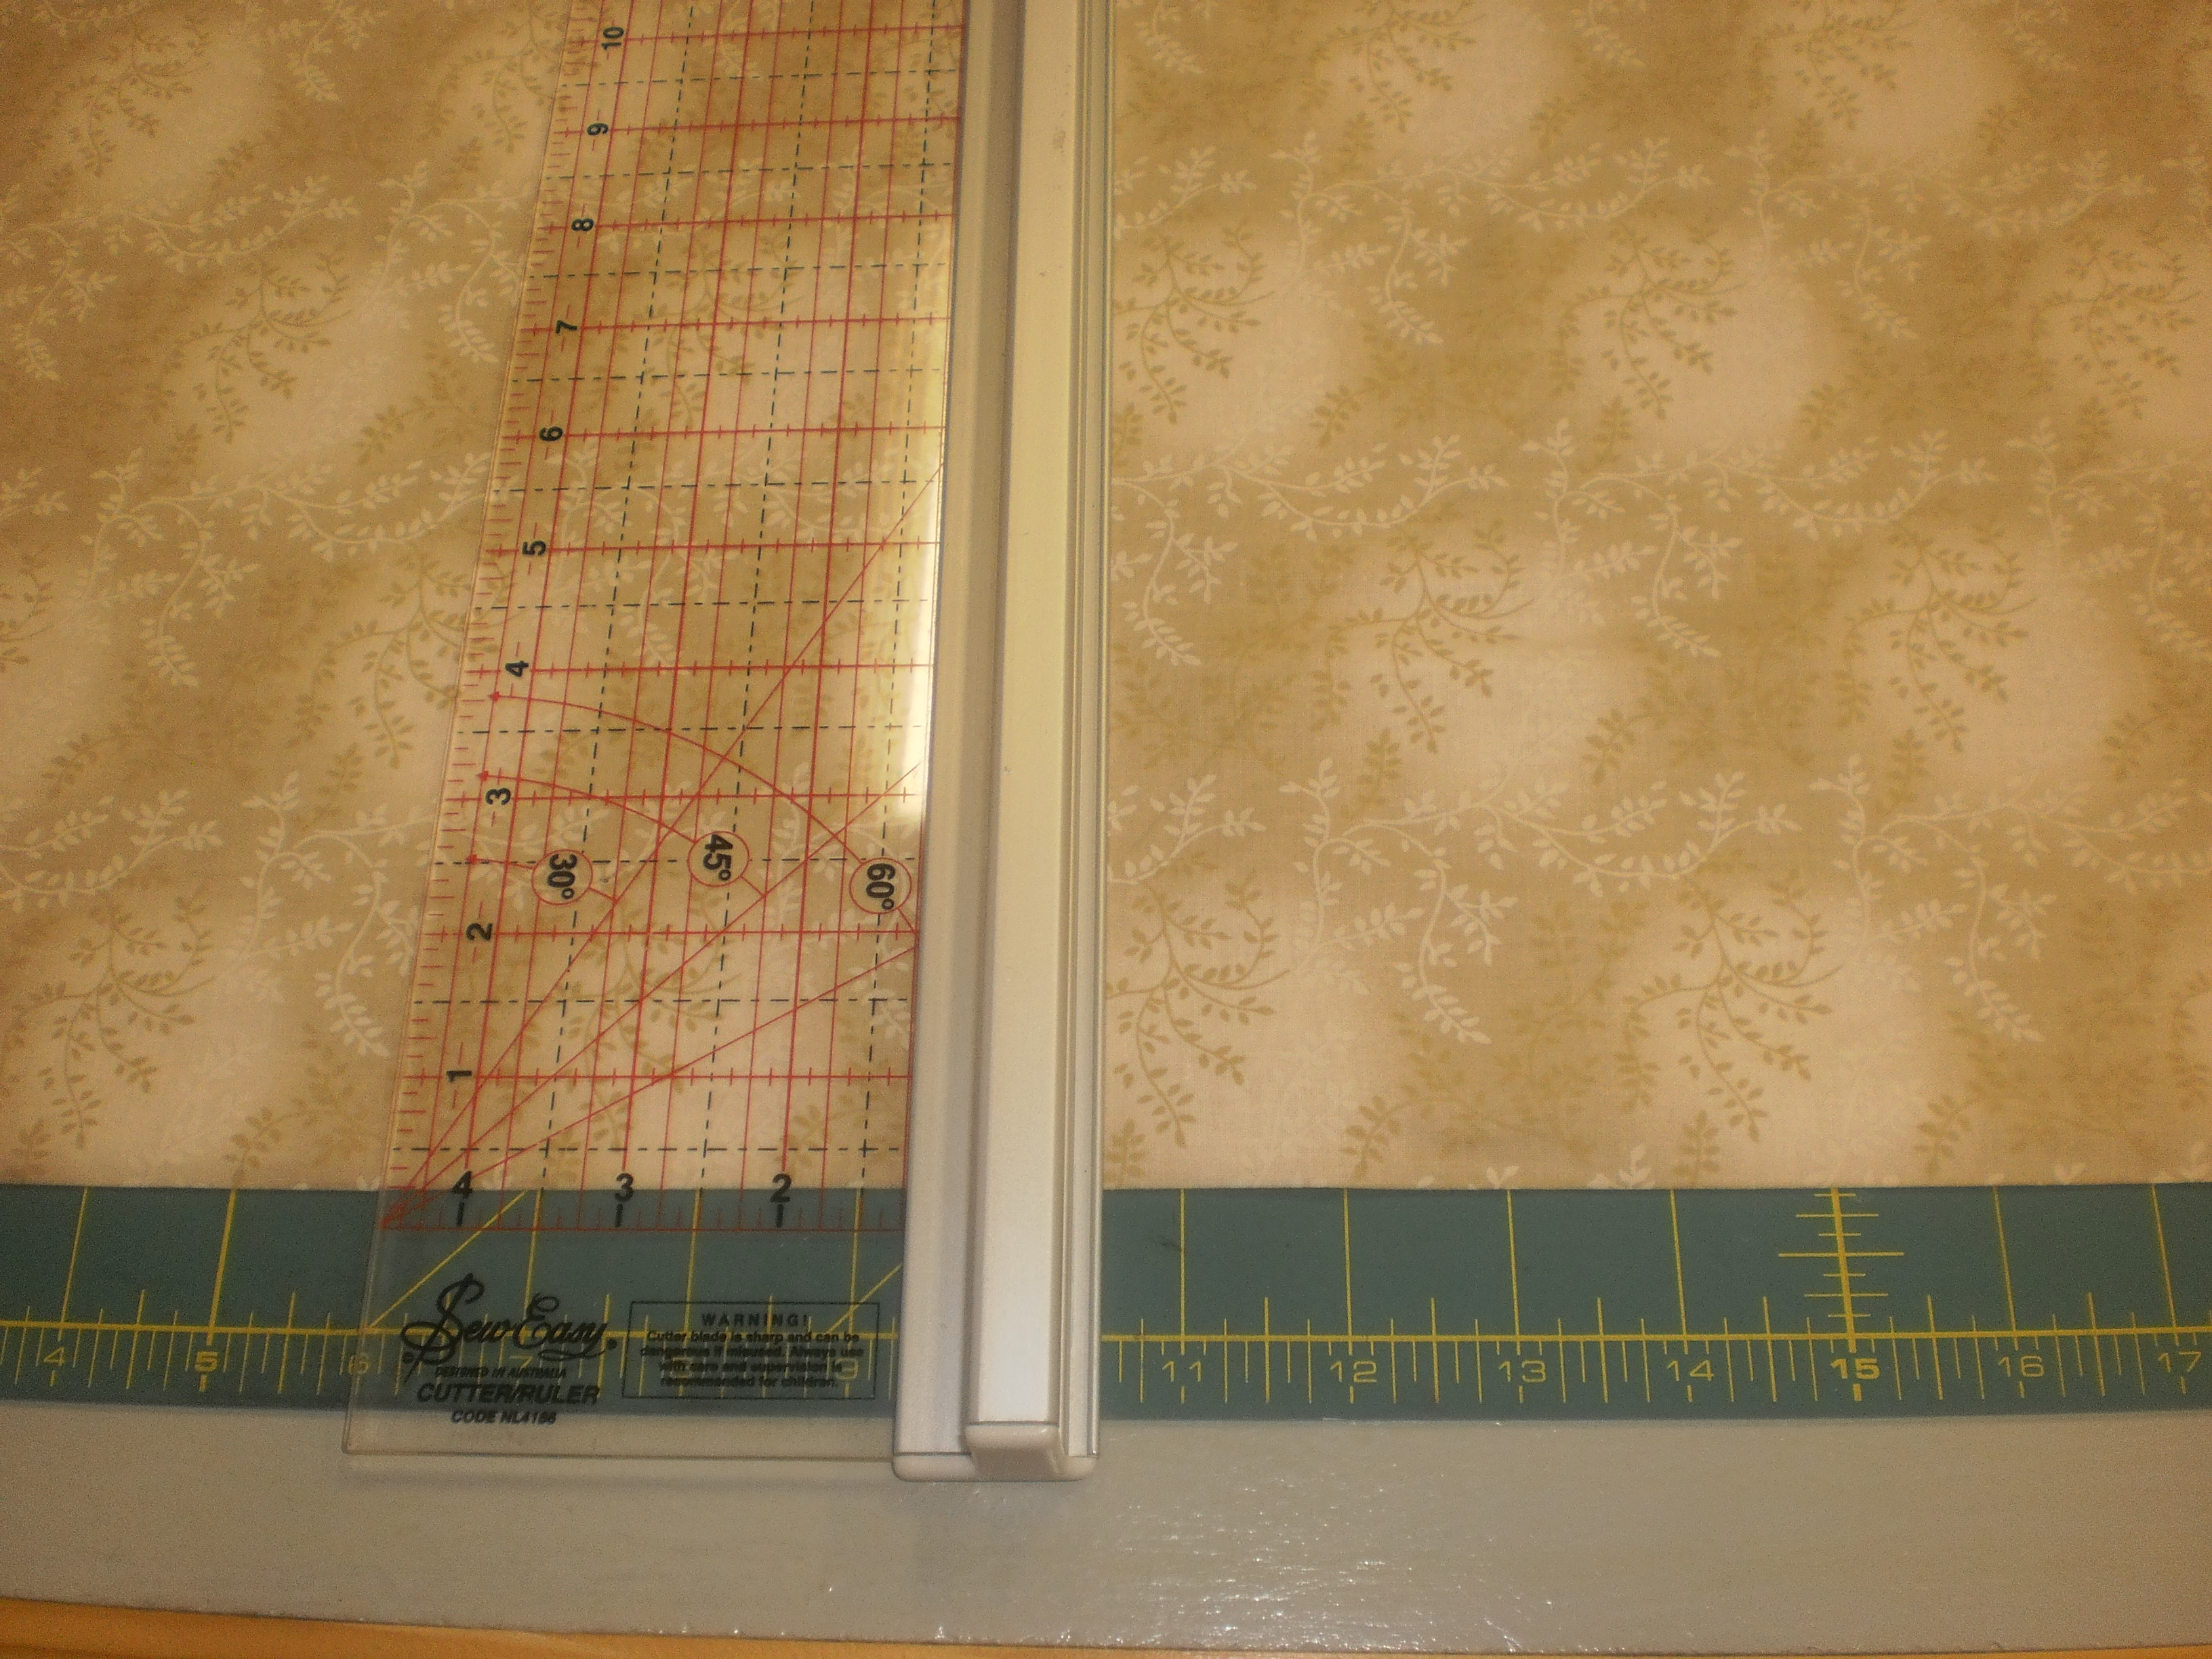
Photo 1: Line up your background fabric on your cutting board.
Cut two 10.5in strips.
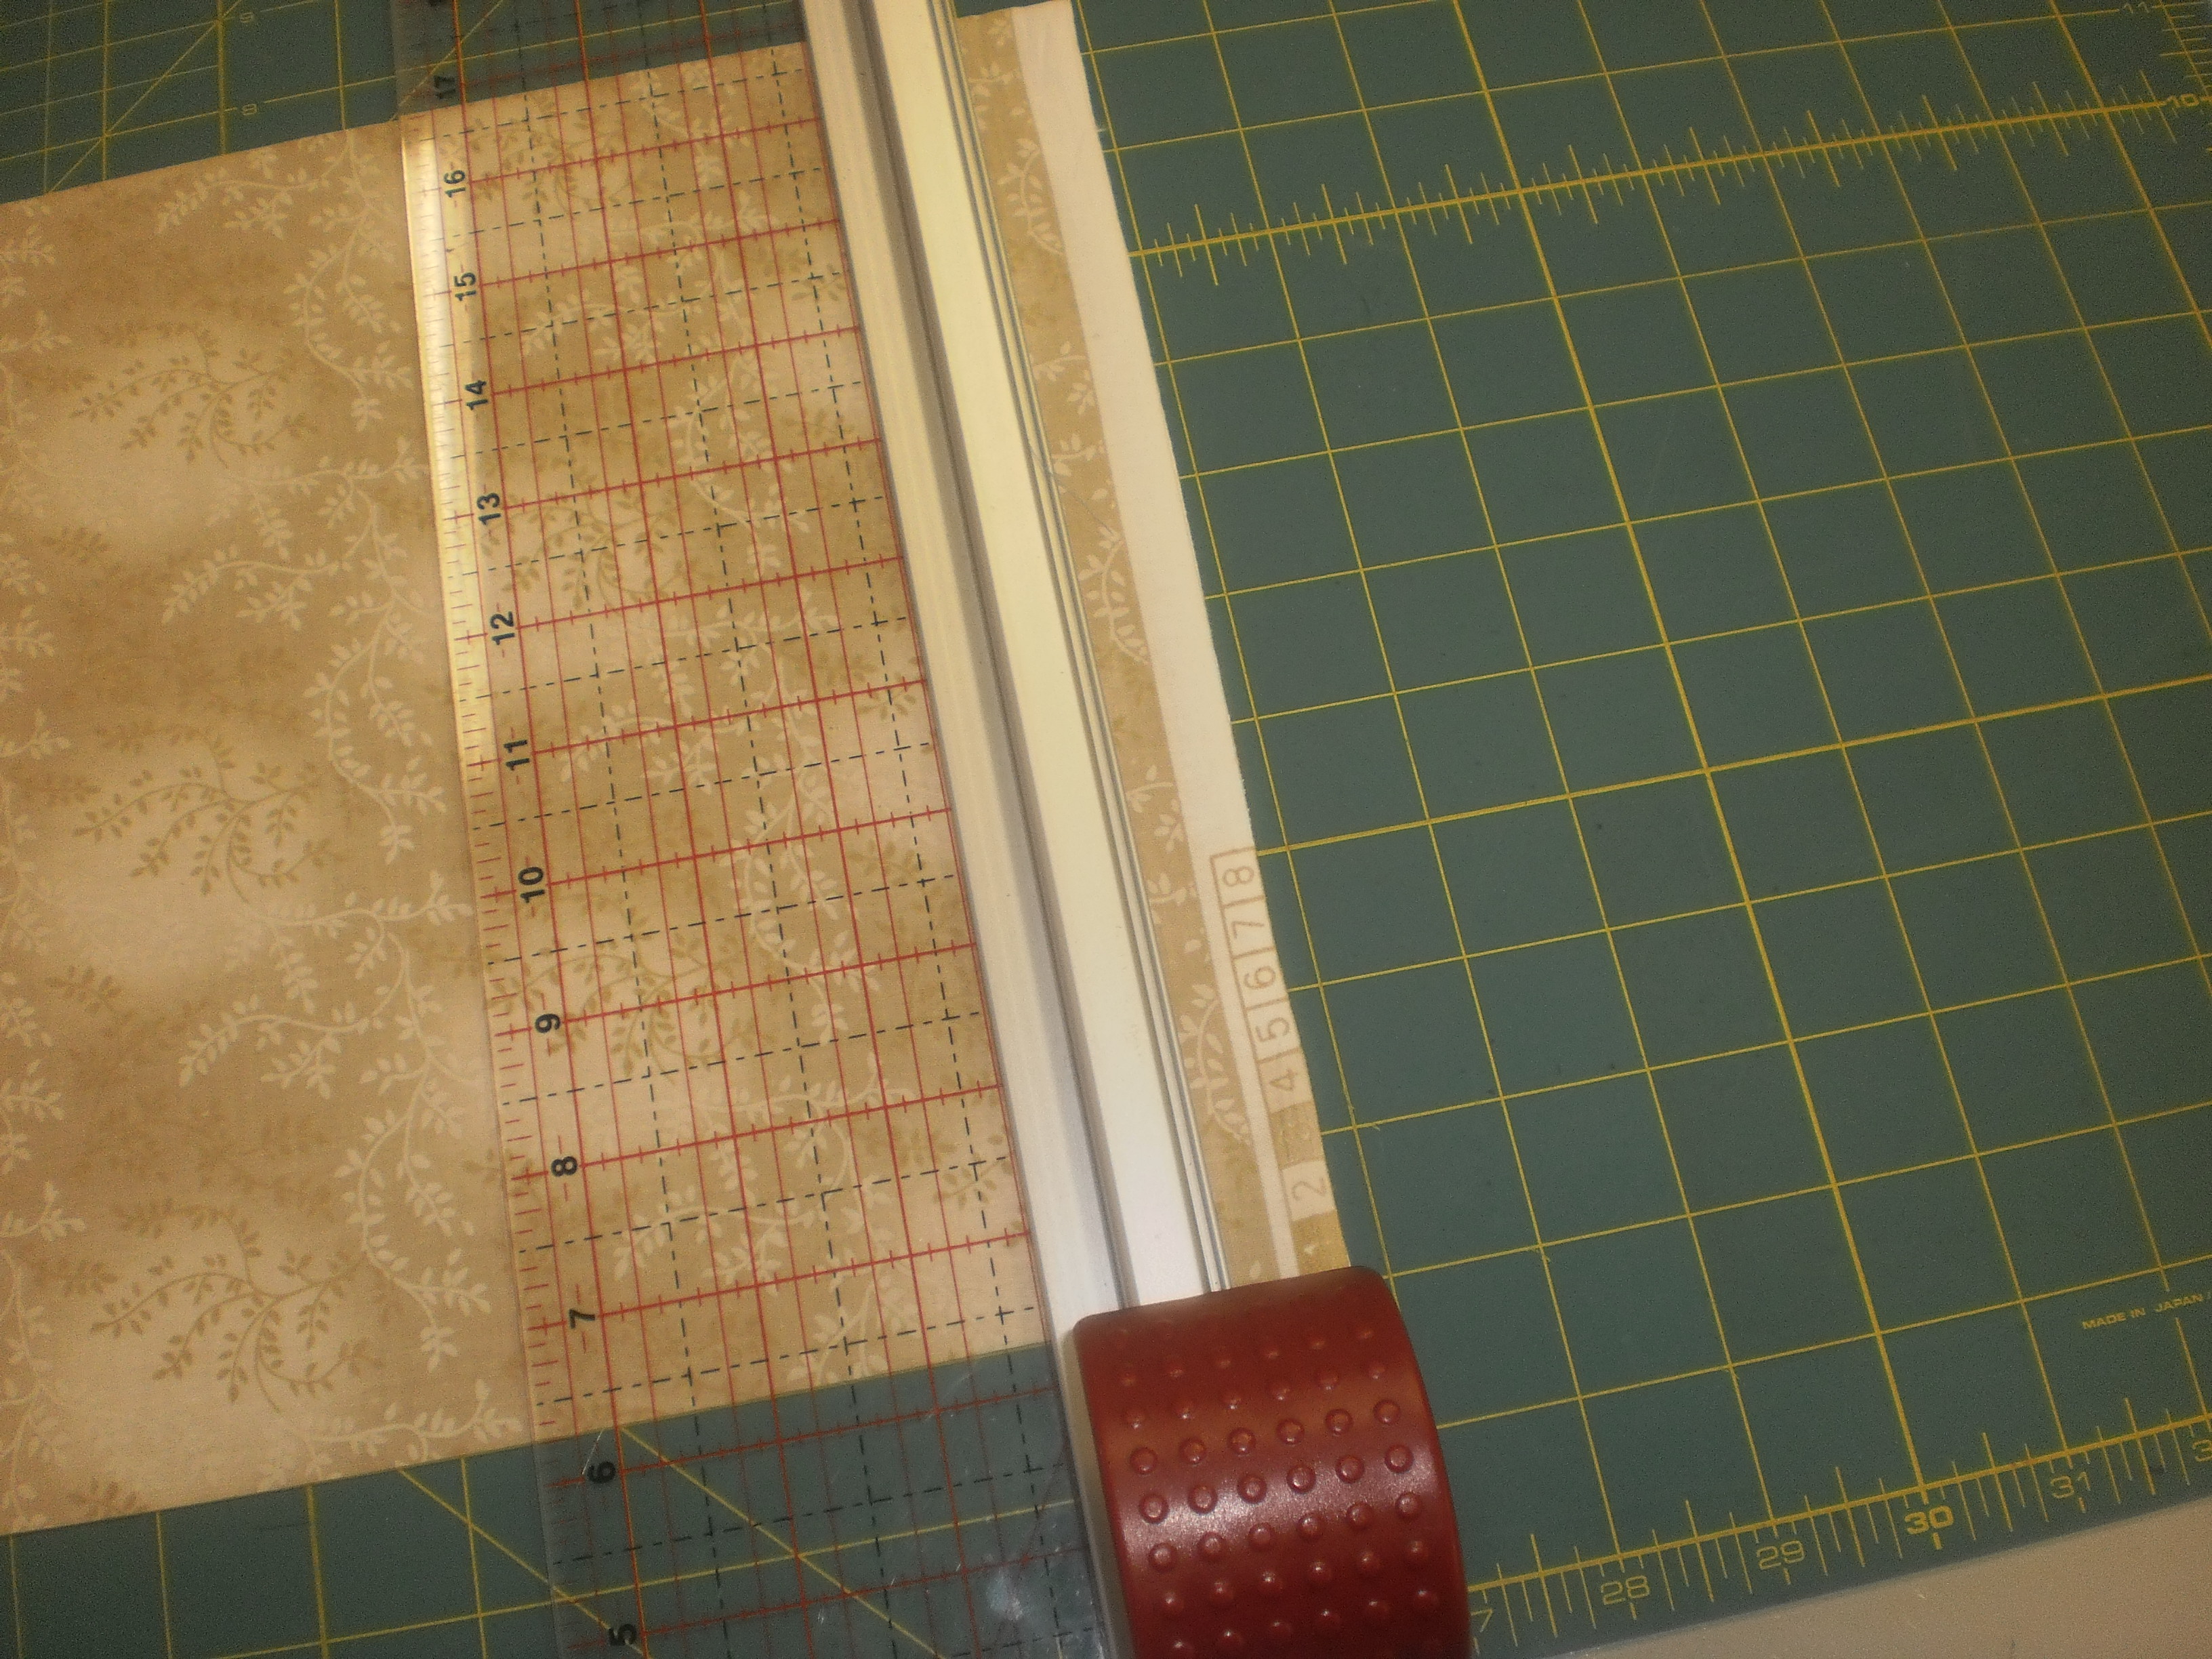
Cut the selvedge off.
Crosscut 10.5in squares across the strips (you’ll get 4 per strip).
Appliqués
Choose four fabrics from your kit. Press these and set aside for the moment.
Print off the LOVE PDF here.
Trace the letter onto the smooth side of the Vliesofix. See photos 5 and 6.
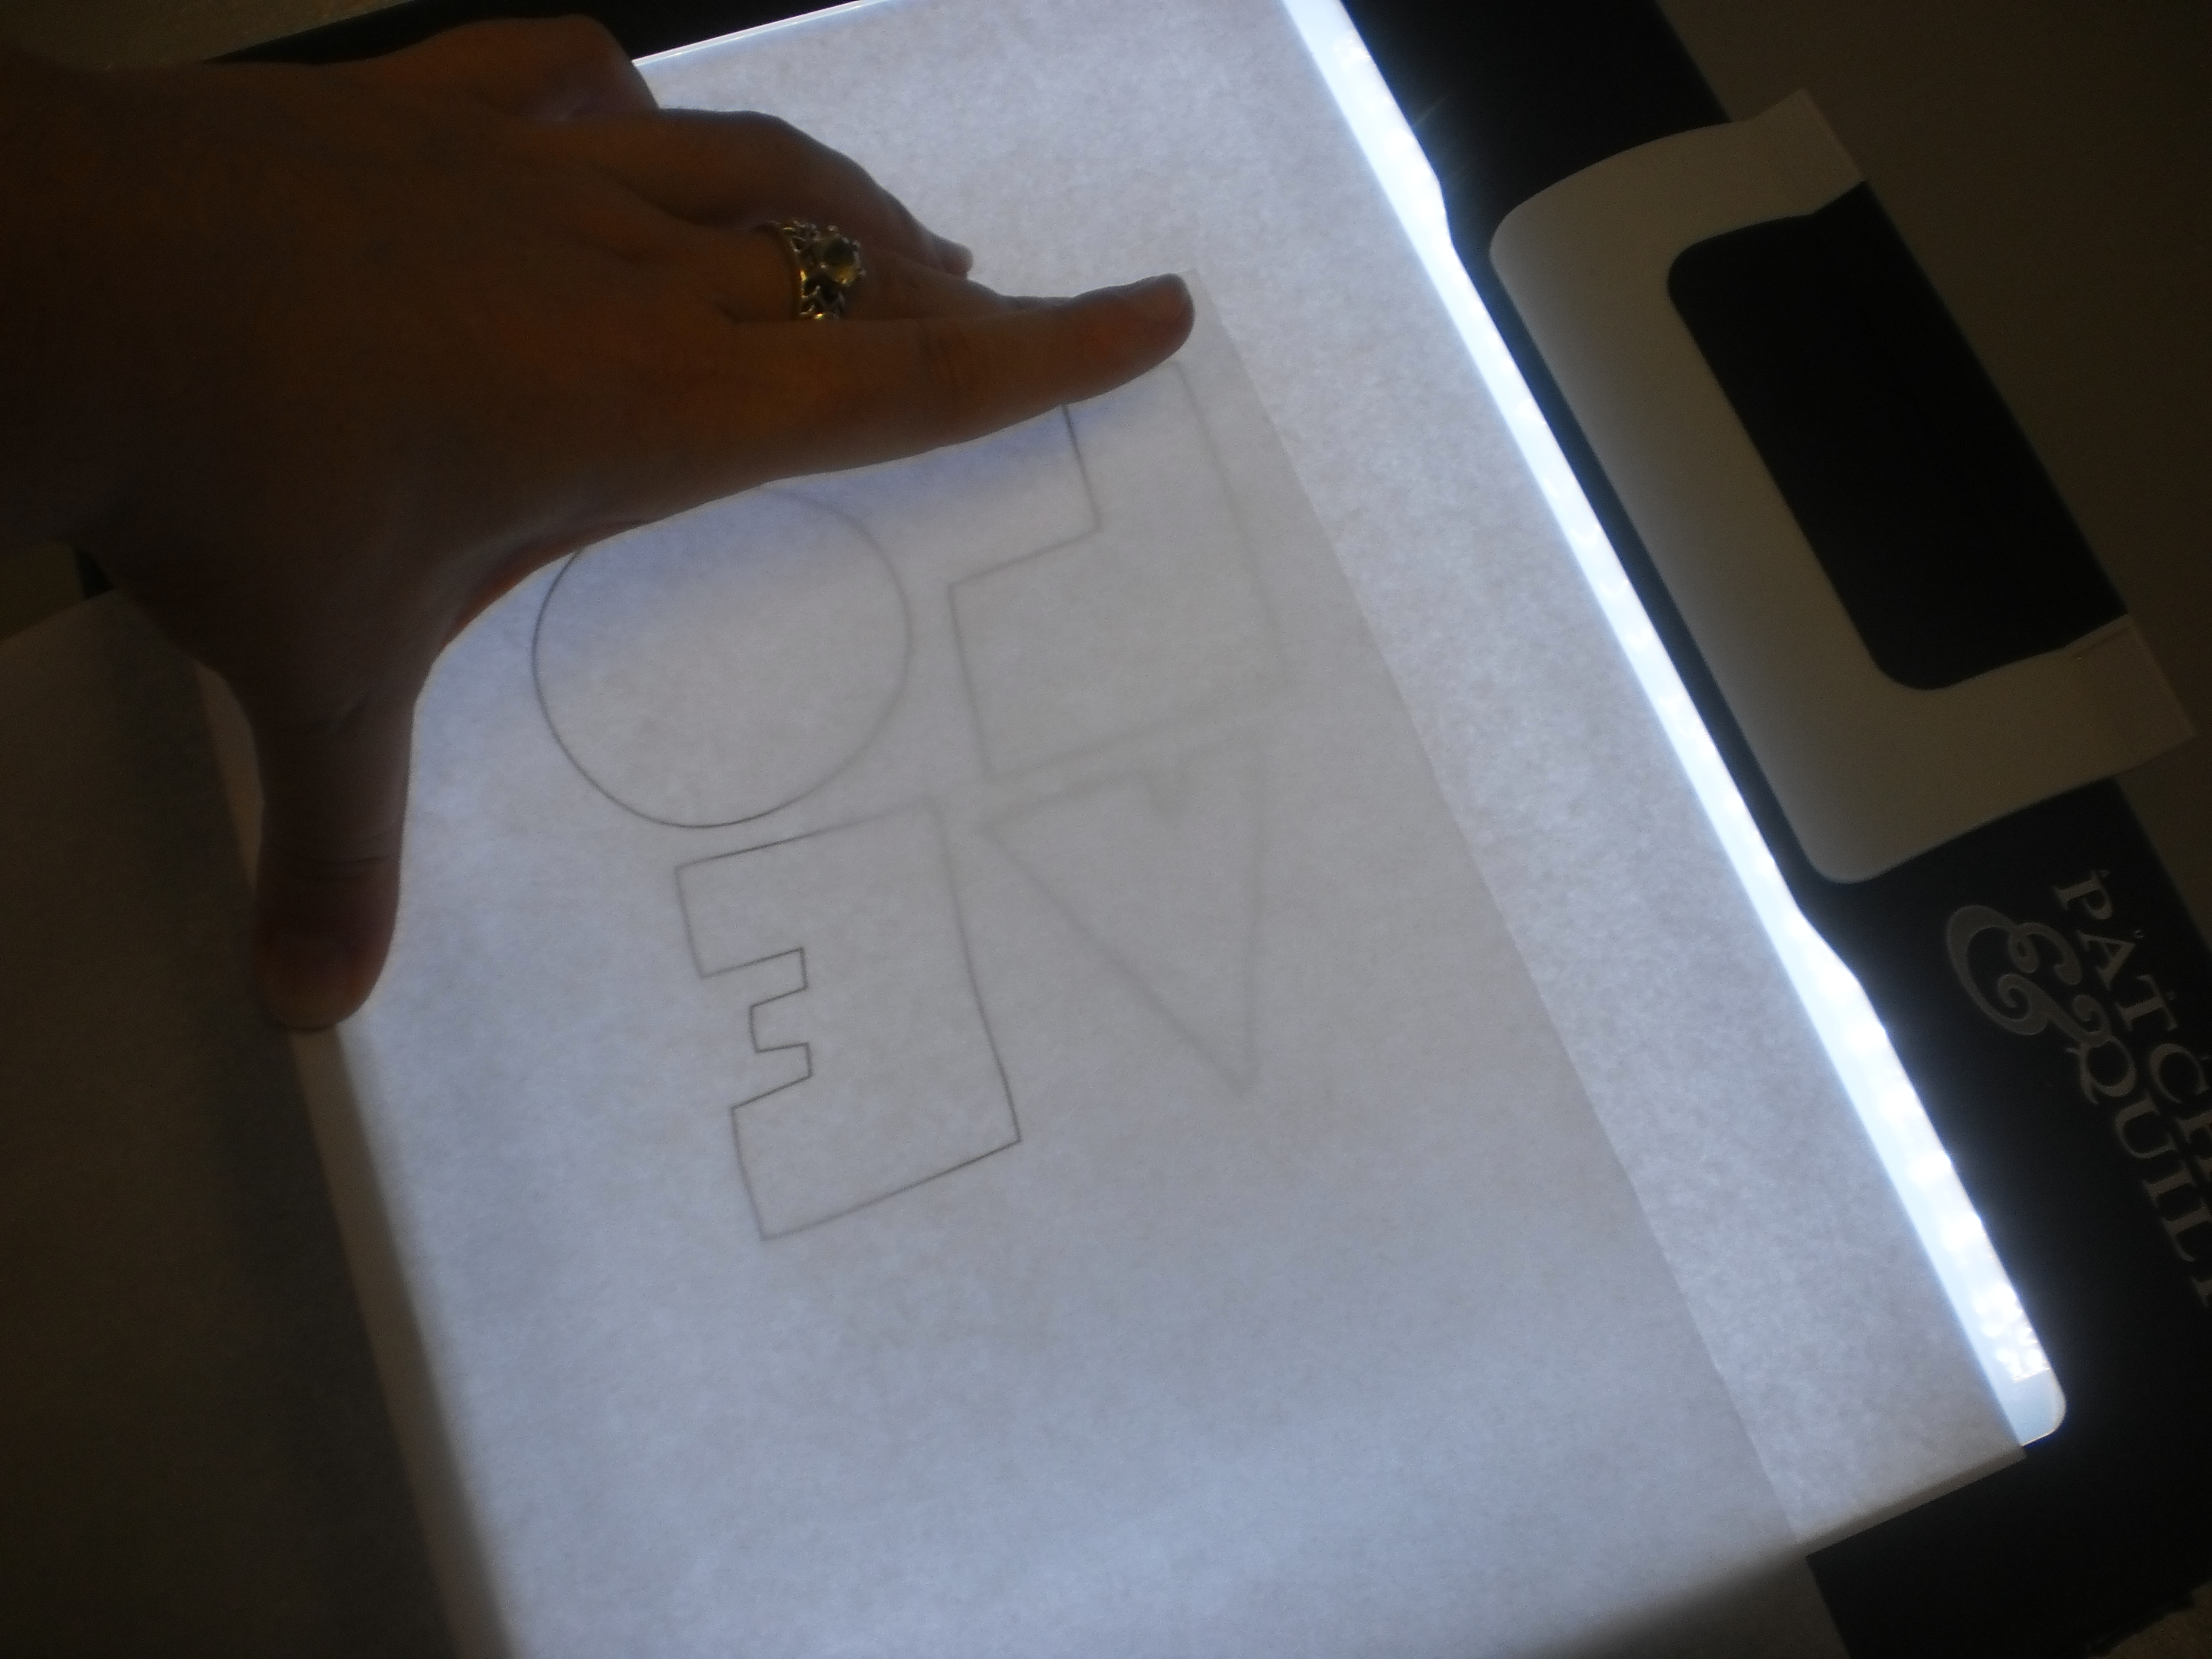
Photo 5: Place the LOVE template on your lightbox or window.
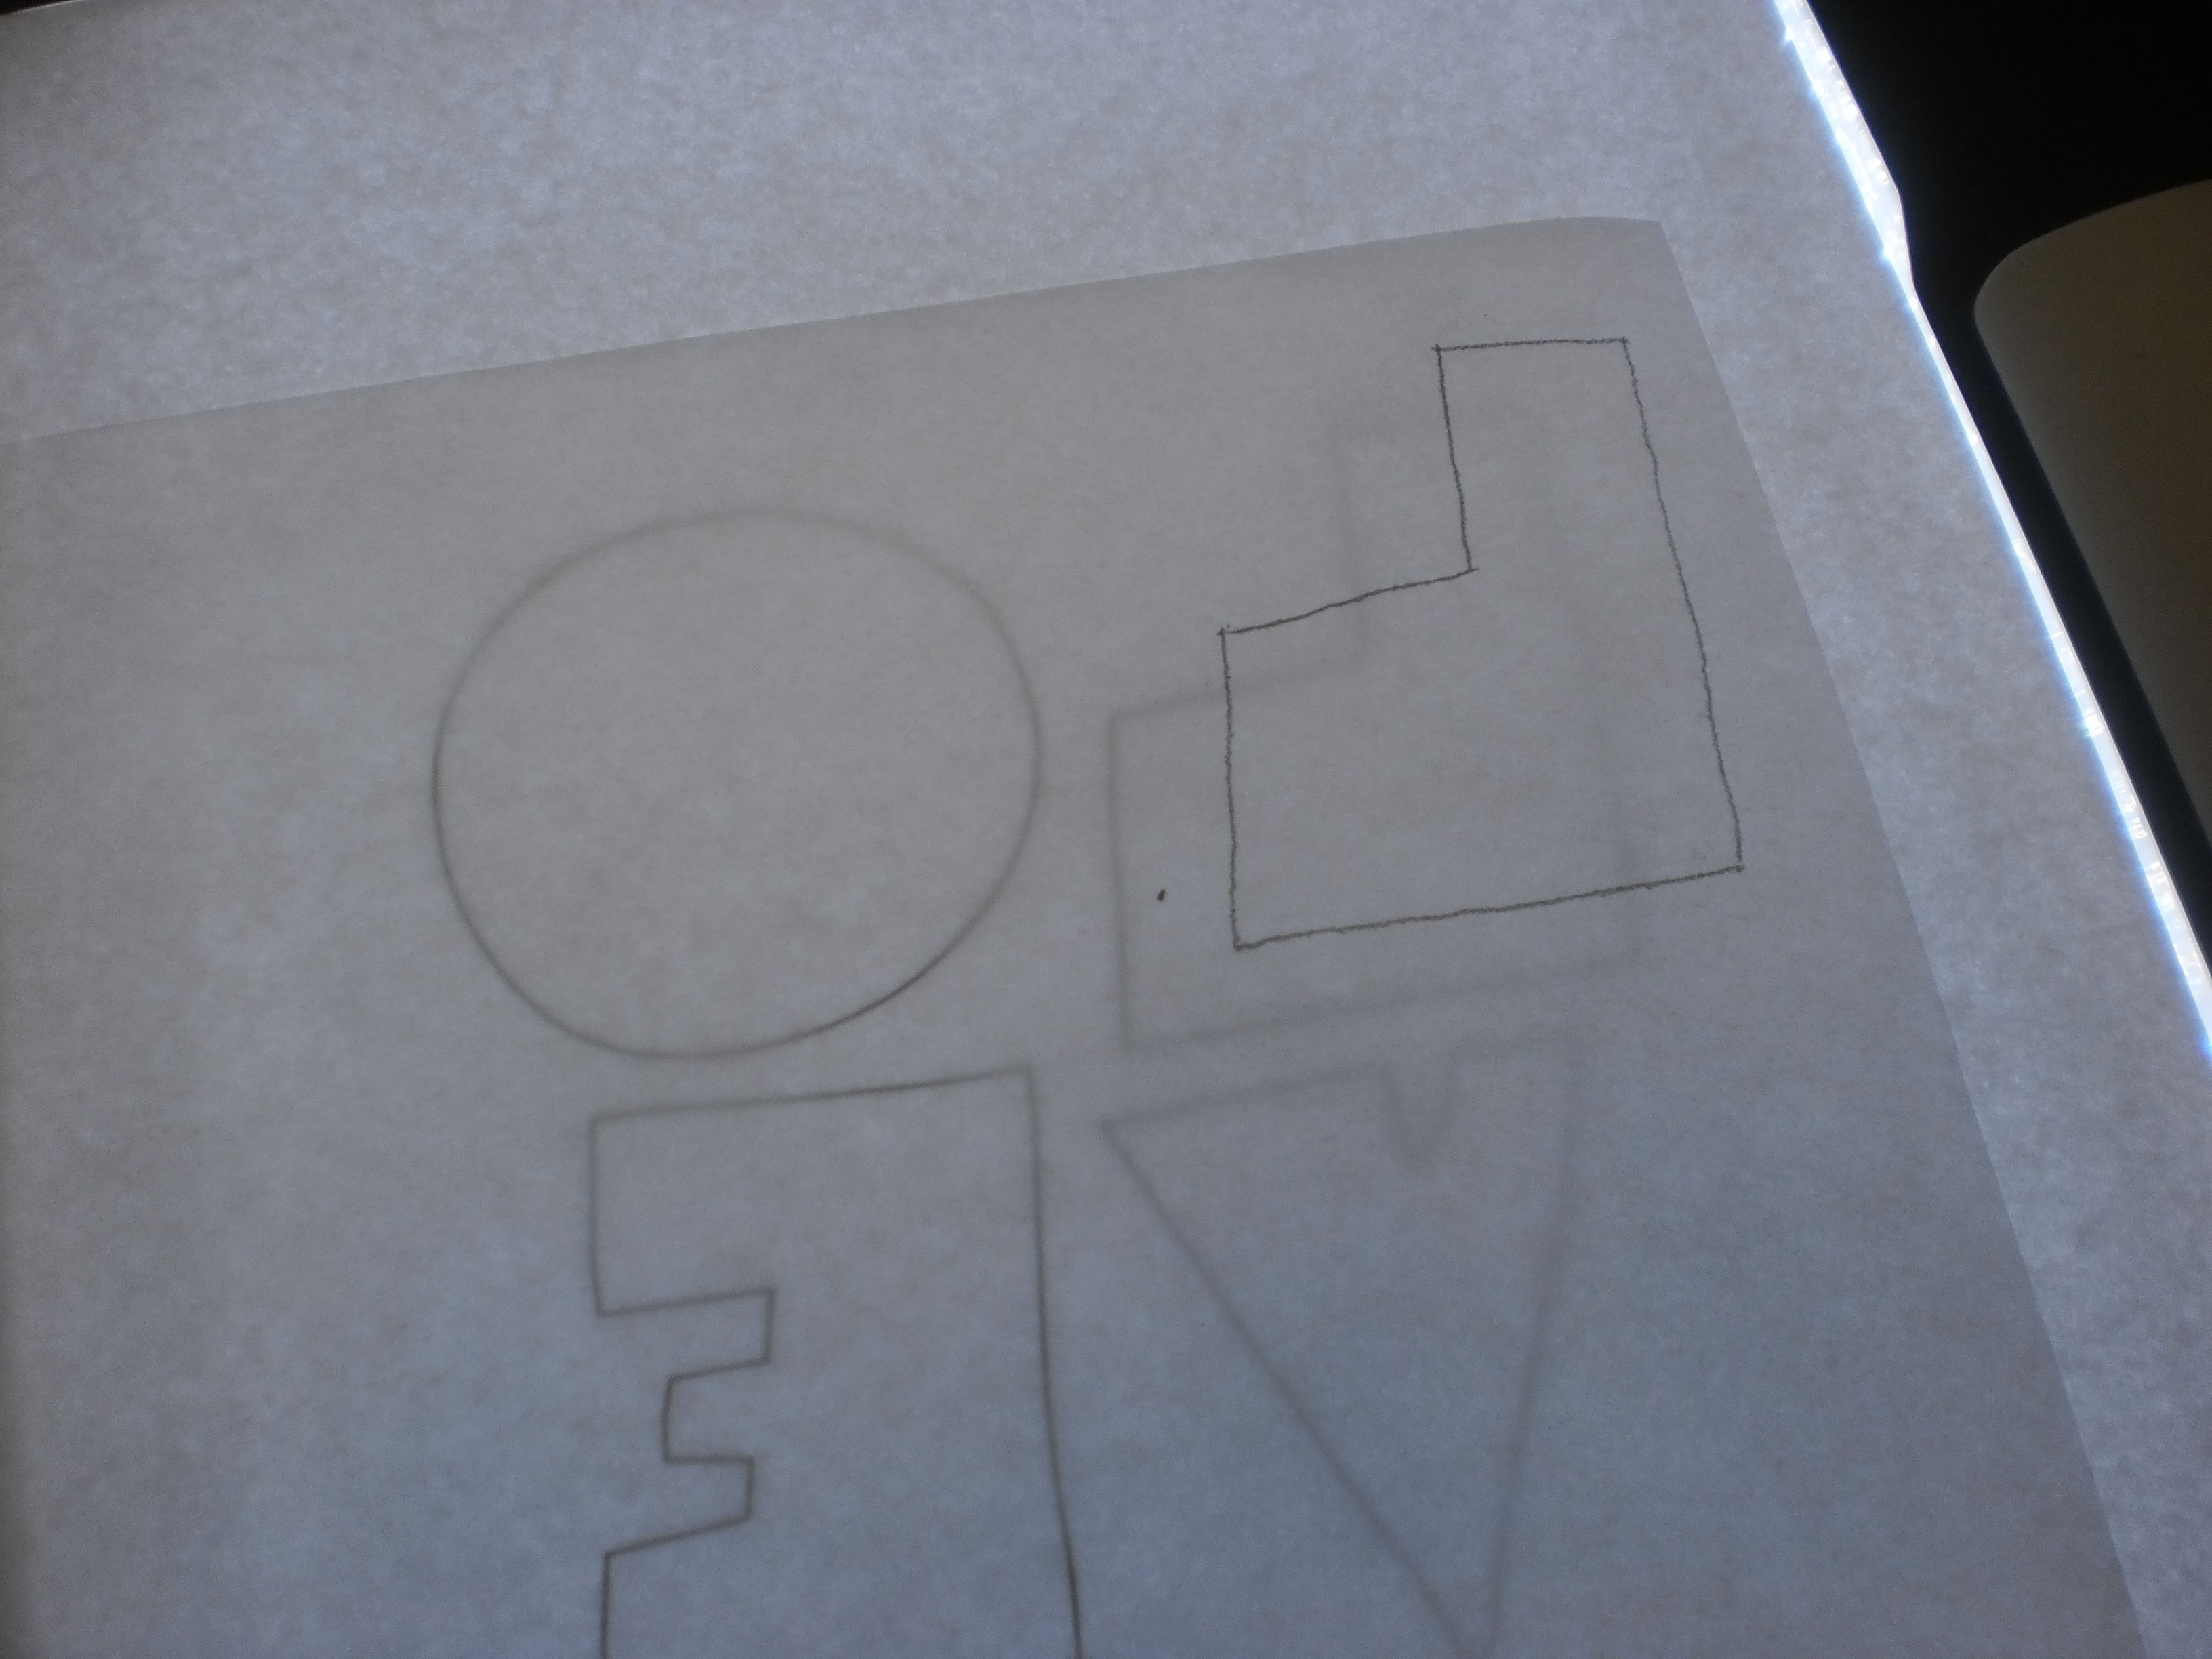
Photo 6: Trace the letters onto the paper side of the Vliesofix. Leave approximately 1/2in between shapes.
Cut the letters out roughly with paper scissors leaving a 1/2in gap between them.
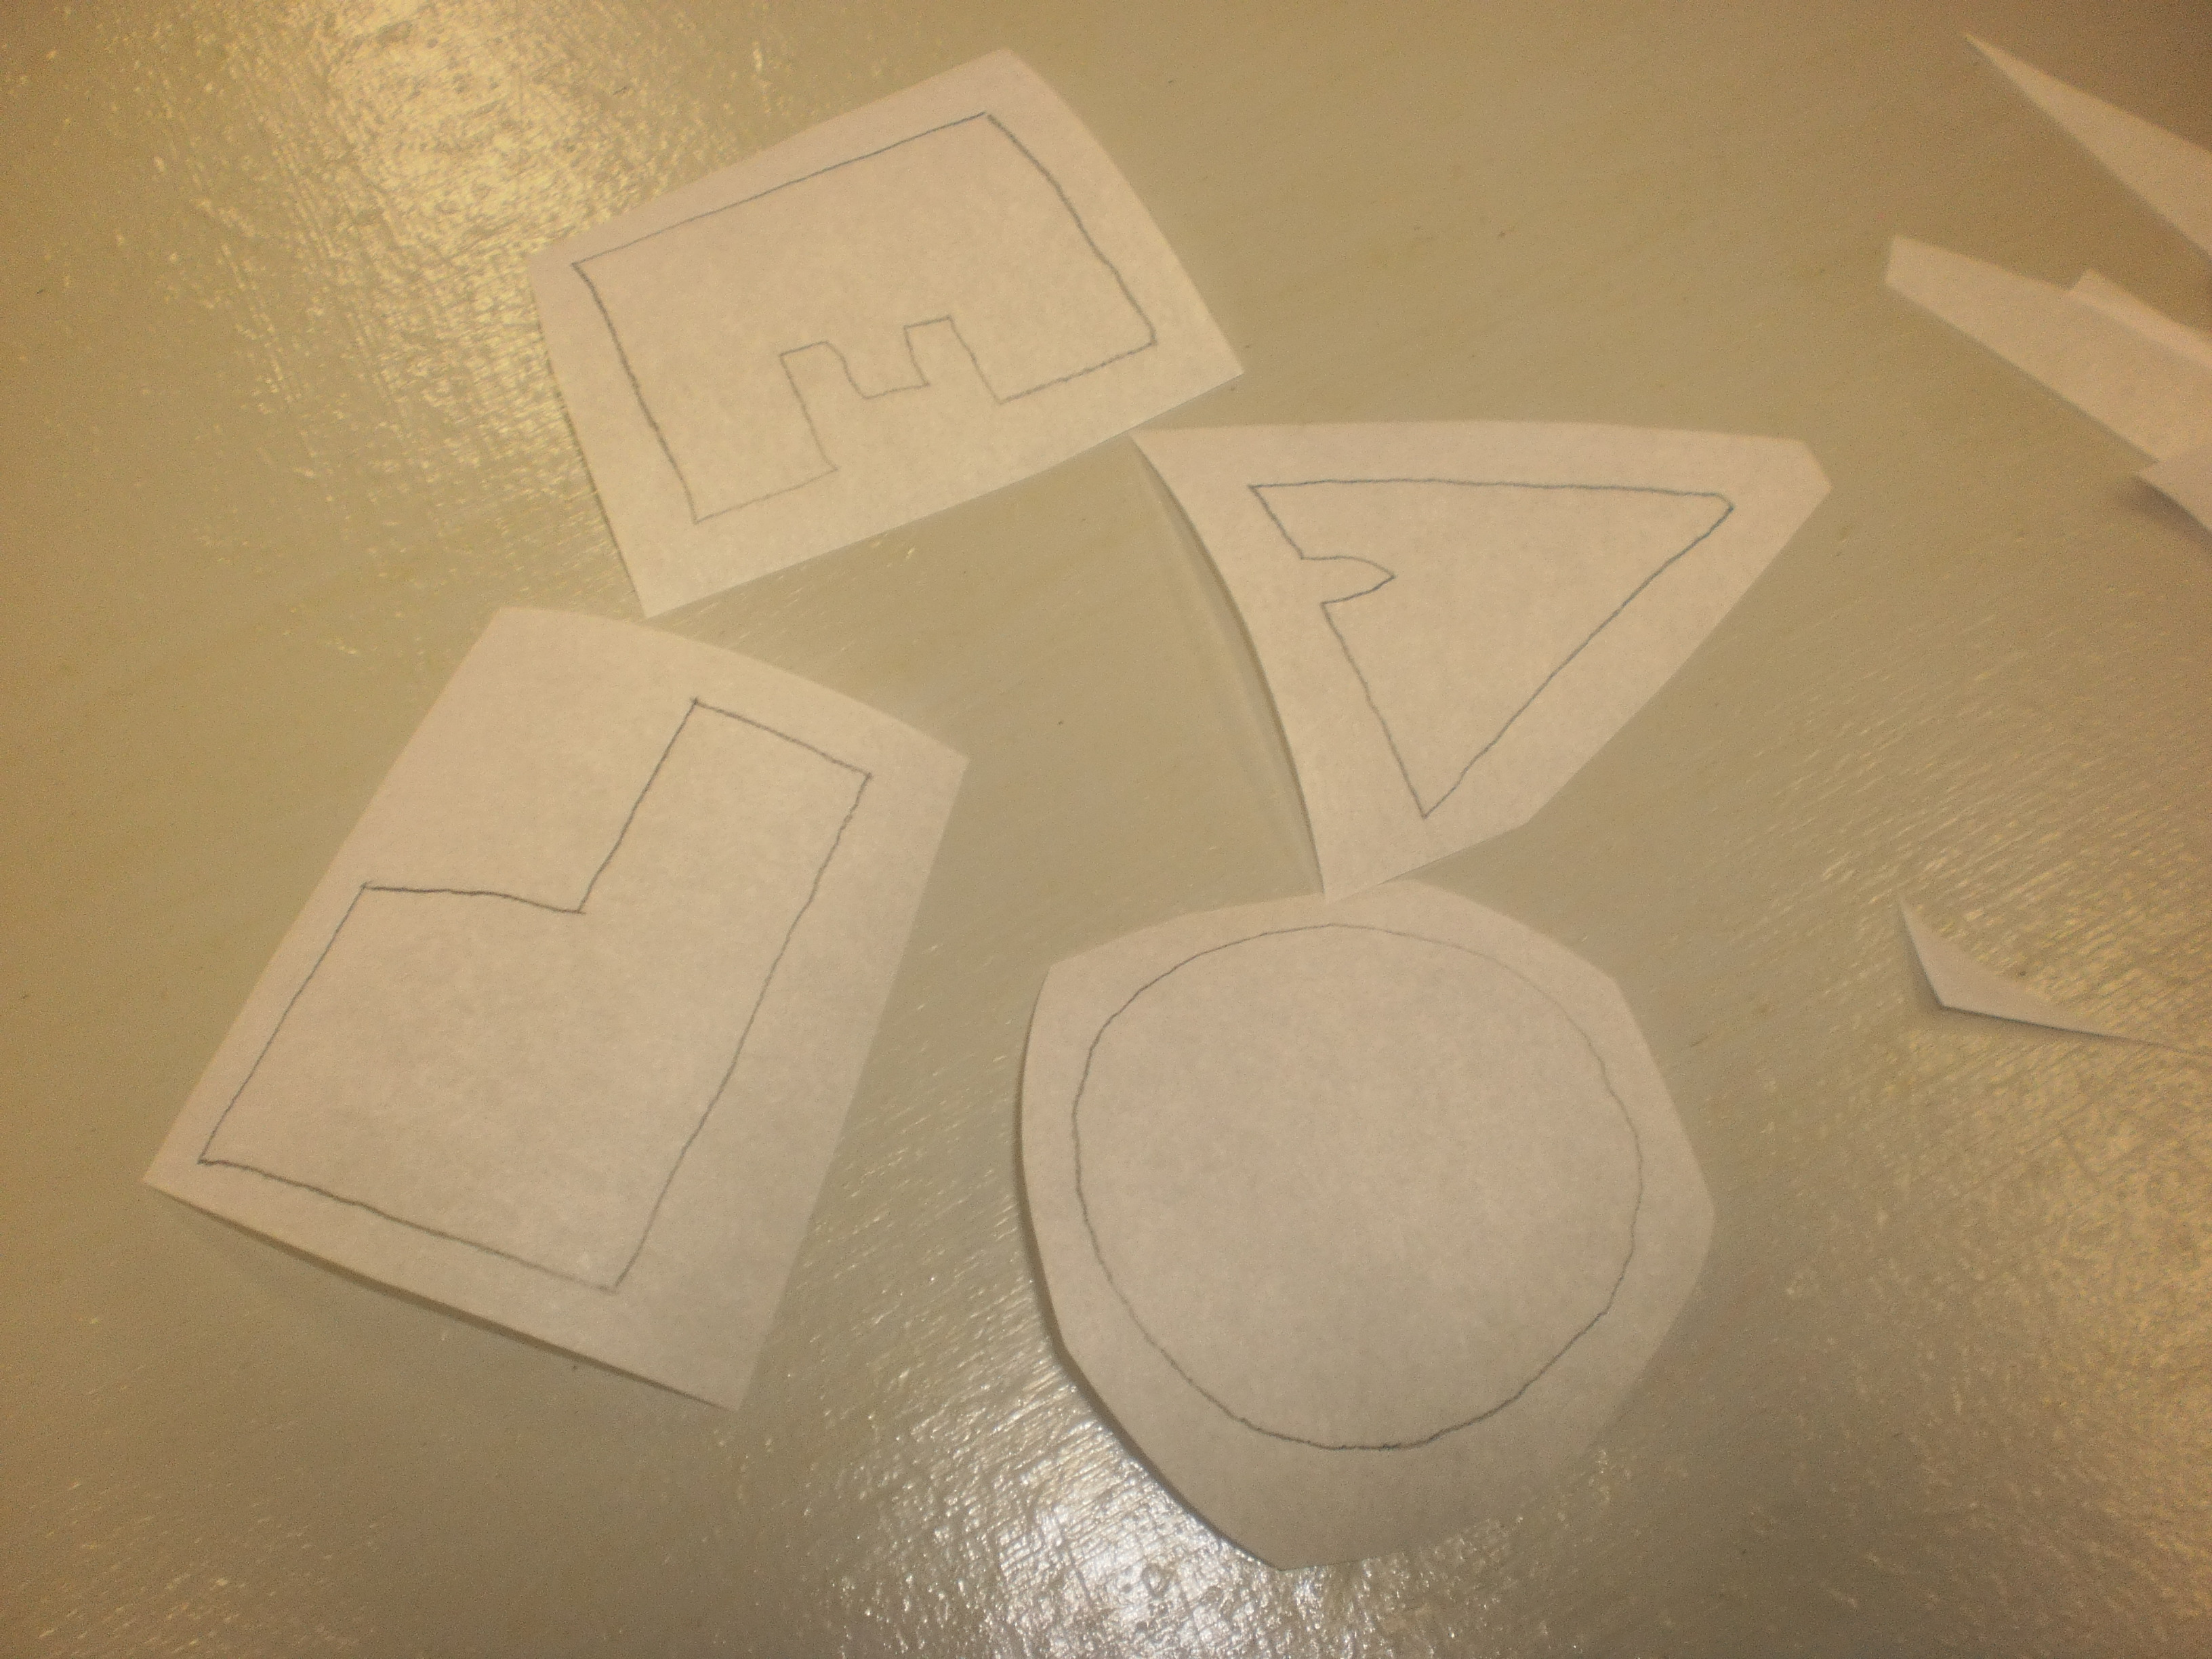
Photo 7: Cut out the shapes roughly with paper scissors.
On your ironing board lay out one of your chosen fabrics right side down. Choose which letter will be that fabric, lay the letter rough side down onto the fabric and press with a hot dry iron. Repeat with all four letters.
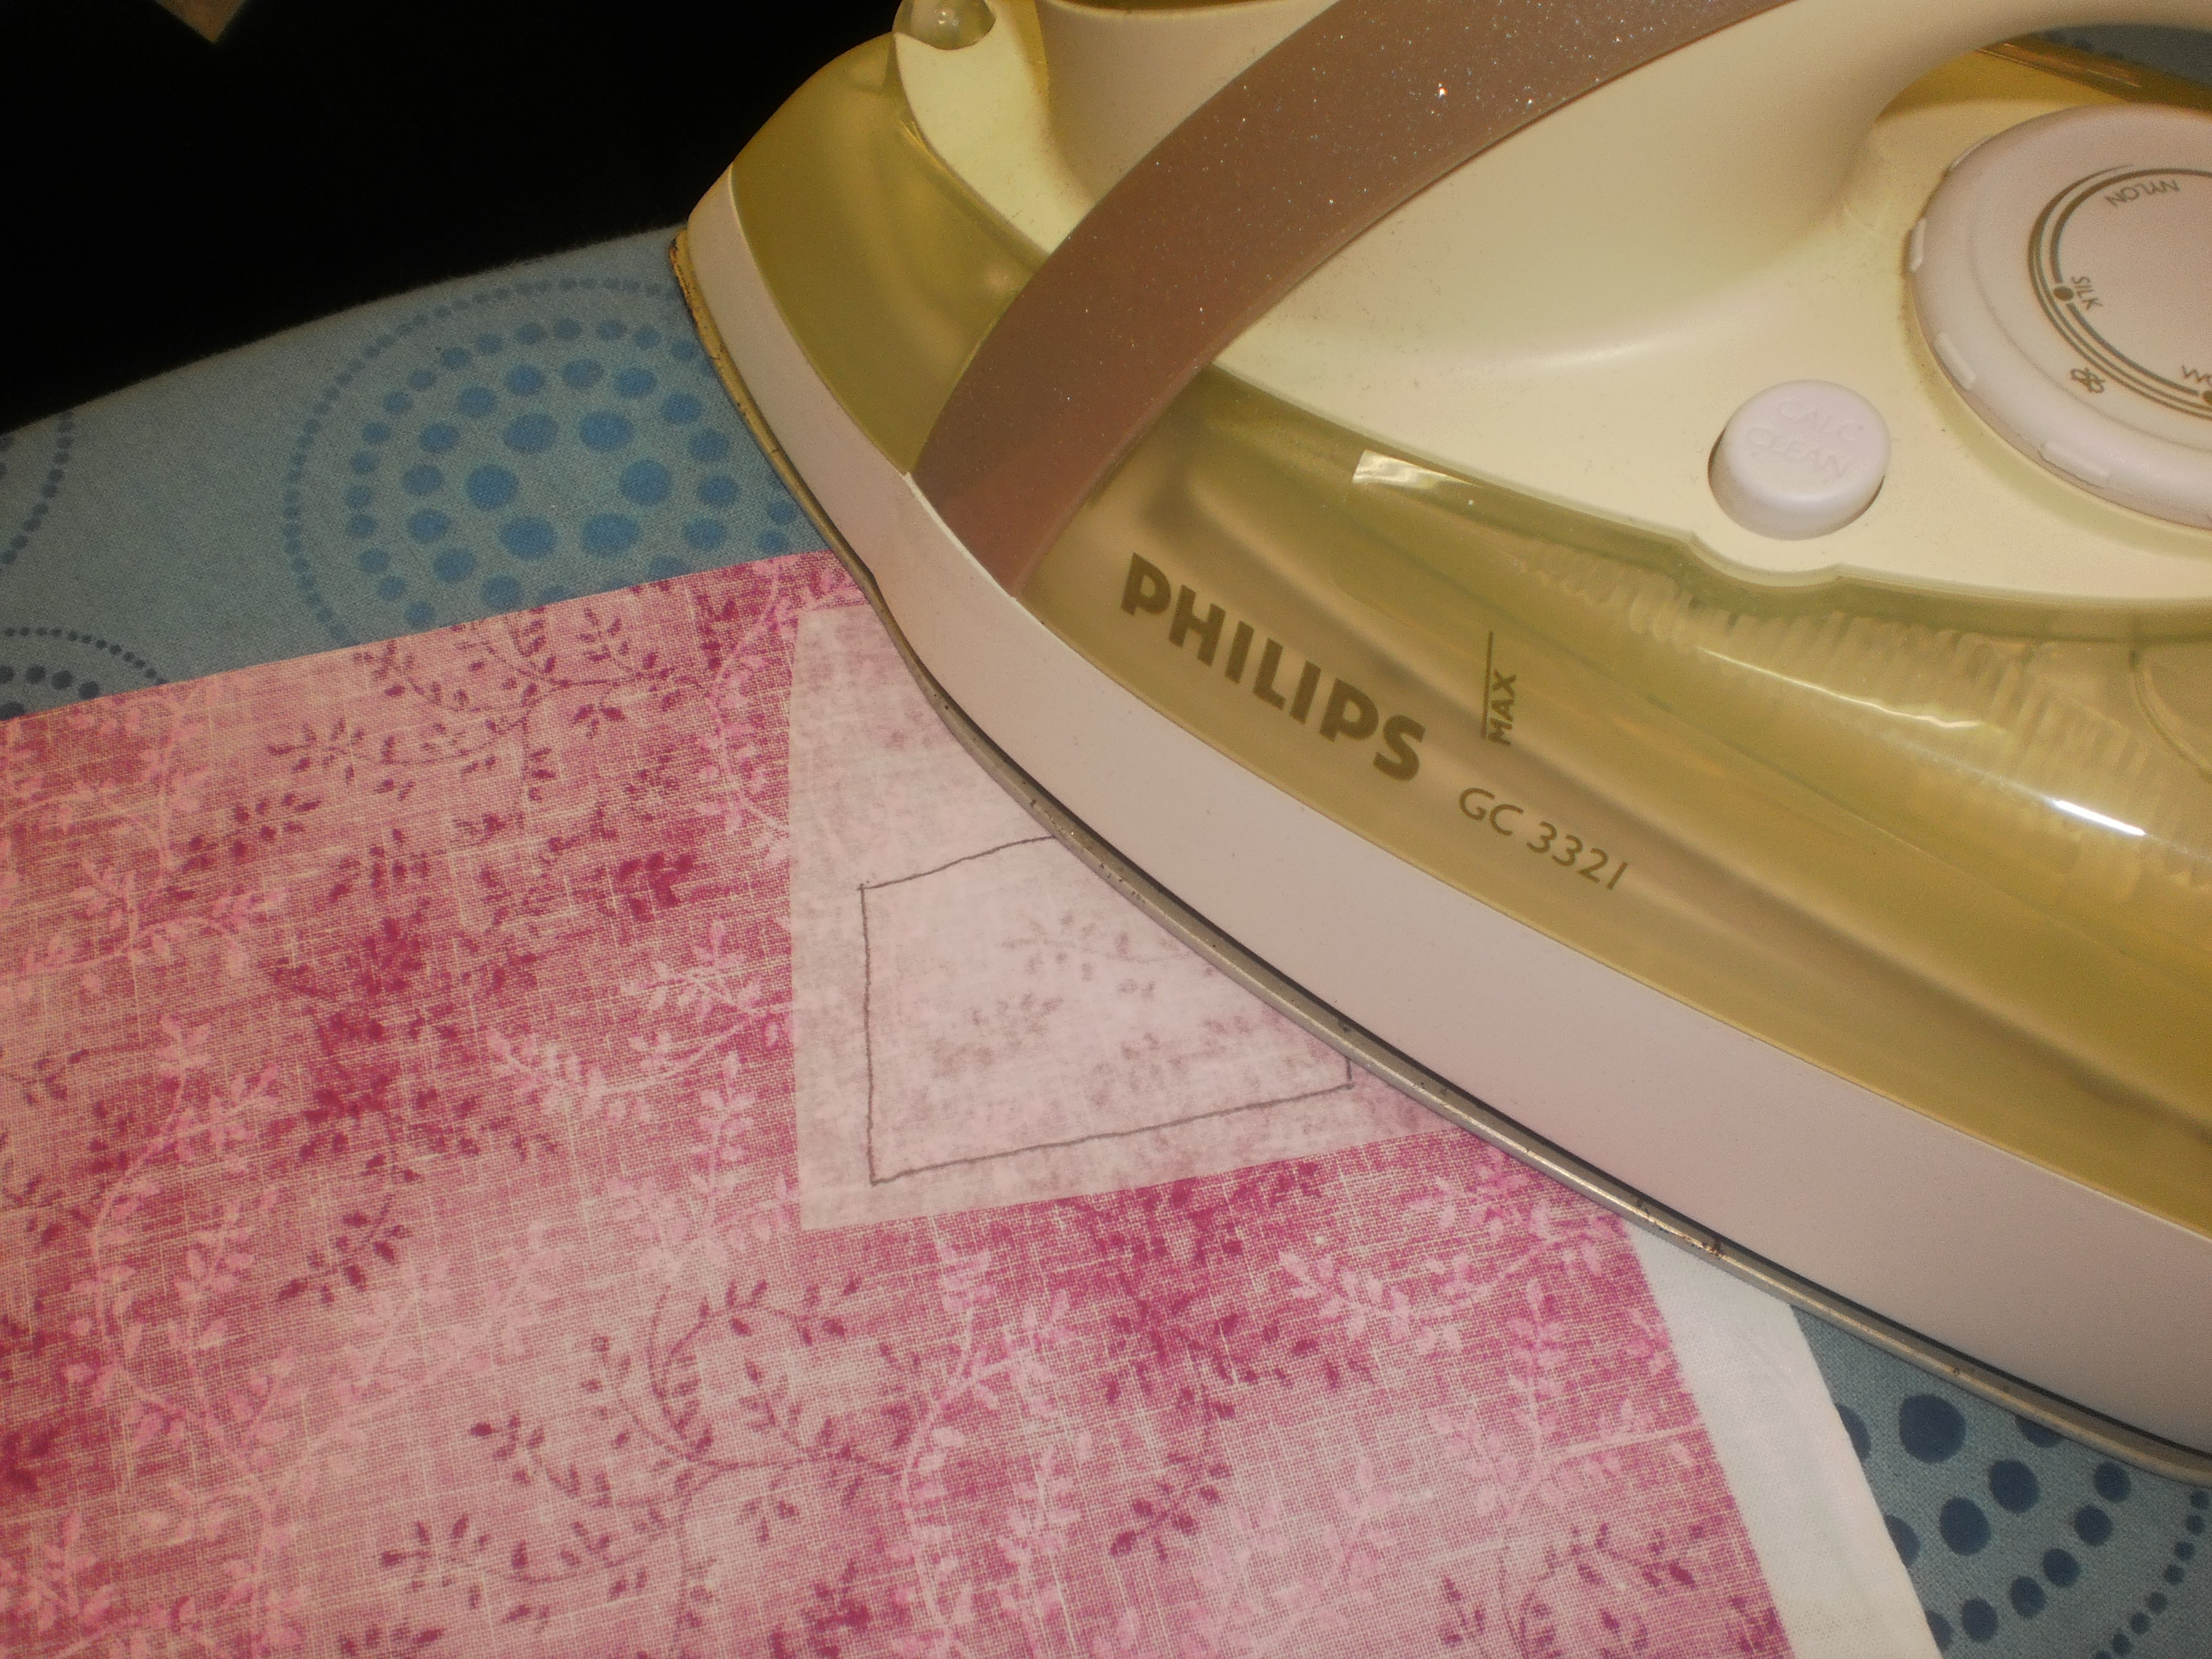
Photo 8: Using a hot dry iron (no steam) press the rough side of the Vliesofix to the wrong side of your chosen fabrics (one letter per fabric).
Allow the fabrics to cool and cut out the letters with fabric scissors on the pencil line. Put them aside.
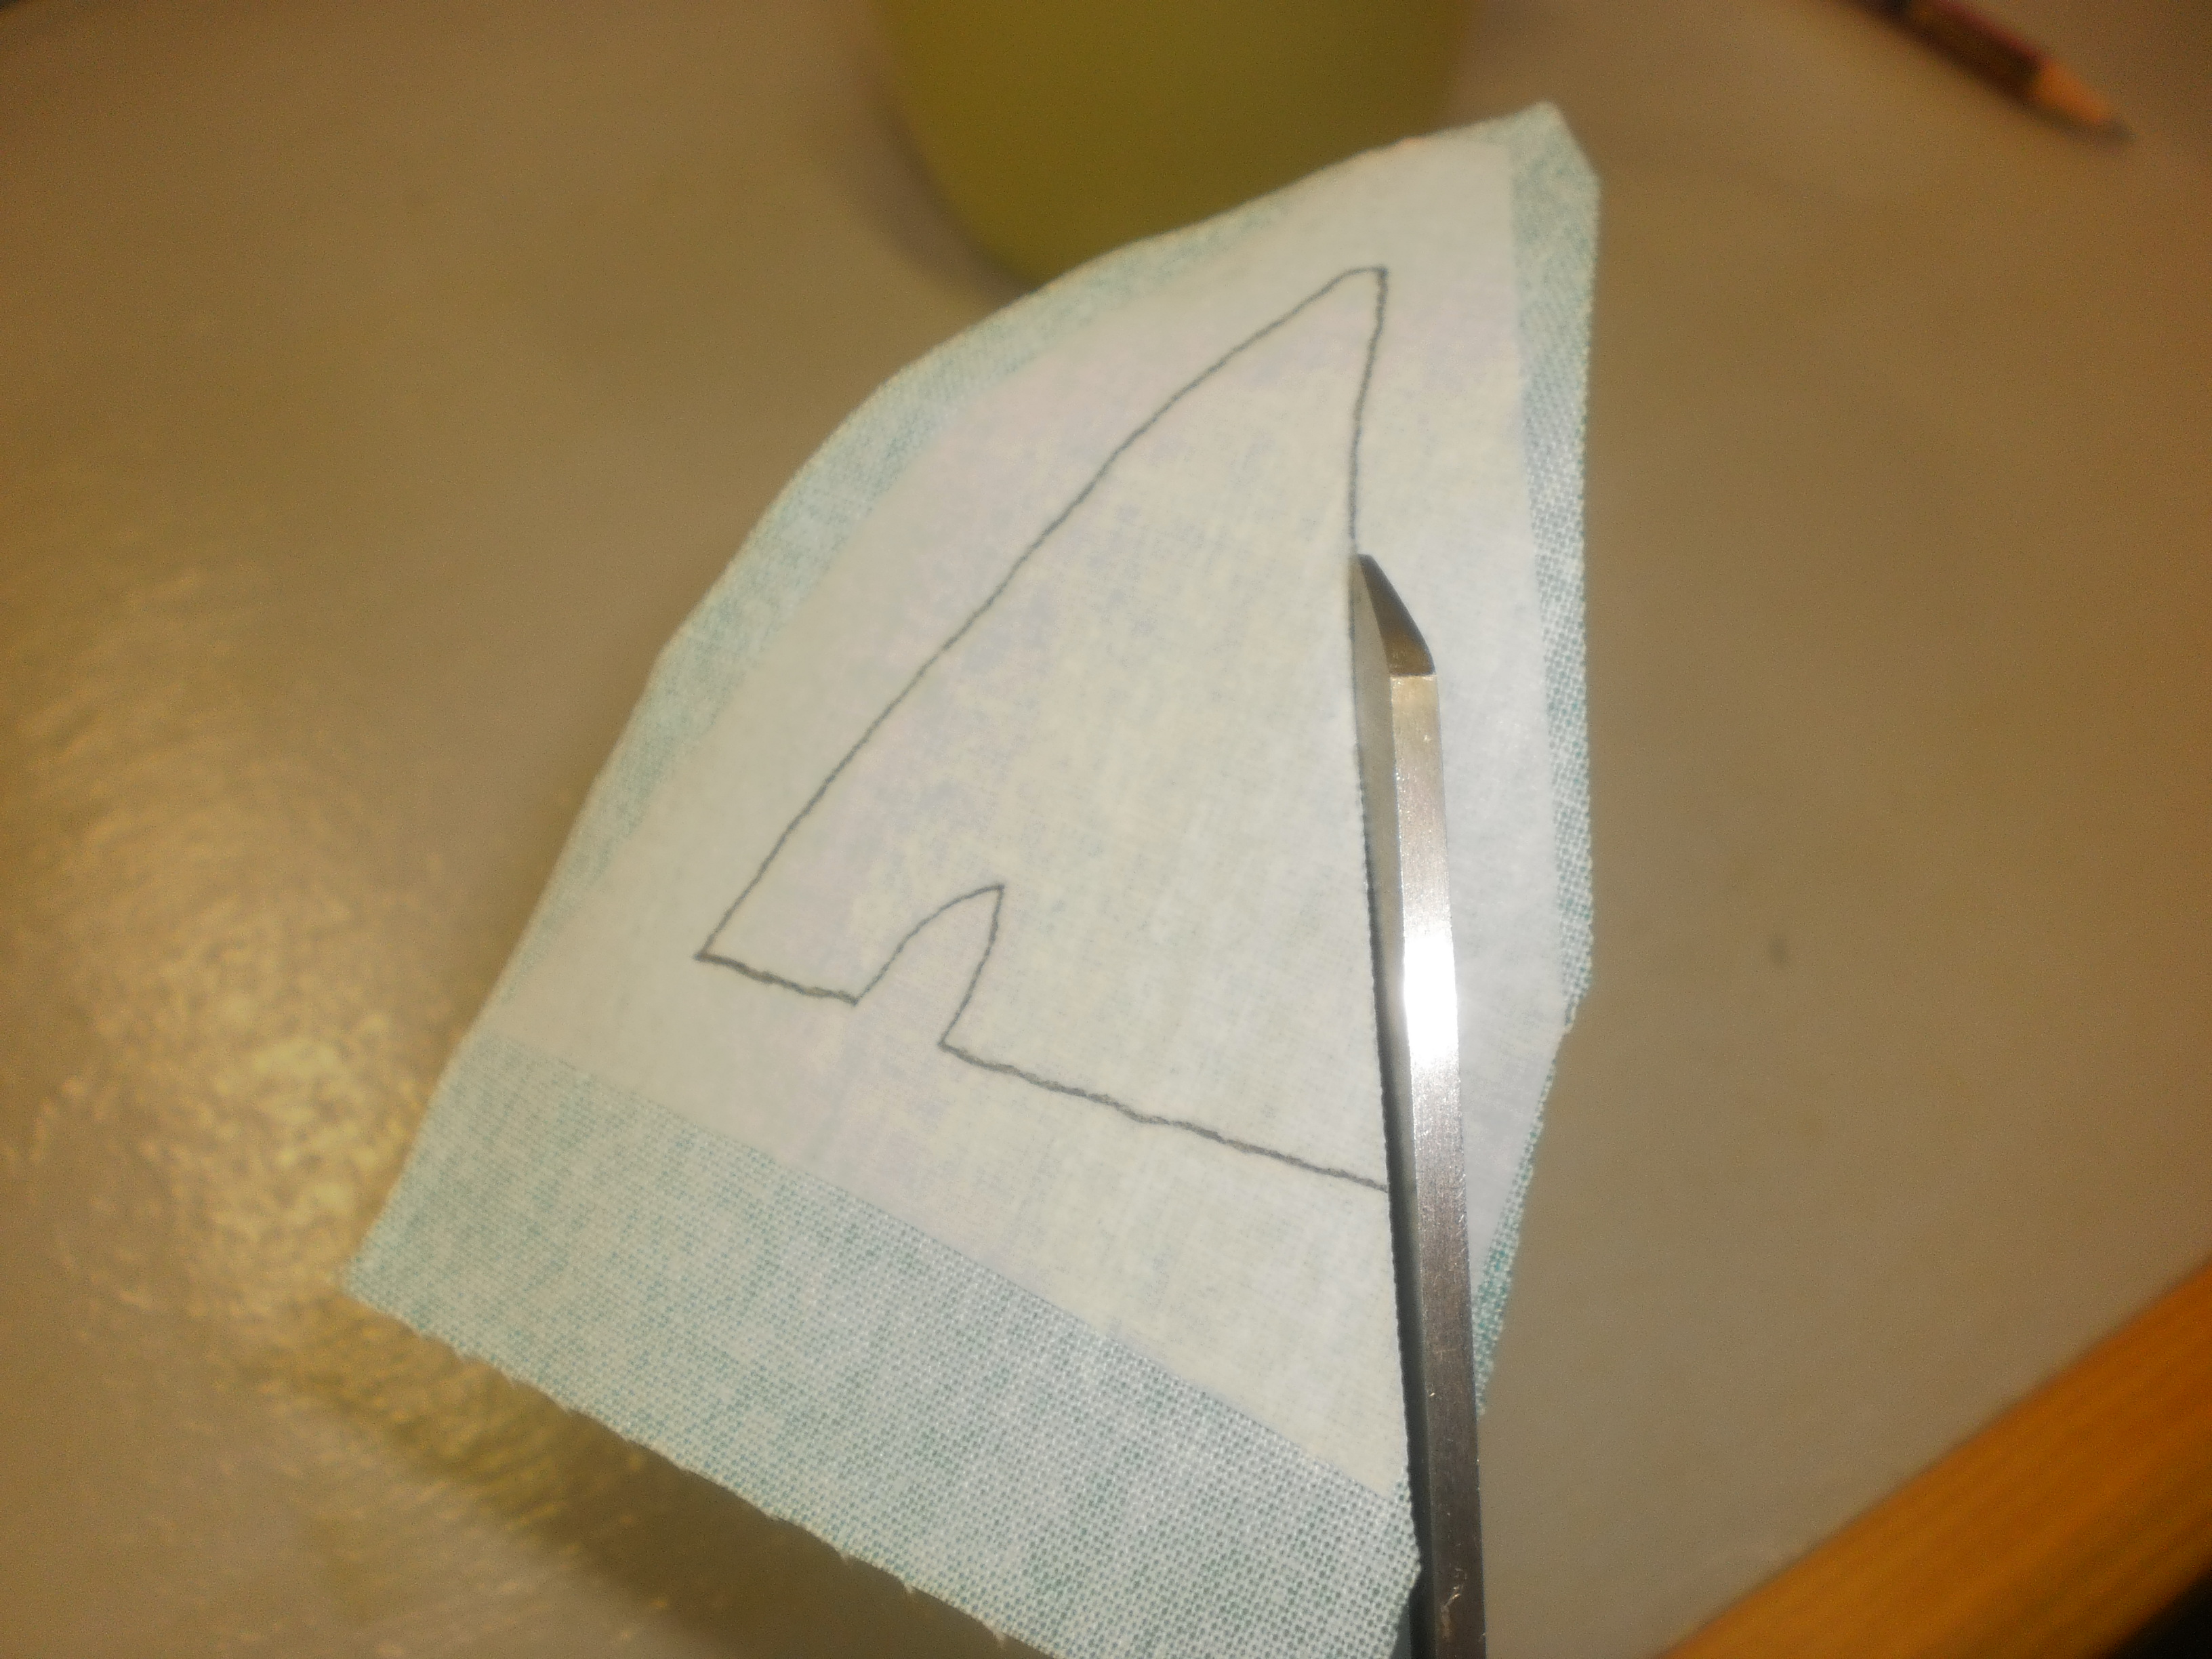
Photo 9: Cut out the letters carefully on the pencil lines with fabric scissors.
Take your 10.5in square of background fabric and fold it in half twice and press to find the centre of the block. Open the block and lay it out right side up on your ironing board.
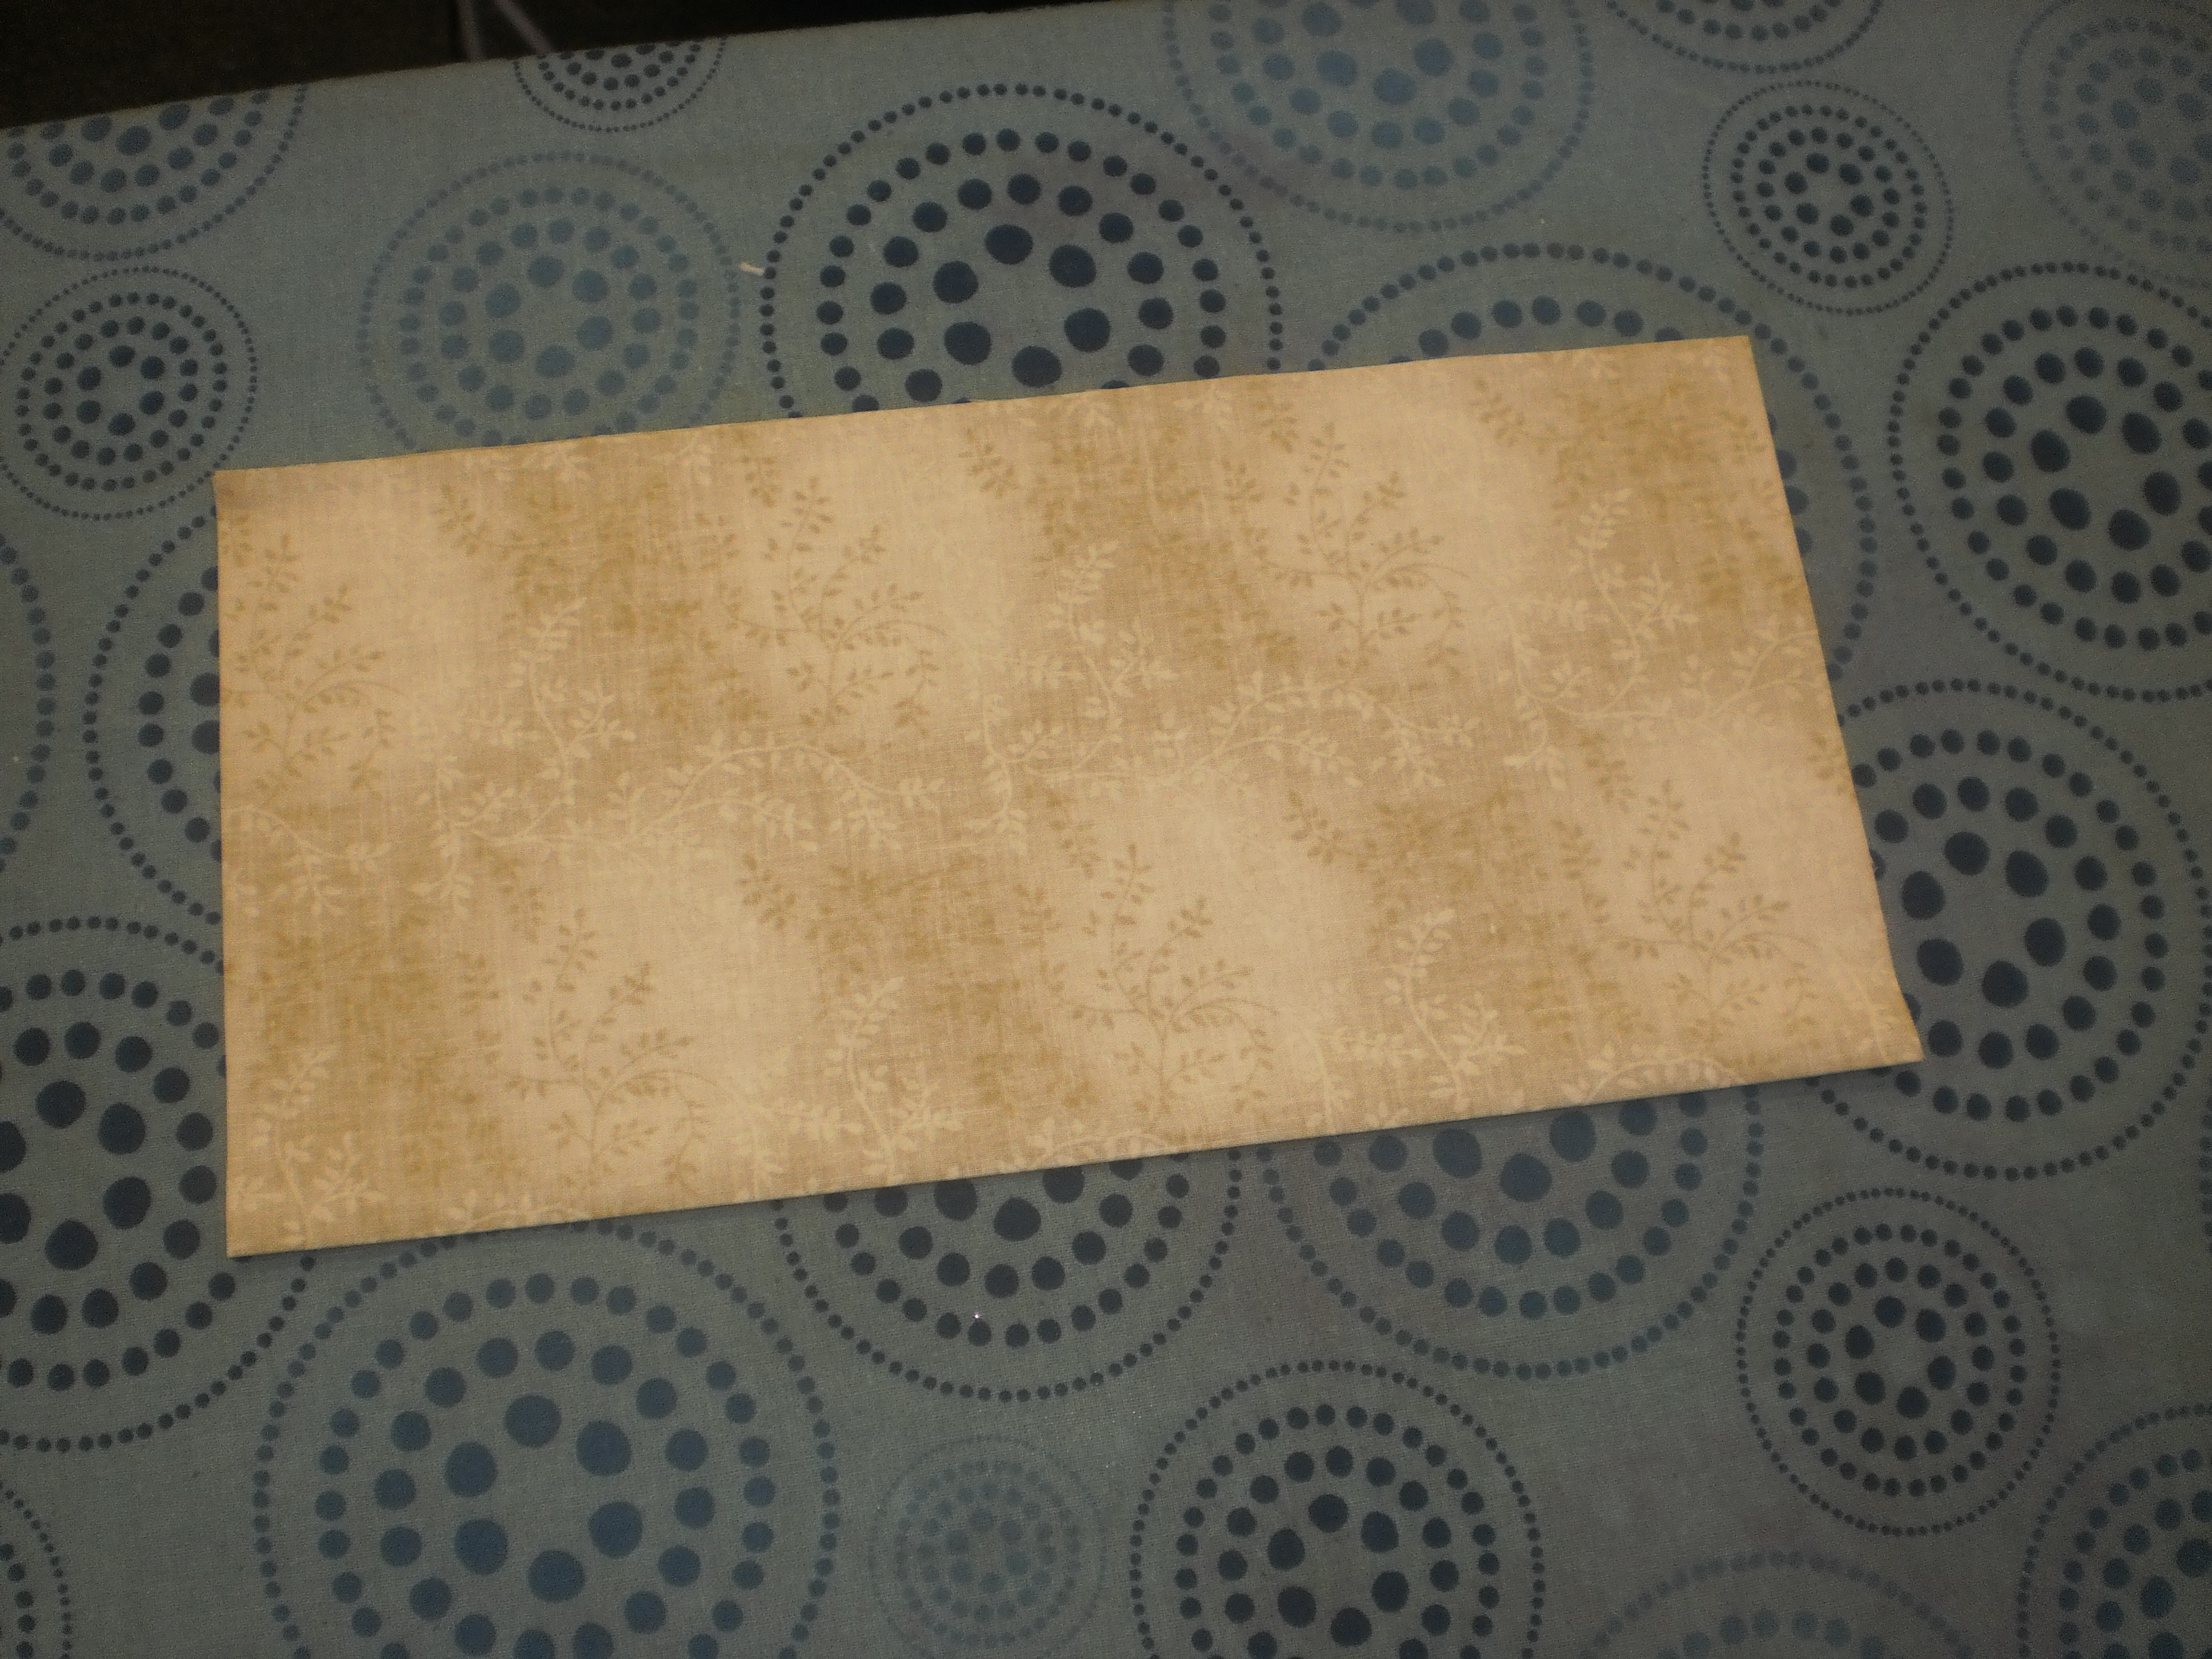
Photo 10: Fold your 10.5in square in half and press.
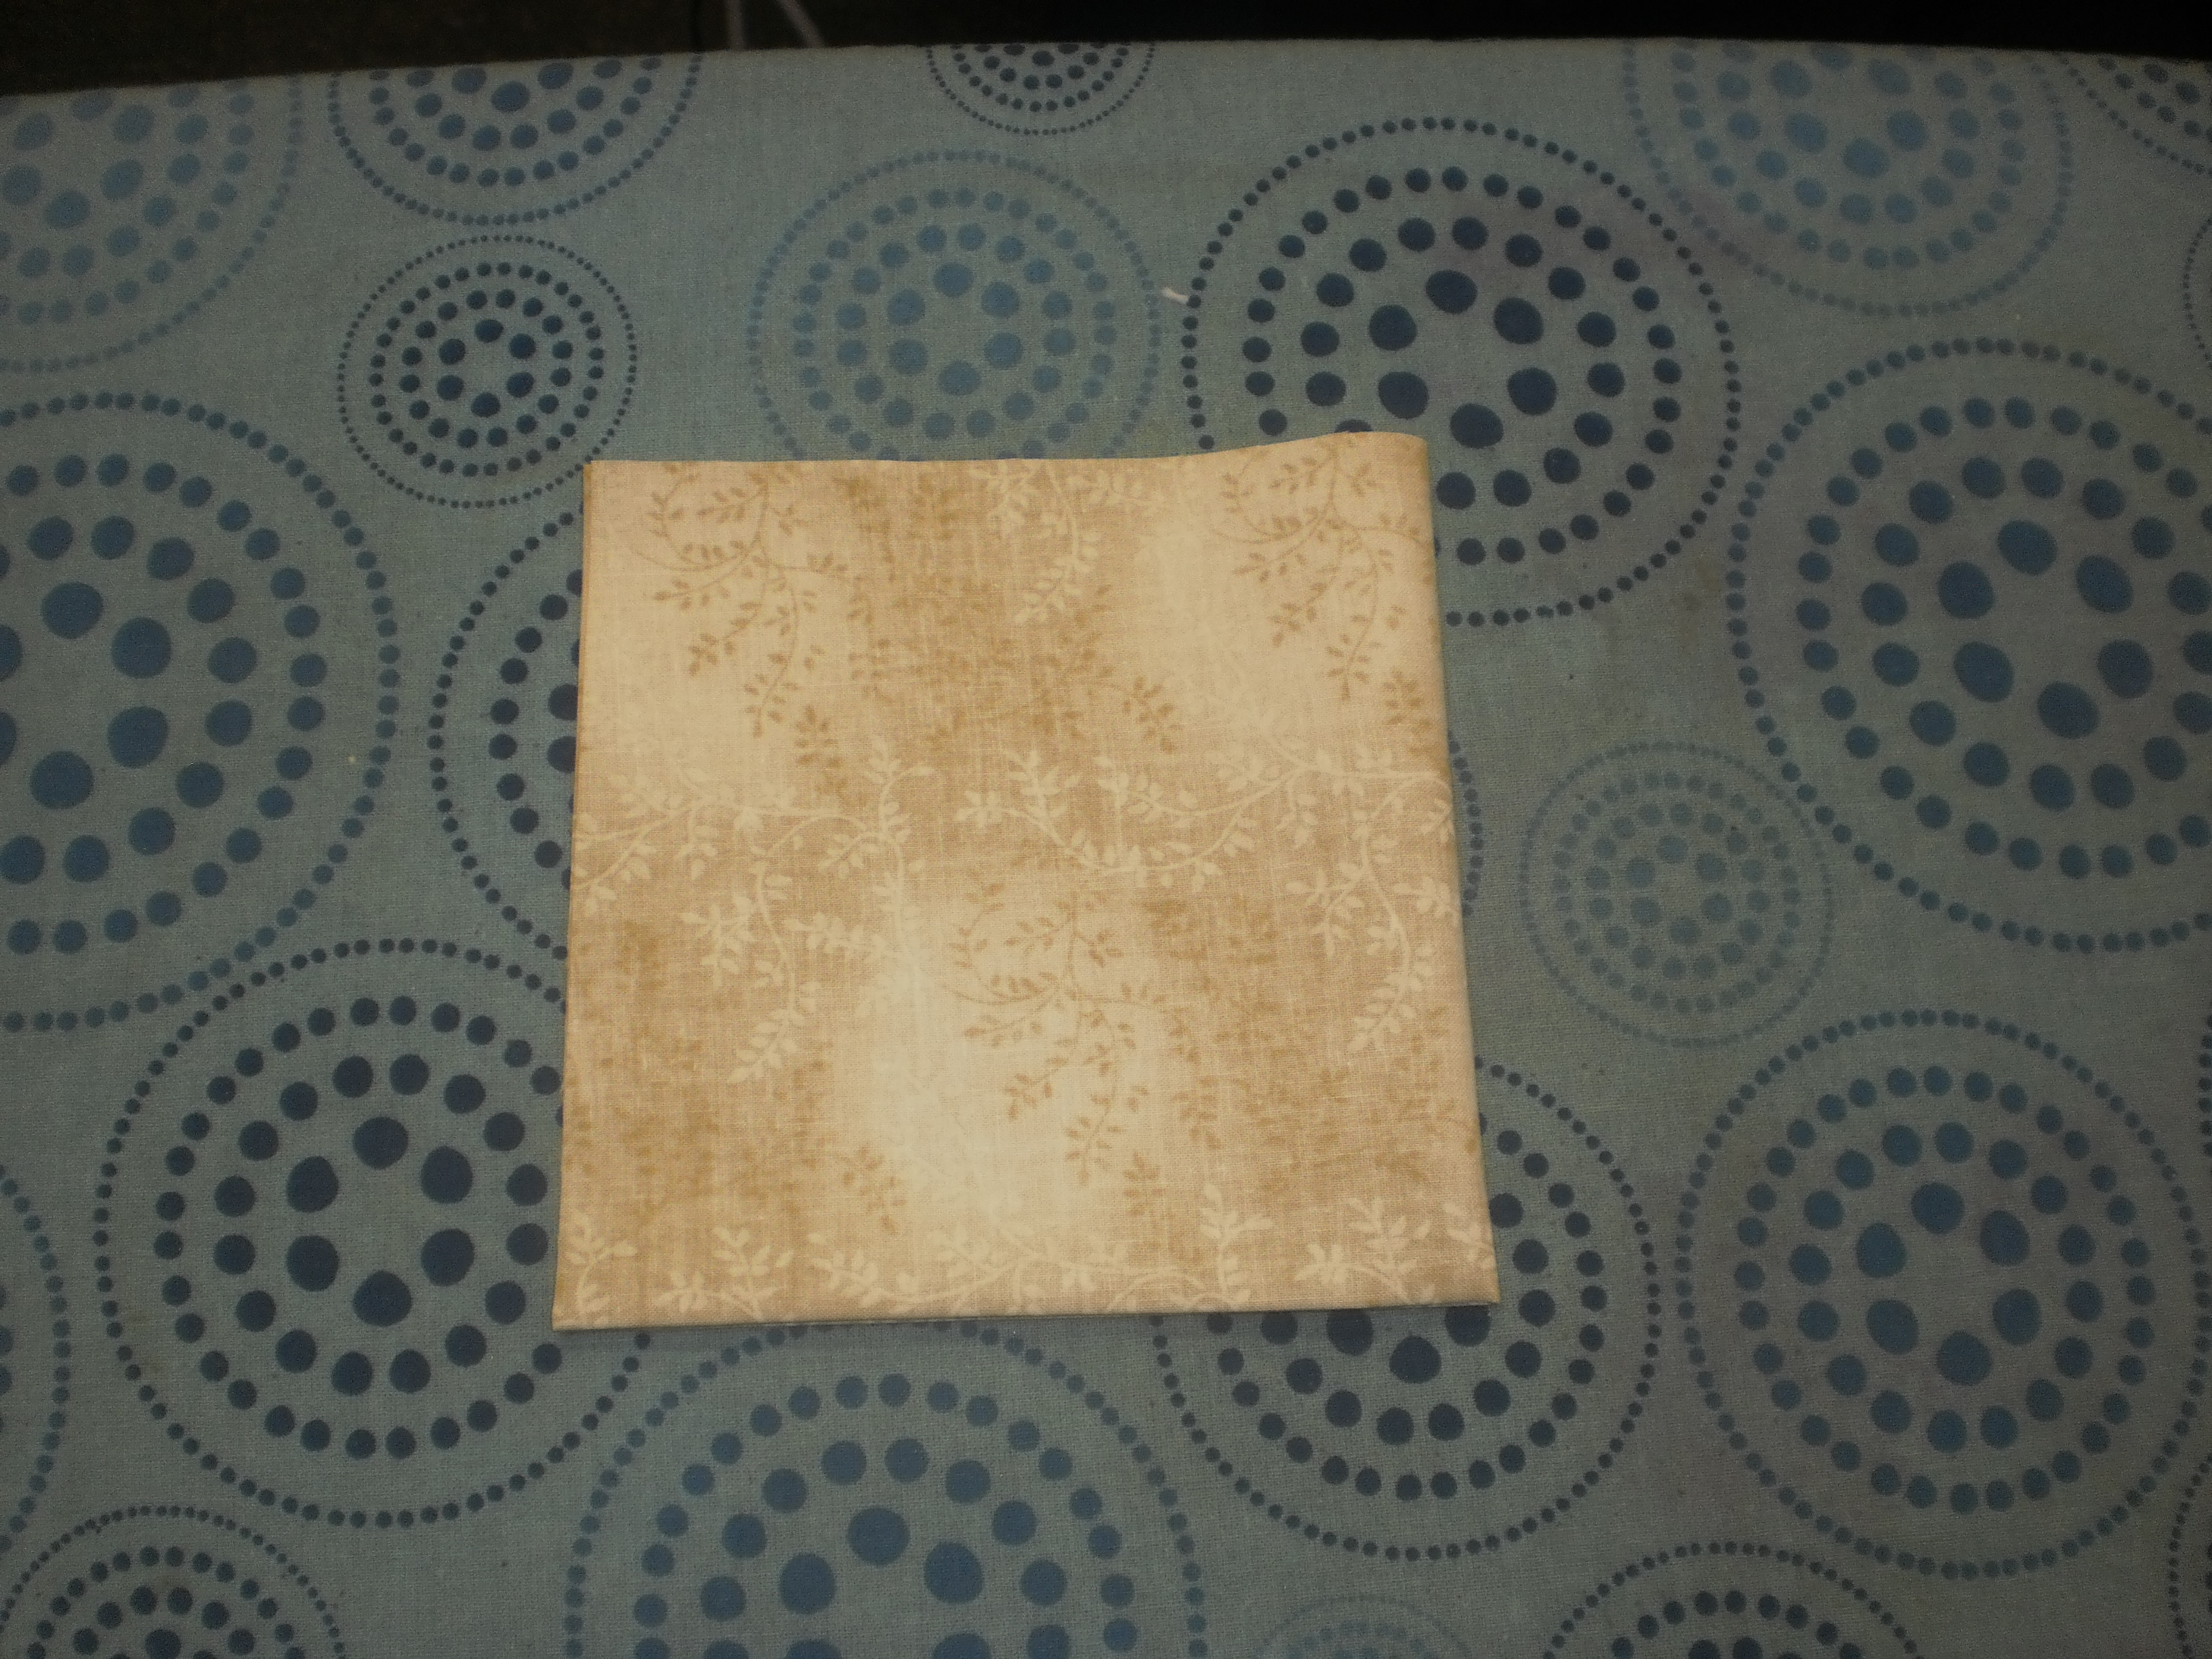
Photo 11: Fold the 10.5in square in half a second time and press.
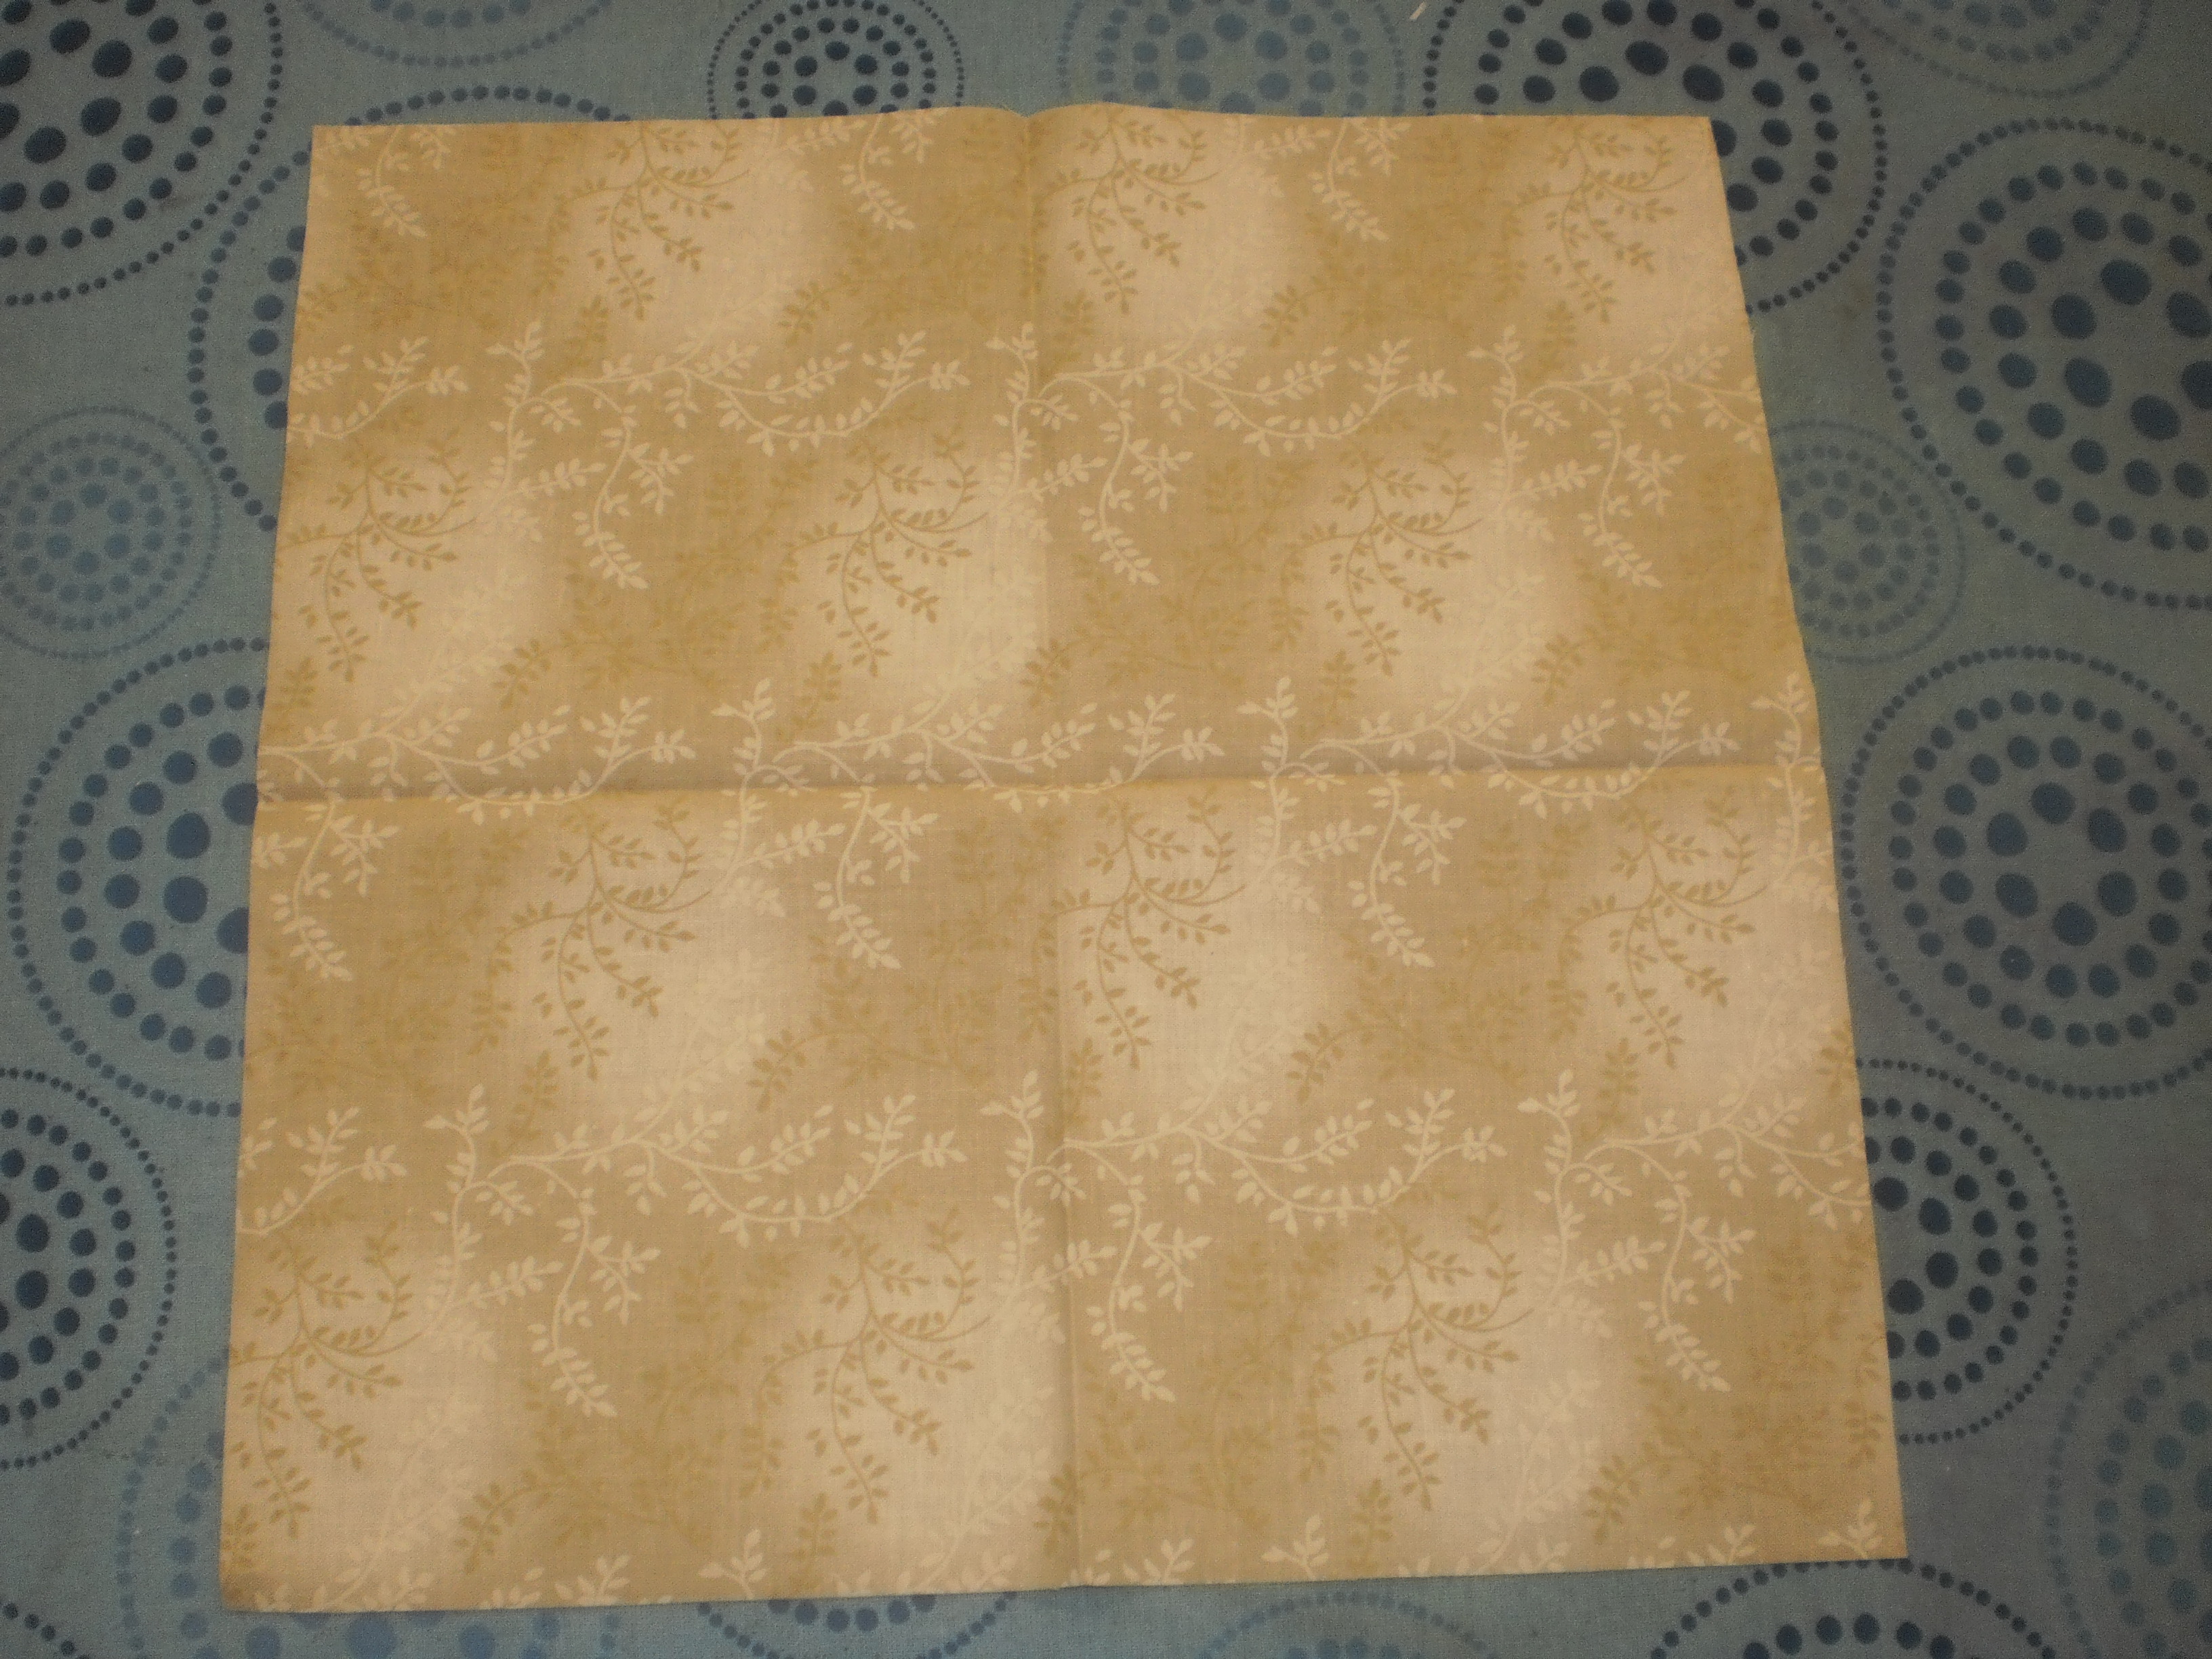
Photo 12: Open the square to reveal the fold lines and the centre of your block.
Peel the paper backing off the letters and place them onto the block – work out your placement using the fold lines.
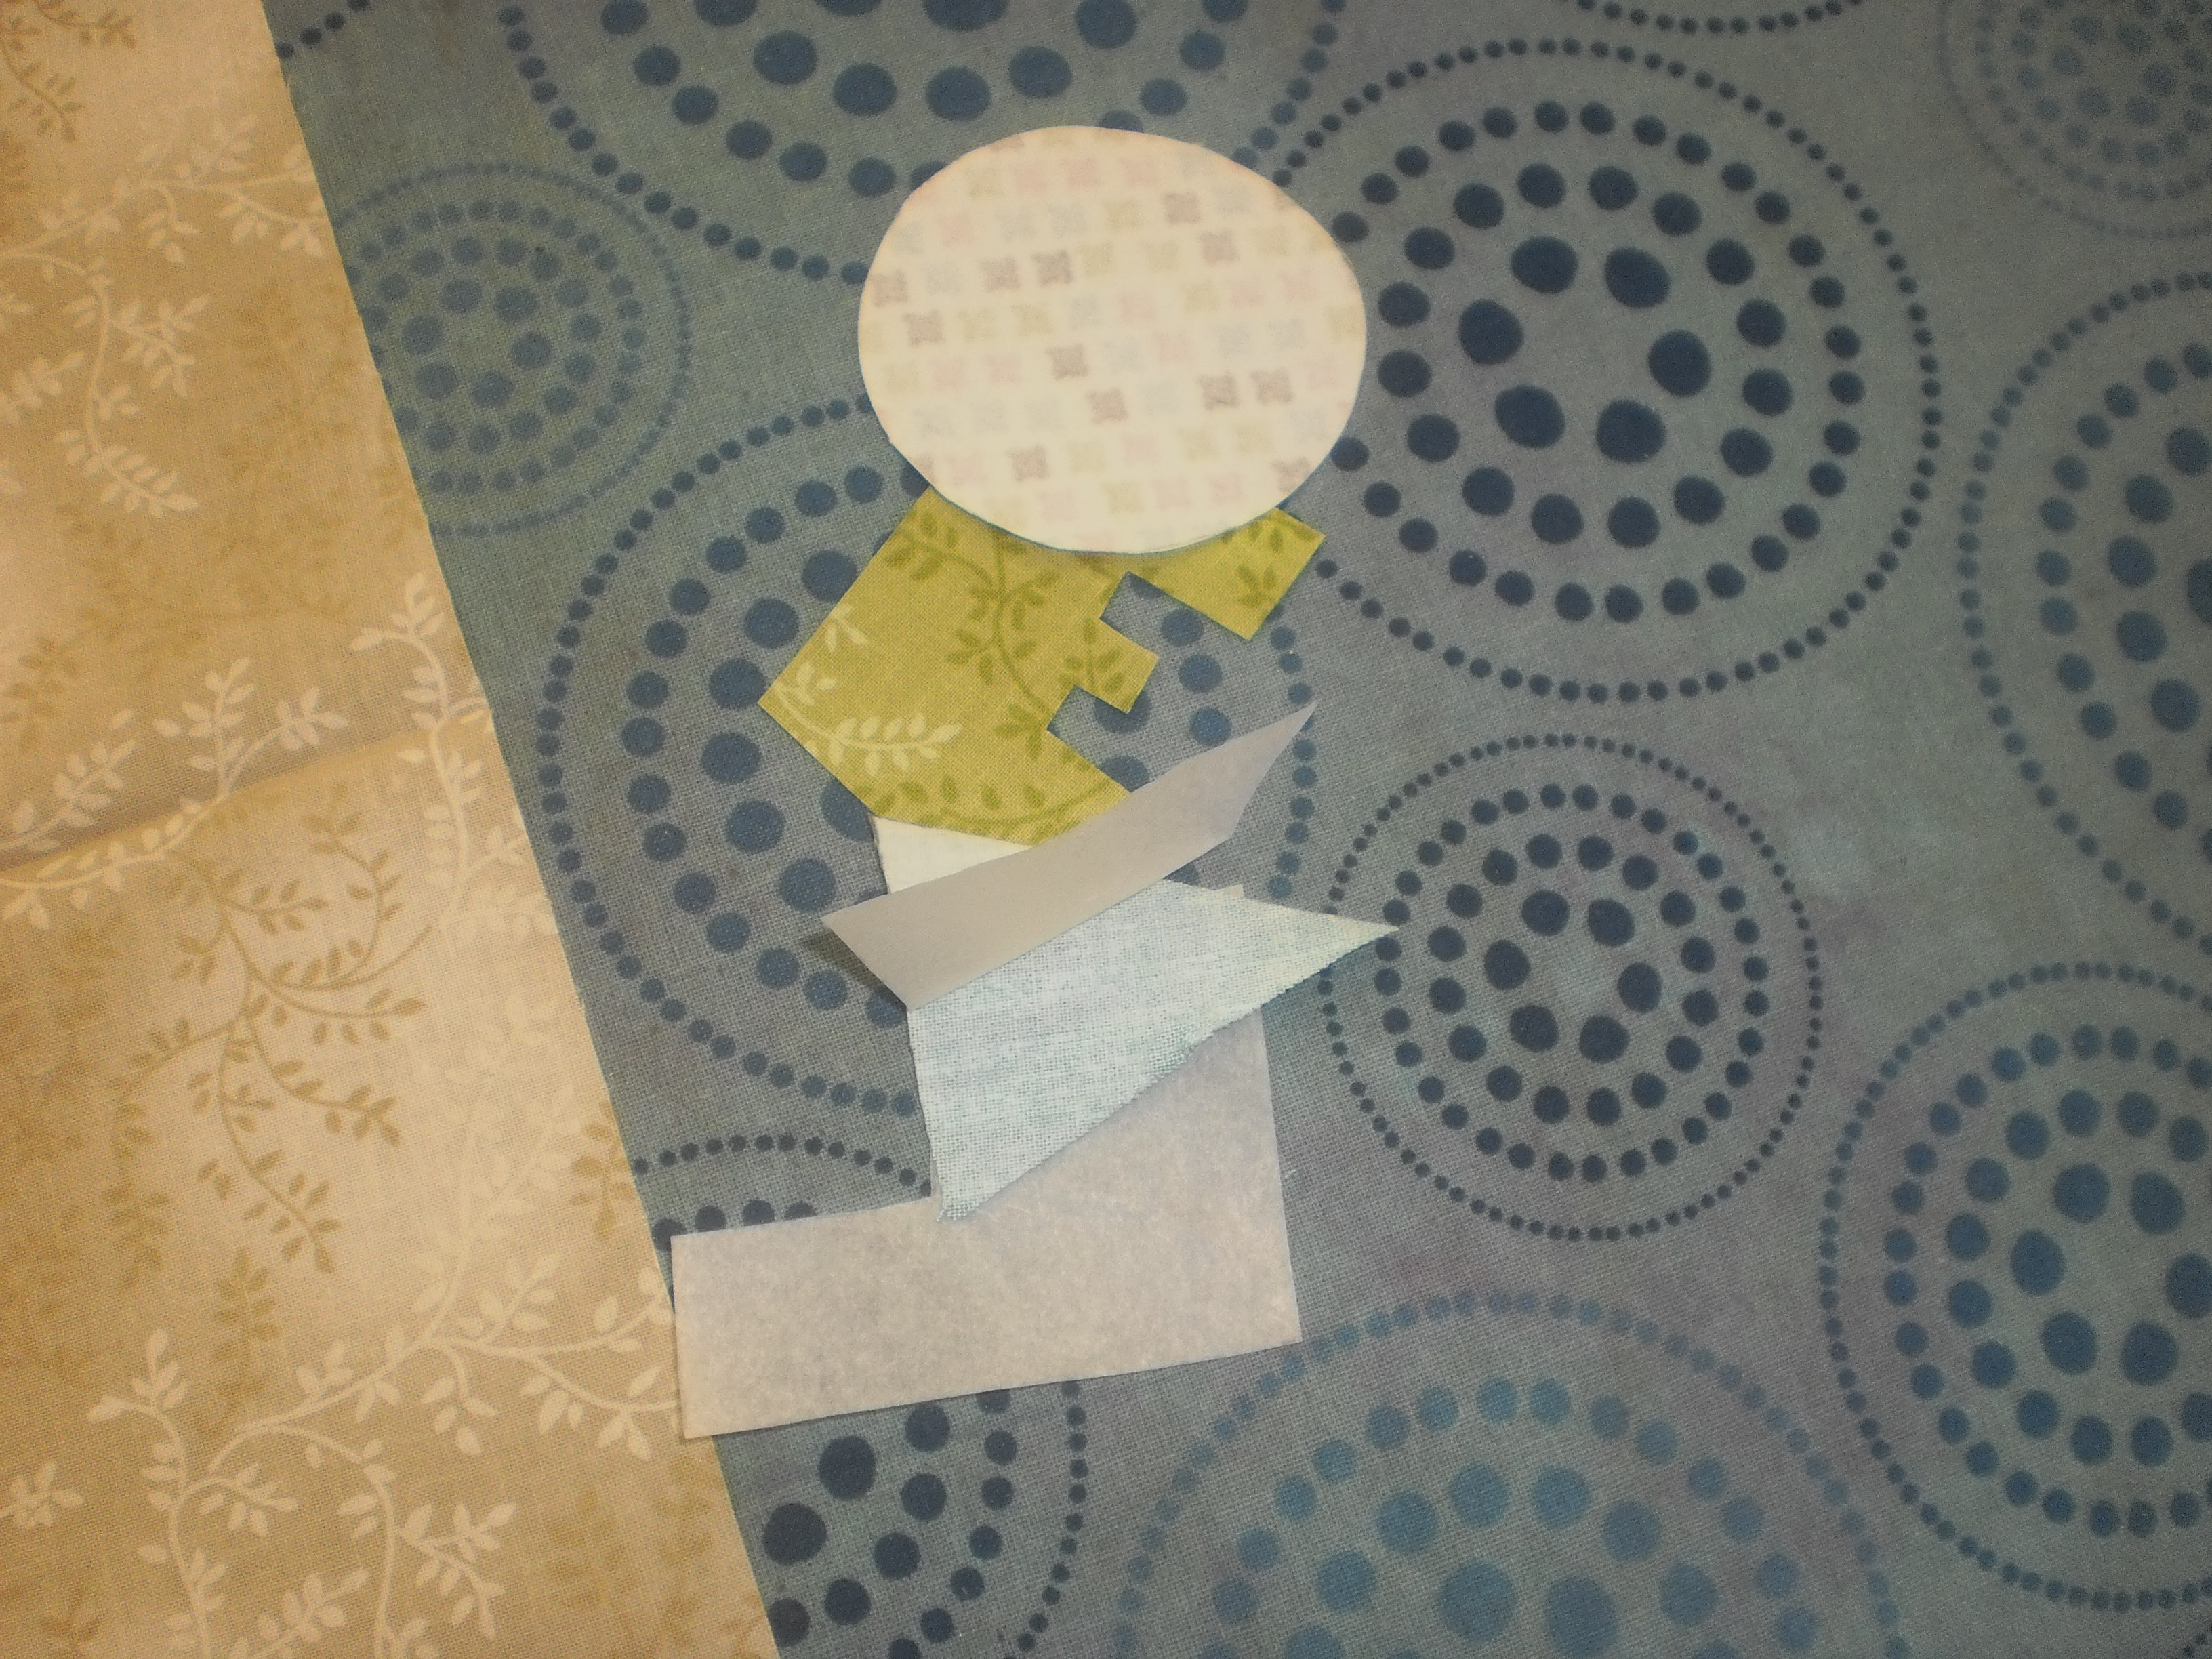
Photo 13: Peel the paper backing off the letters.
Optional: Choose two letters (preferably letters with straight sides) and trim rickrack to fit. To prevent the rickrack from fraying use a small amount of fray stop or melt the ends with a flame. Place rickrack under the edge so it is just peeking out, then press all the letters into place with the iron.
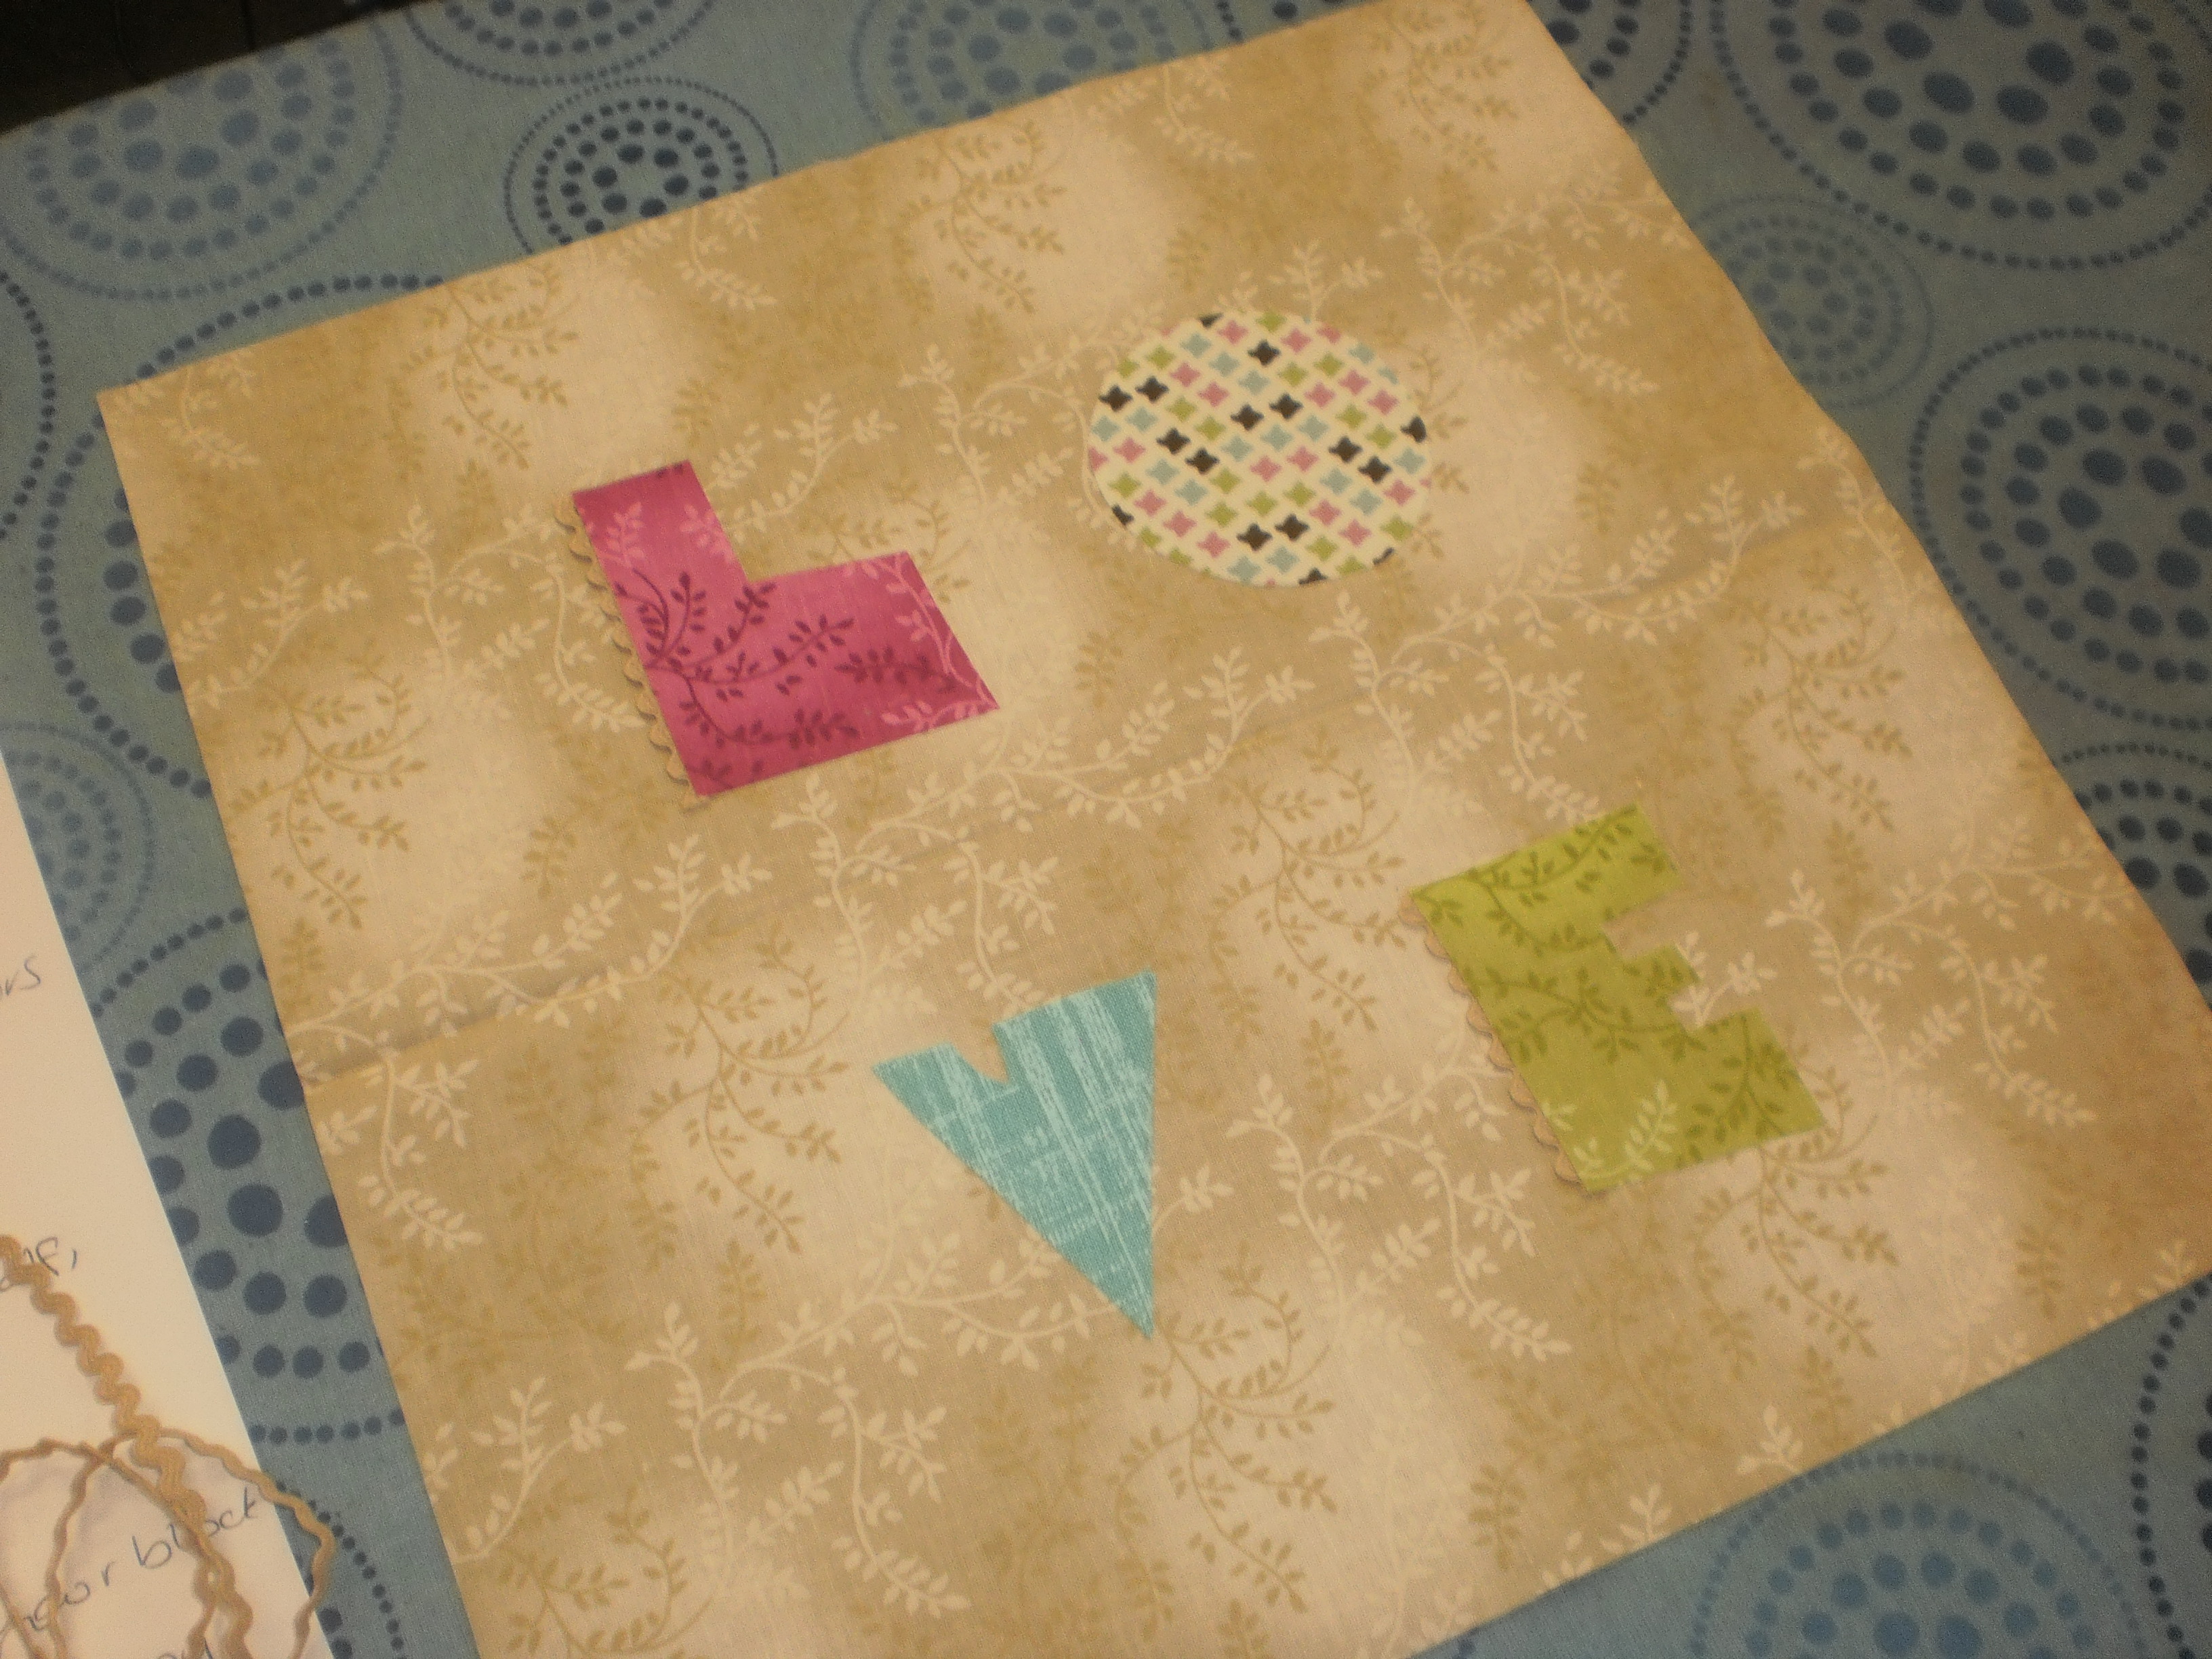
Photo 14: Lay out your letters, evenly spaced from the centre of the block.
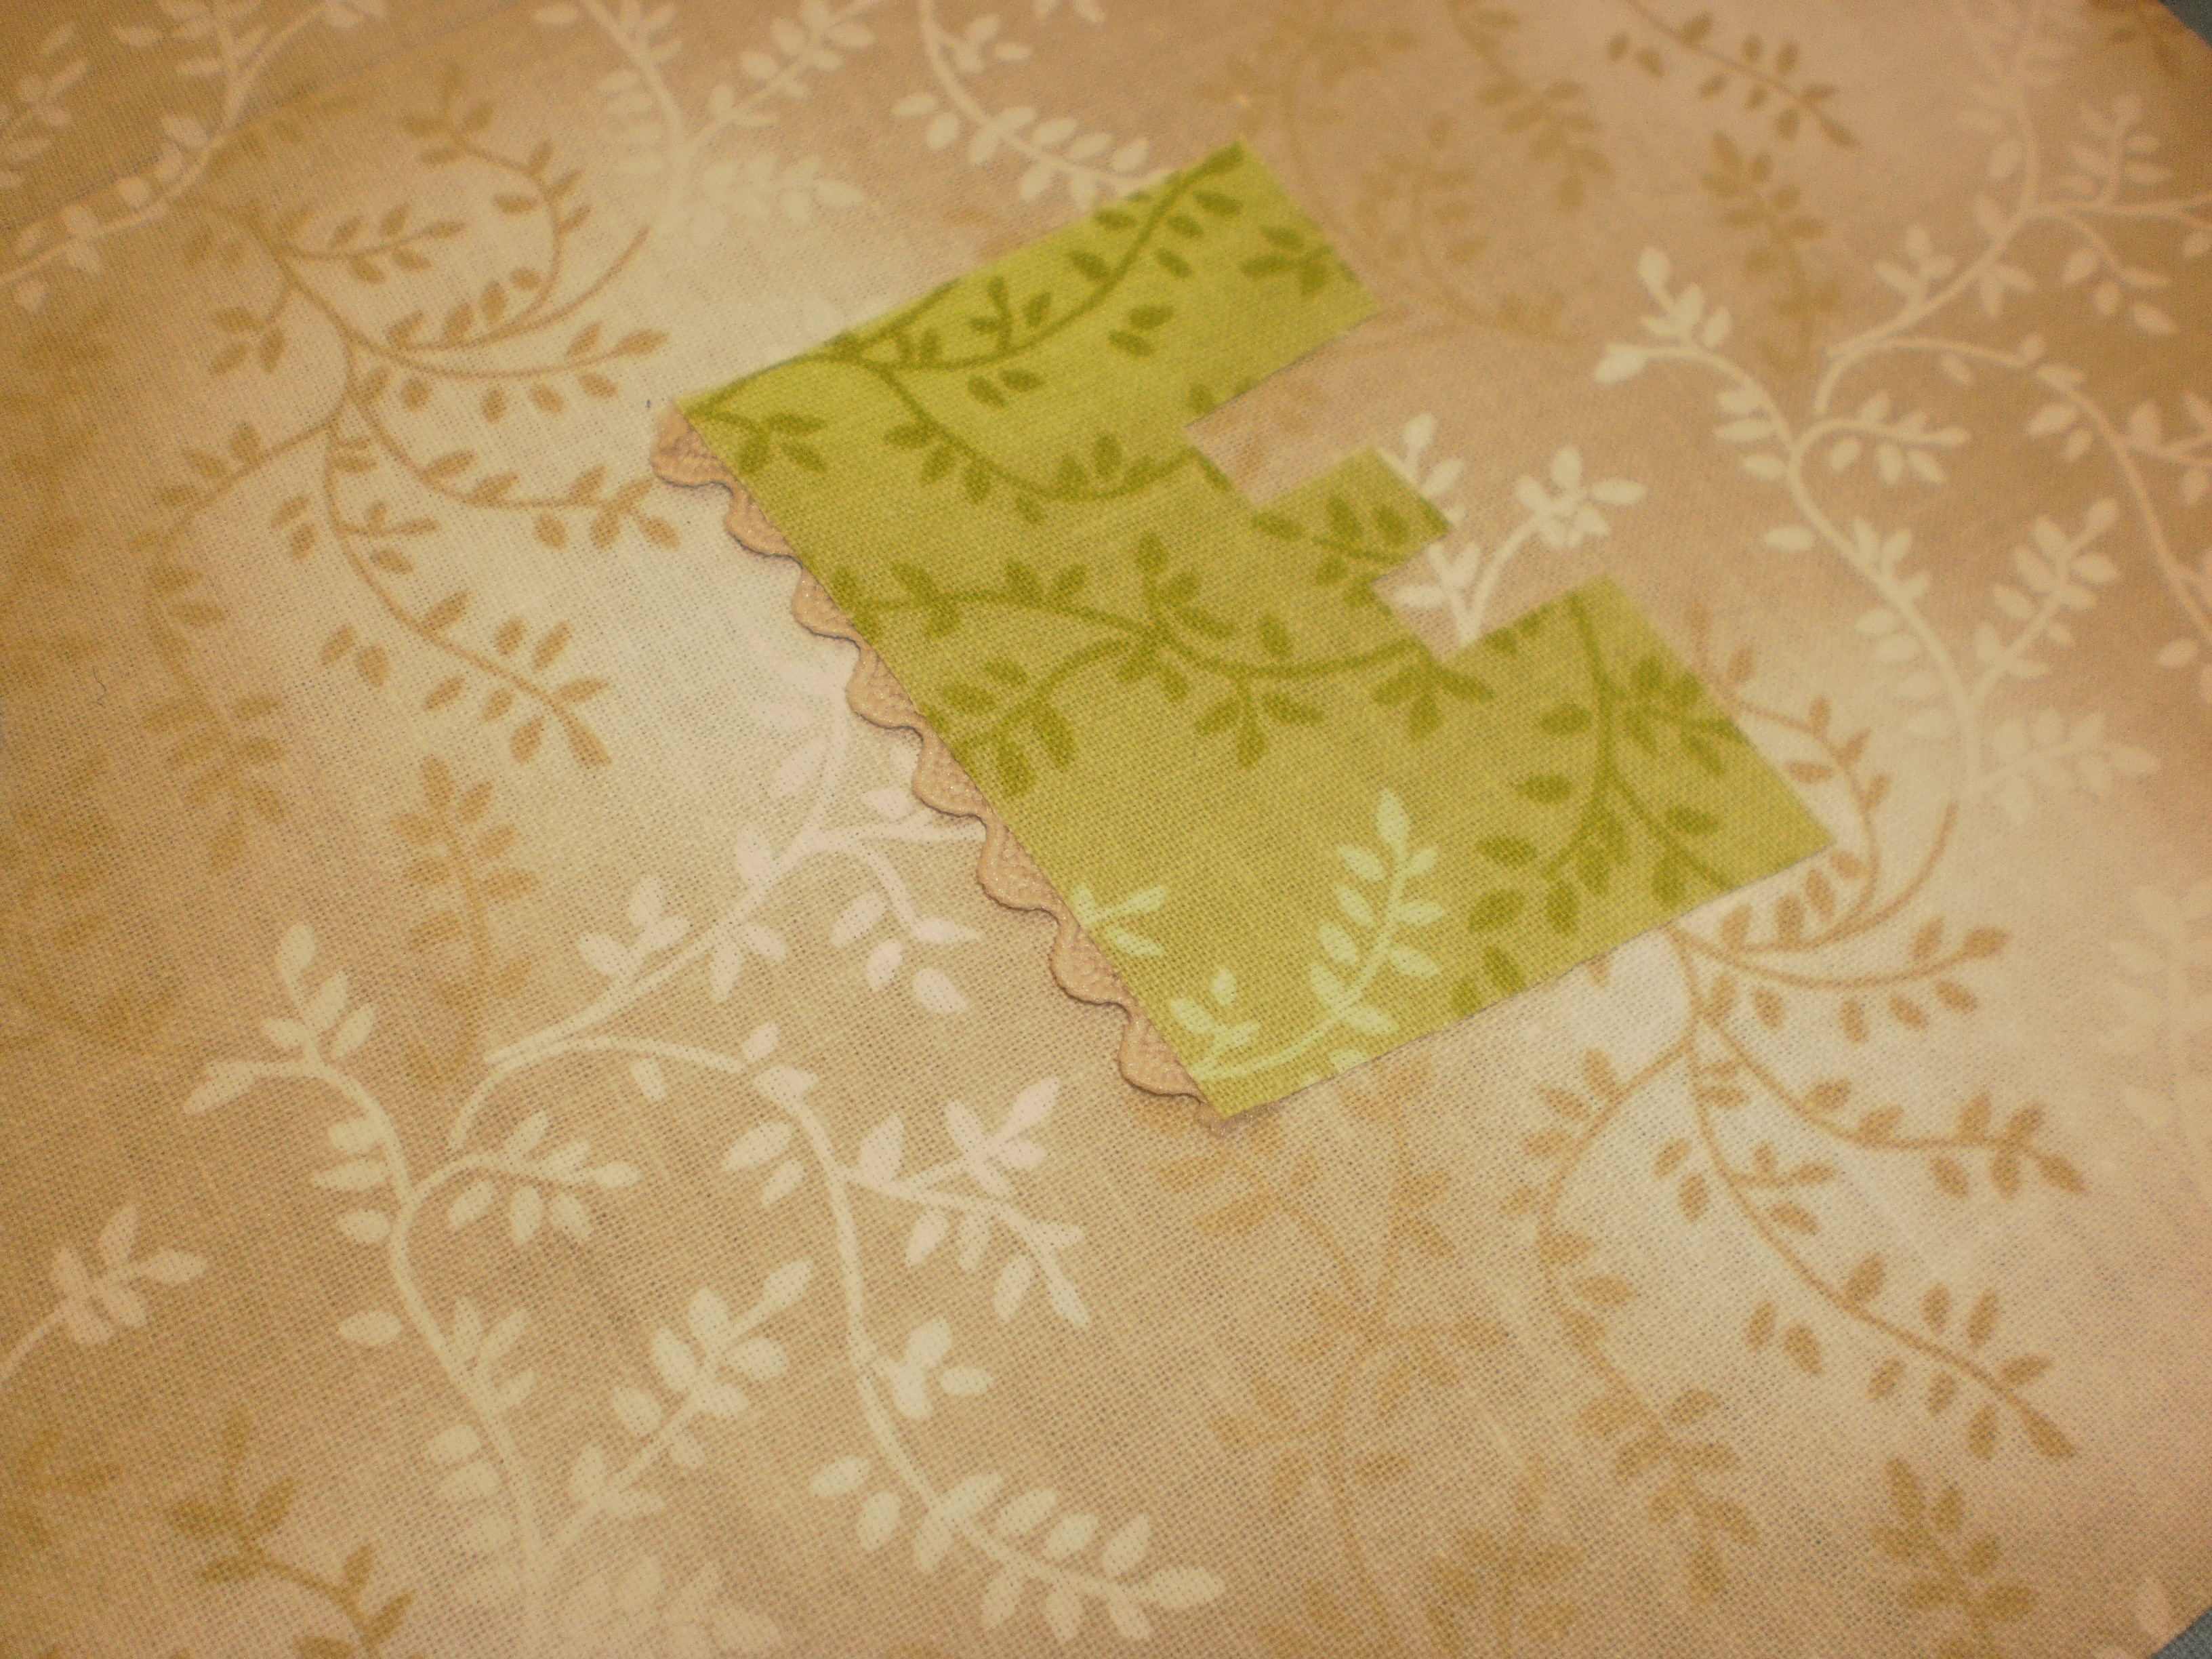
Photo 15: (Optional) Choose two letters (preferably letters with straight sides) and trim rickrack to fit. Place rickrack under the edge so it is just peeking out, then press all the letters into place with the iron.
If you aren’t going to use the rickrack press the letters in place when you are happy with their positions.
Take a square of Stitch-N-Tear the same size as your block and pin it to the back of the block.
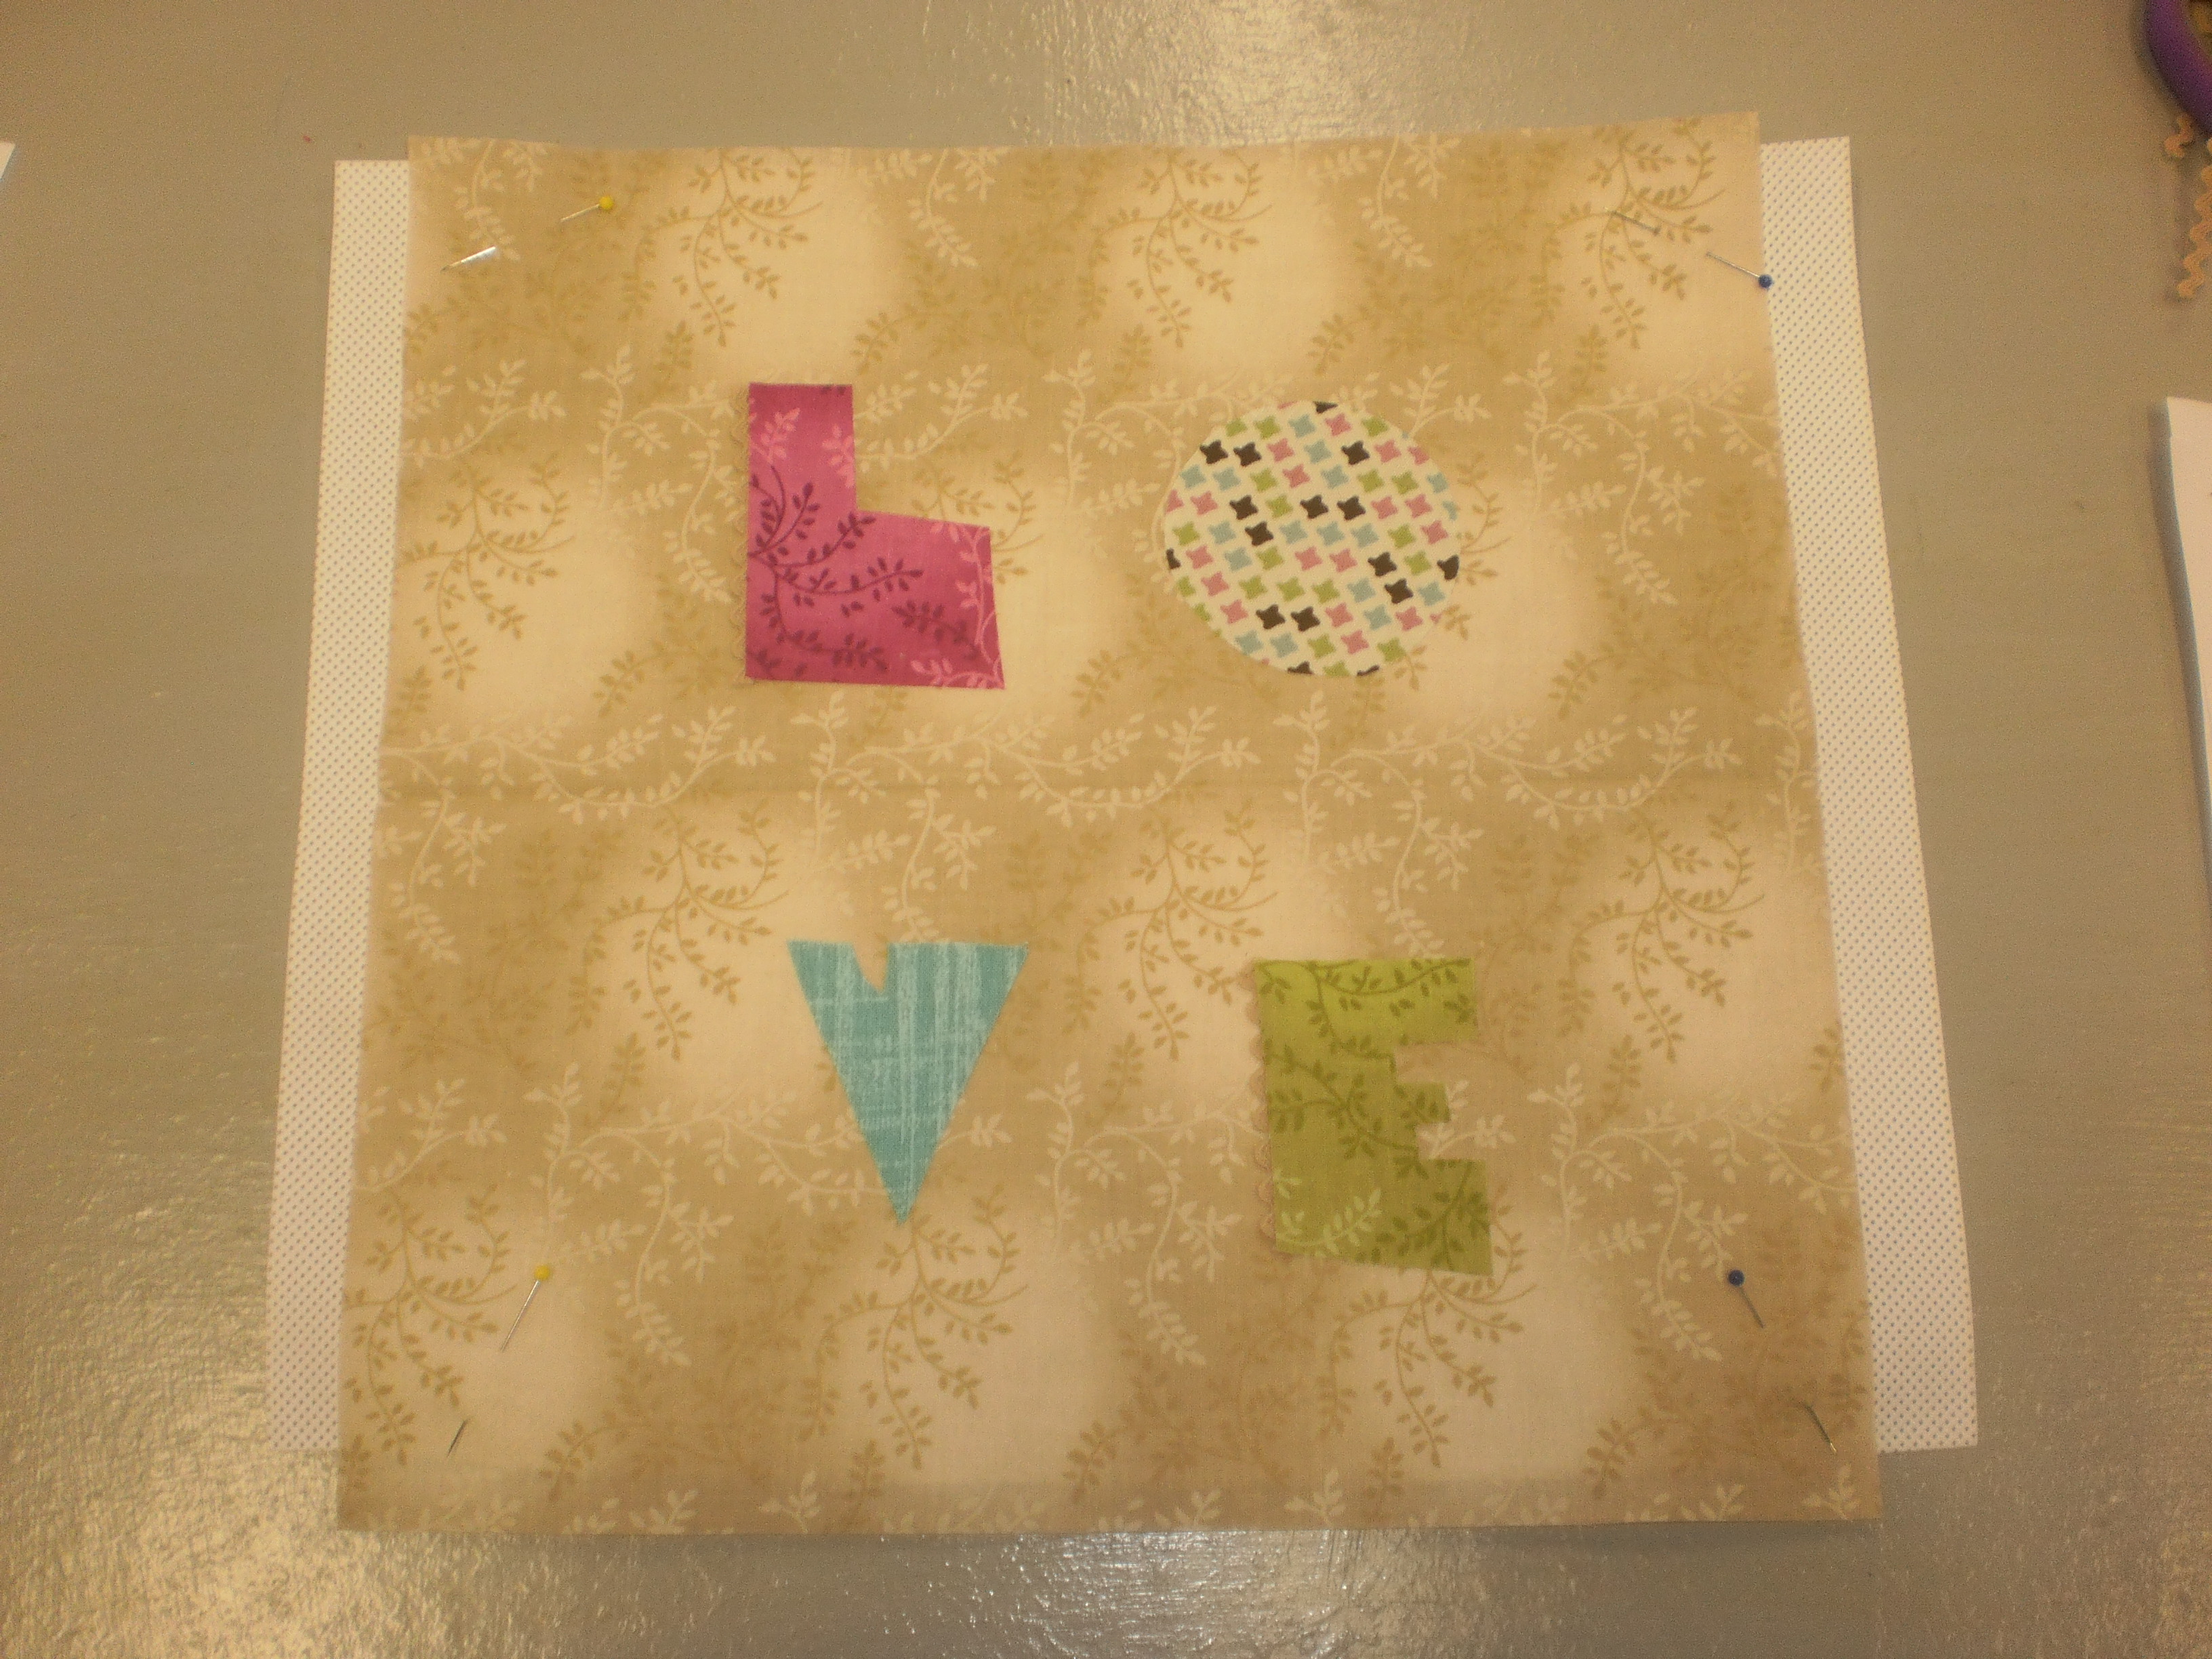
Photo 16: Take a square of Stitch-N-Tear and pin to the back of your block.
Set up your machine with the open-toe embroidery foot, neutral bobbin thread (white, grey, beige etc) and the thread that matches your first shape.
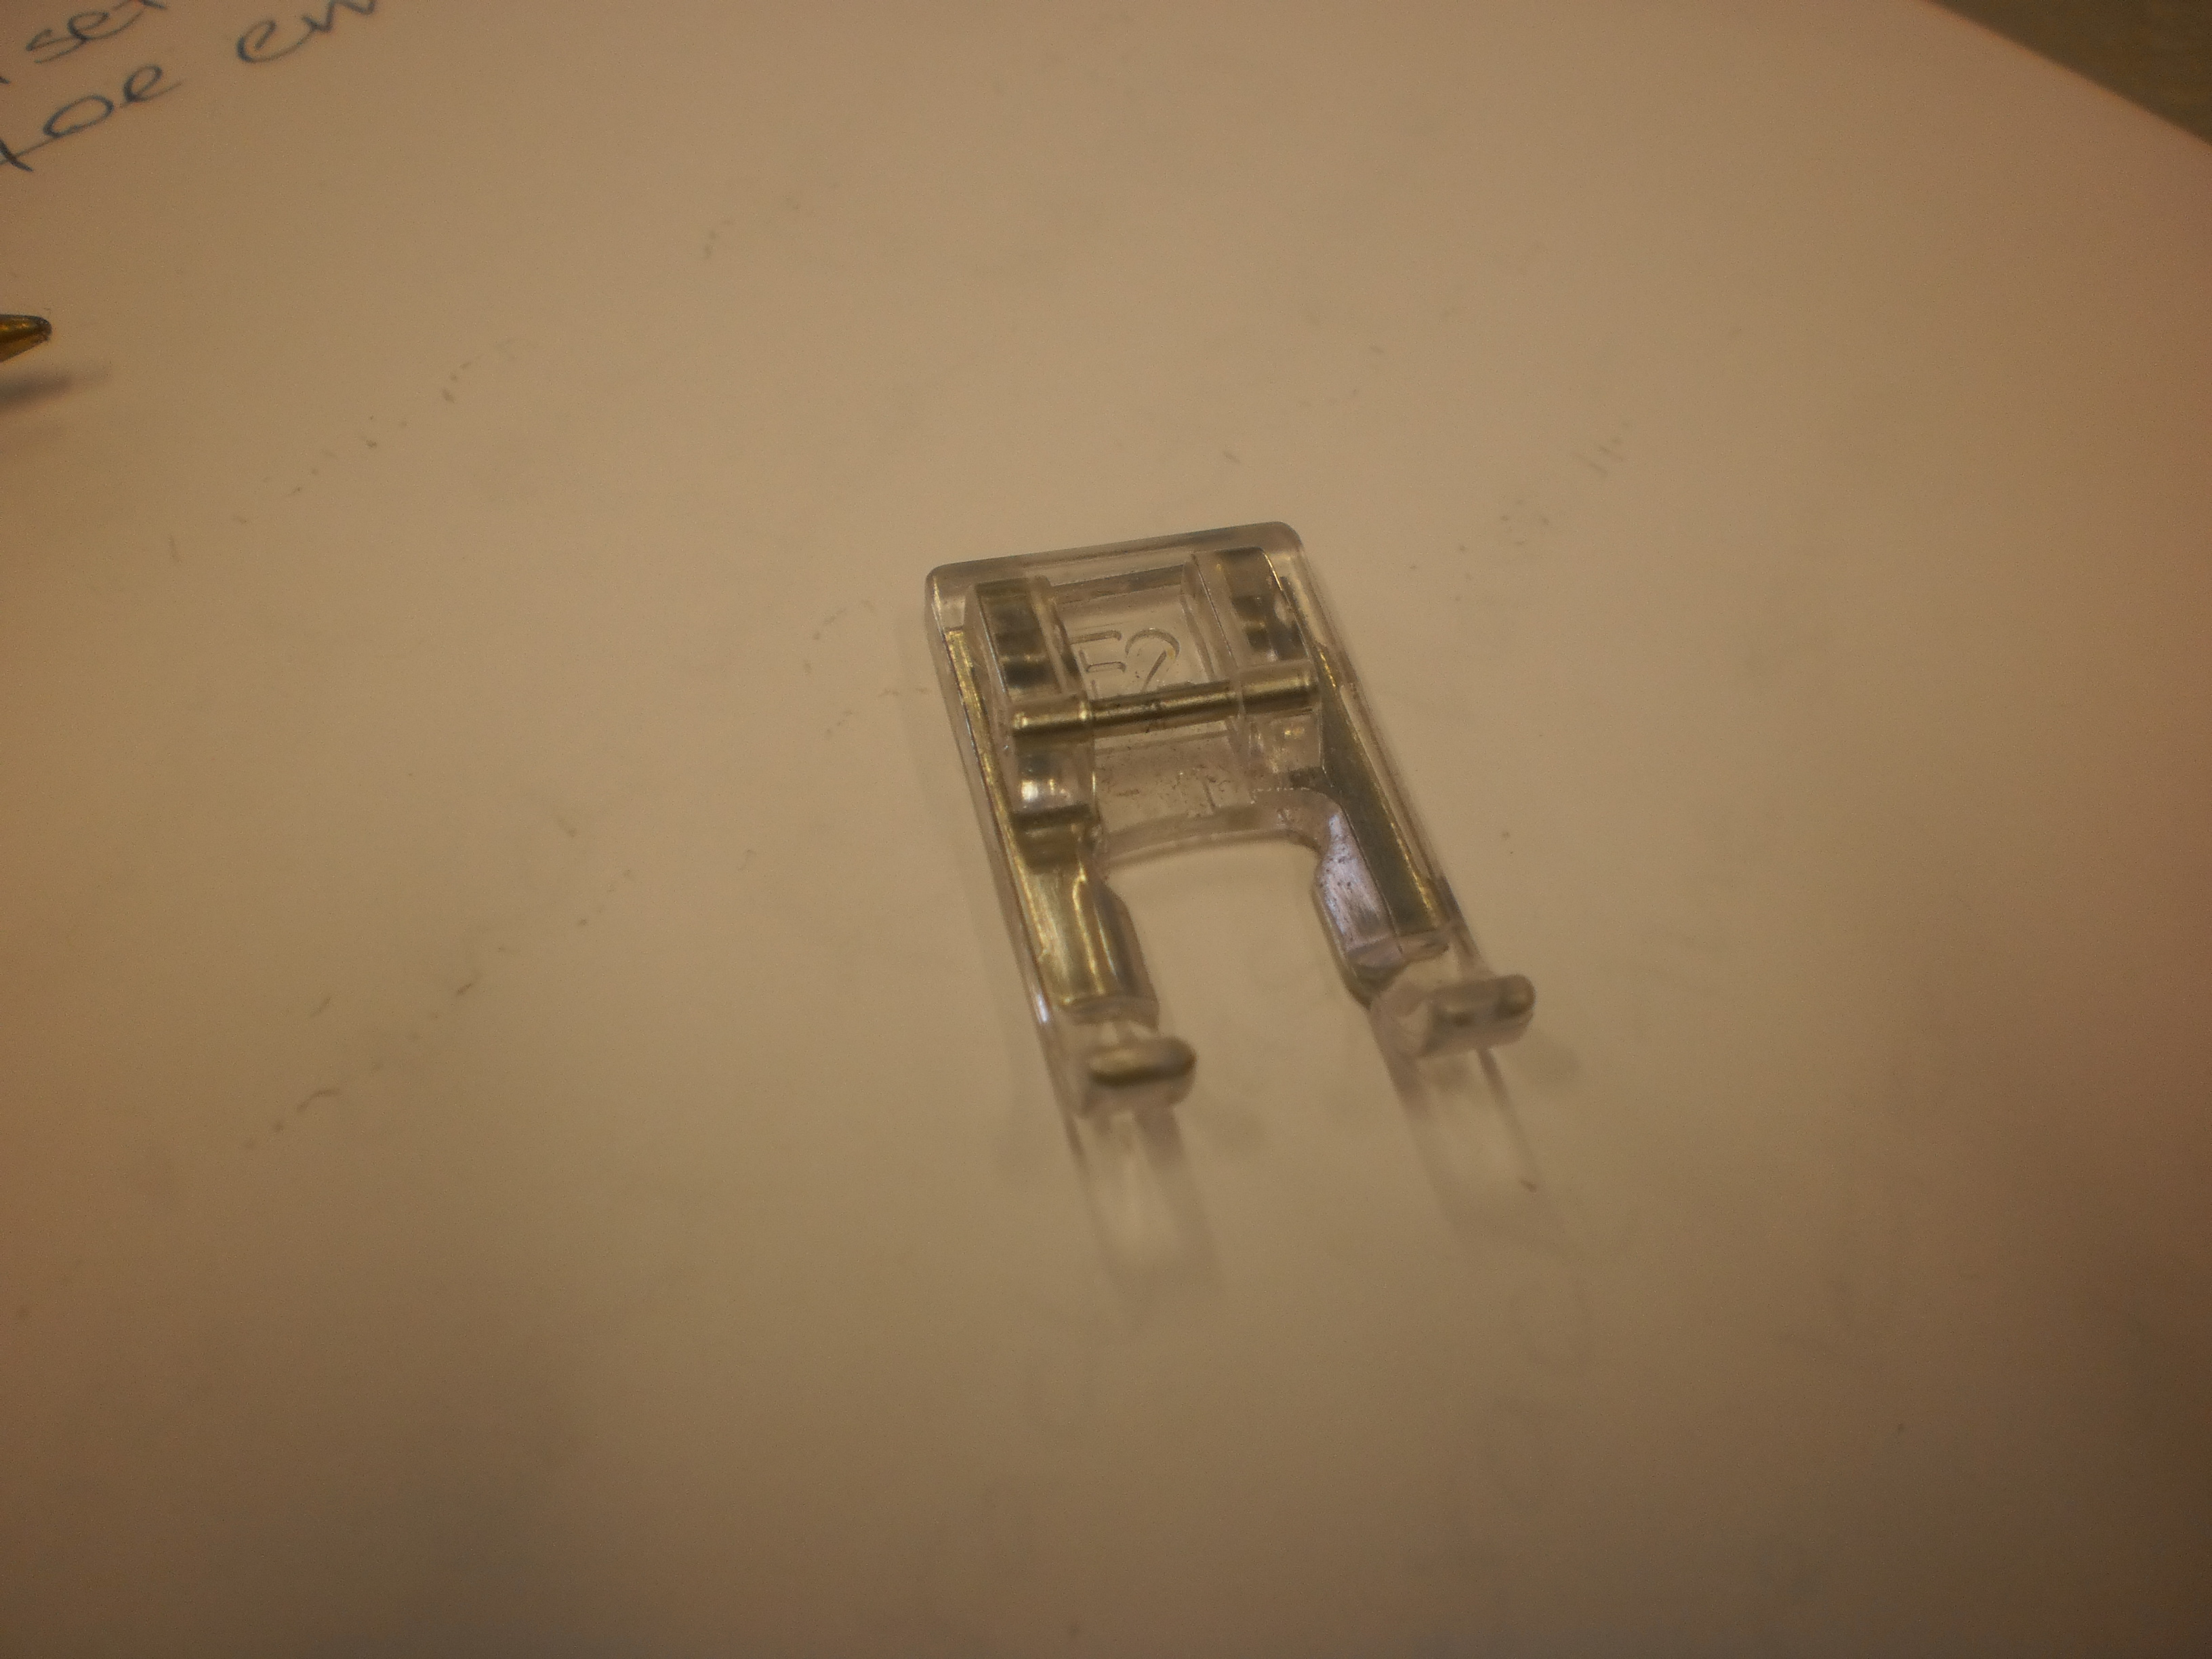
Photo 17: Set up your machine with a small zigzag stitch and an open-toe embroidery foot.
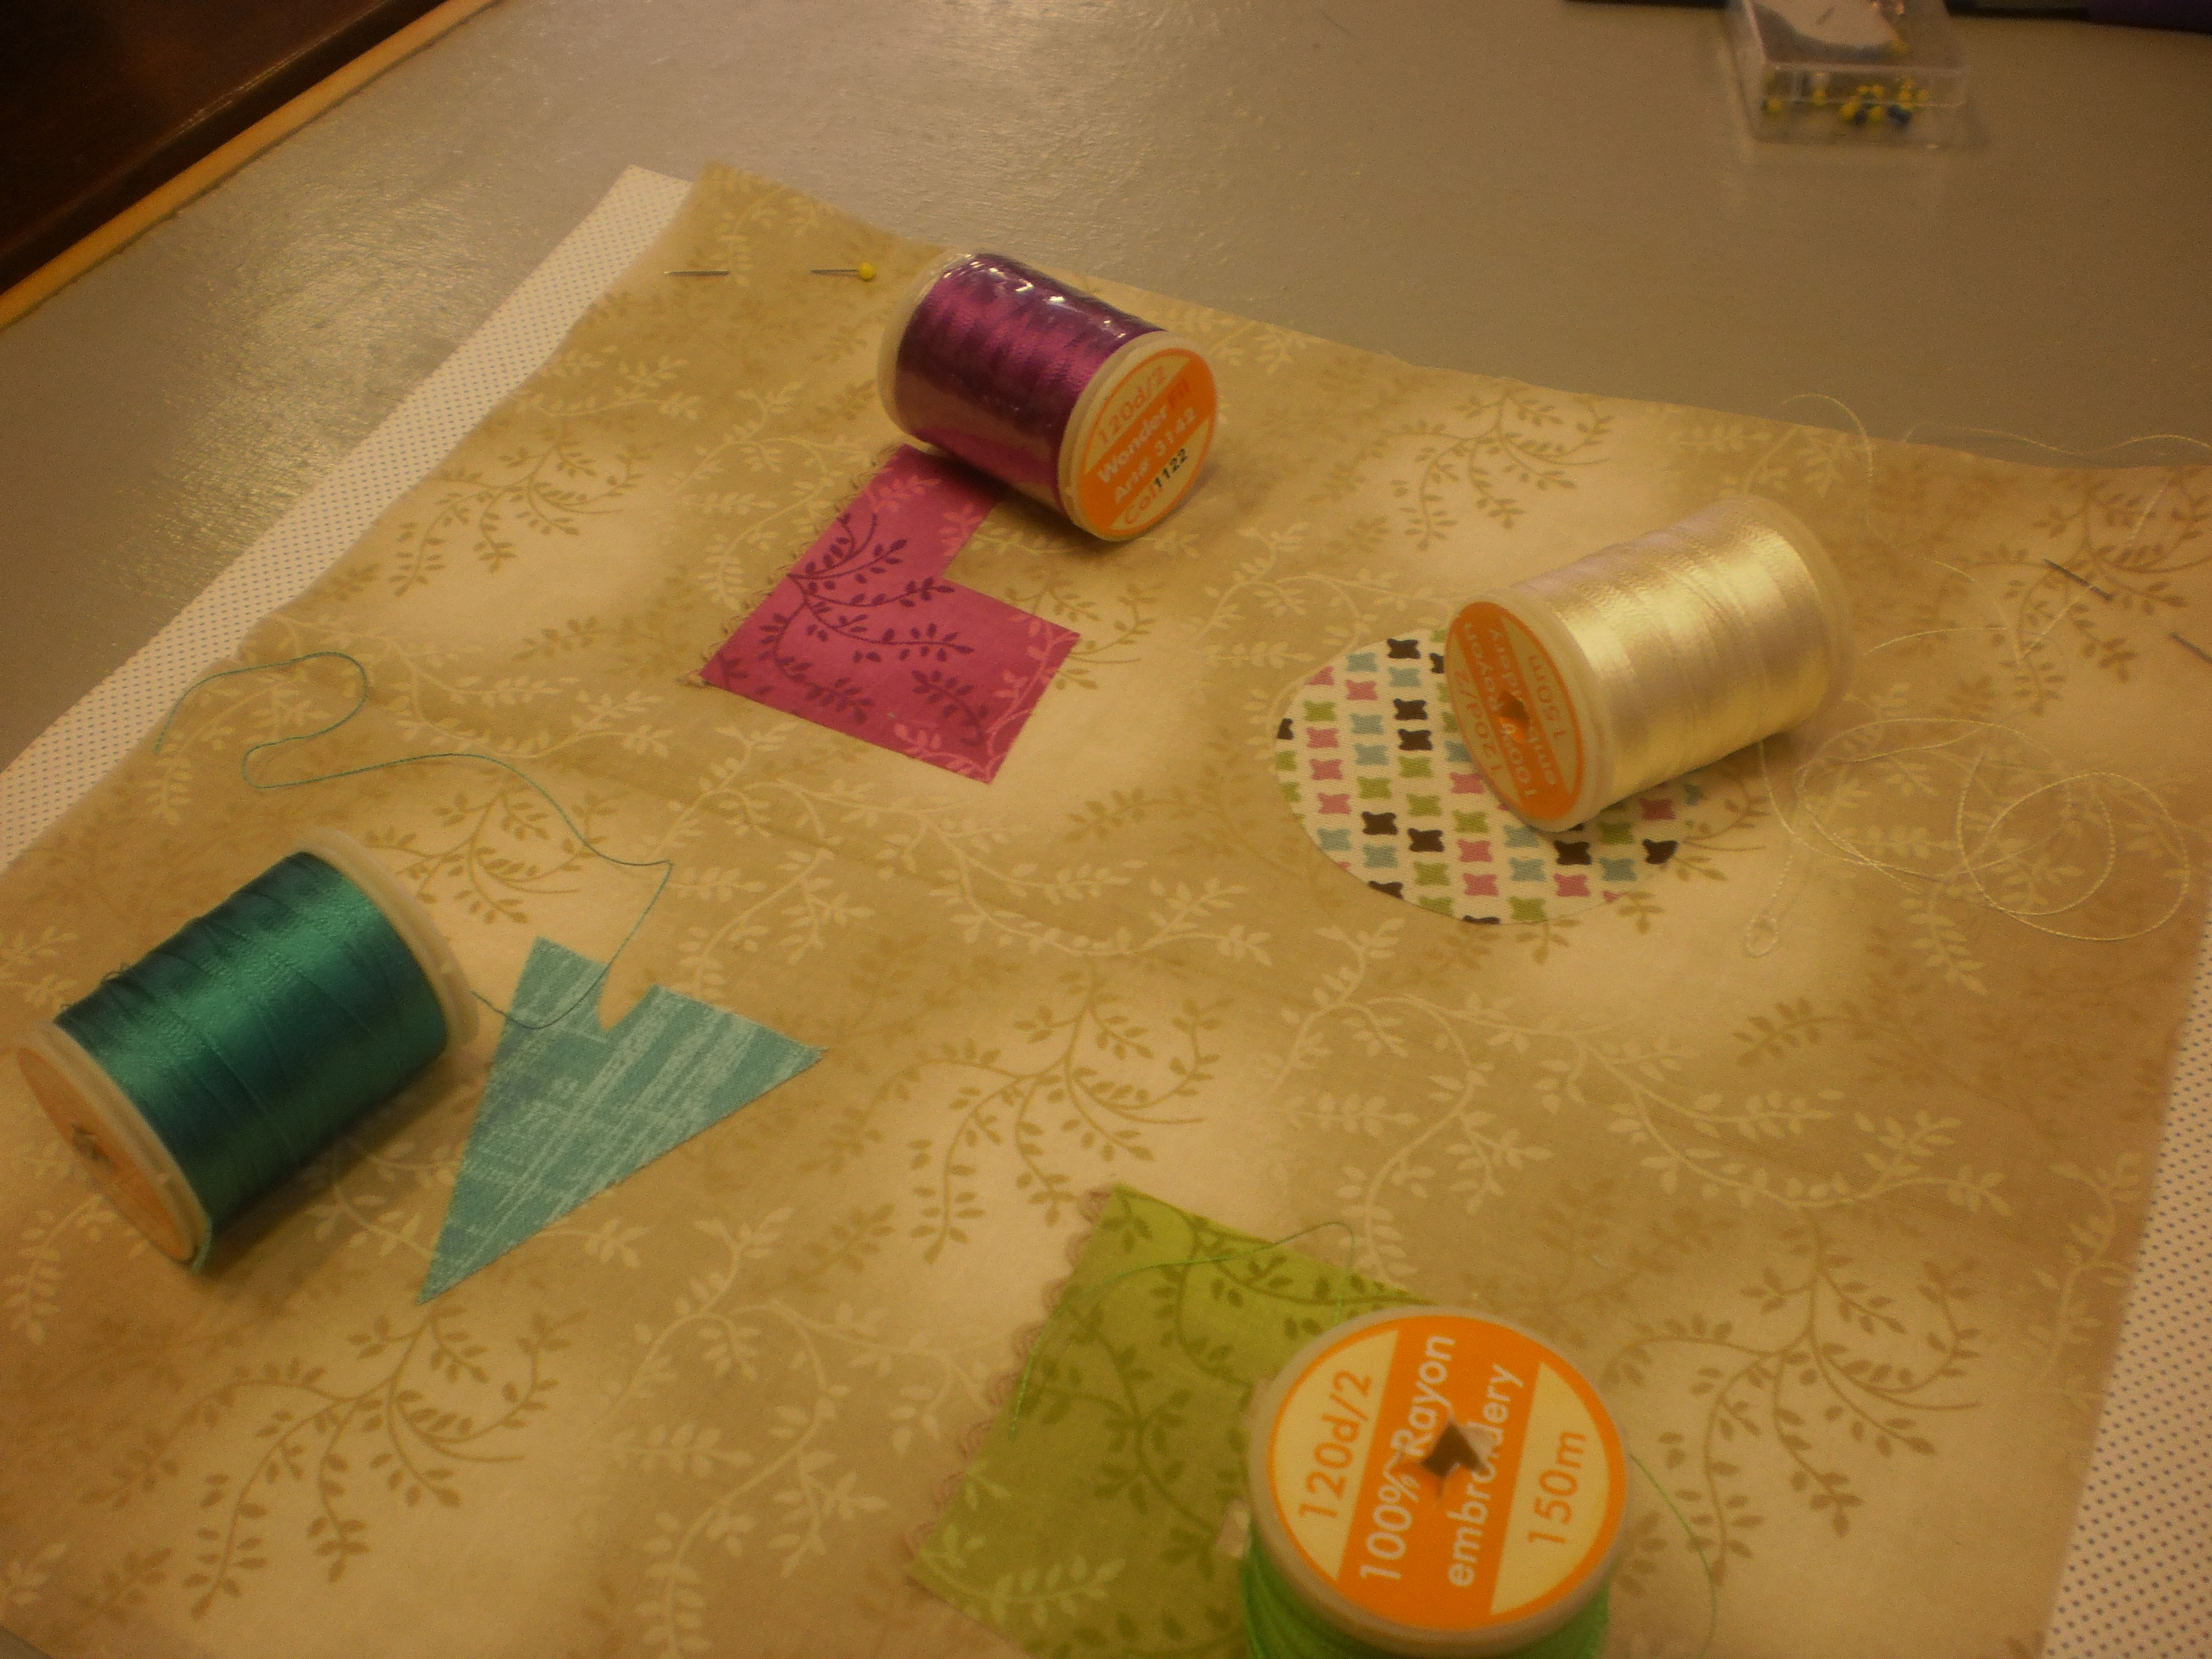
Photo 18: Choose threads to suit your chosen fabrics. I have used Rayon Machine Embroidery threads because I like the shine.
NOTE: This bit you are on your own a little as I don’t know what machines you all have or what the stitches look like. You will need a test piece to help you find a stitch that you like. If you have trouble please email me a photo of your machine’s control panel so I can advise you which way to go.
I have a Janome MC4000. I use Rasant thread in my bobbin. I set my zigzag (which is stitch 14 on my list) to a stitch width of 2.0 and a length of 0.2. This means that my stitches are wide enough to cover the edges of my appliqués and that the stitches are close enough together to not show any fabric through the gaps.
Photos 19 – 27: Follow the captions on each photo in conjunction with what the photo shows you. This technique will be used throughout the BOM and will only be shown here in this first part. In each successive blog I will refer back to this section of photos. Feel free to save this part to your computer for quick reference.
-
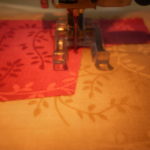
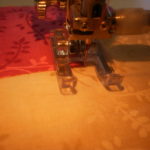
- Photo 19: Starting with the needle to the left of the edge of your applique shape, begin stitching slowly to get the feel for the process.
-
- Photo 20: Watch the needle. You will learn it’s positioning (left and right) so that when you do certain shapes you know when to start and stop.
-
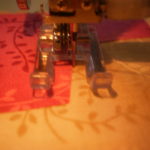
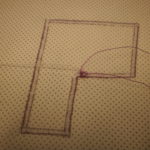
- Photo 21: When you get to the corner stop with the needle on the right side of the edge of the appliqué shape.
-
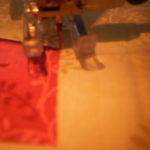
- Photo 22: Leave the needle down. Raise the foot and turn your work, lining up the next straight edge of the shape.
-
- Photo 23: Continue stitching around the shape.
-
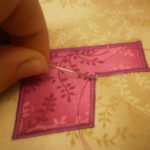
- Photo 24: When you have finished thread a hand-sewing needle with the tails of the thread on the front of the block. Stitch them through to the back of the block.
-
- Photo 25: Make sure all four threads are at the back of the block – 2x bobbin and 2x embroidery thread.
-
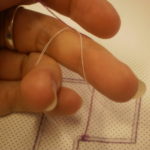
- Photo 26: Tie the threads in a reef knot.
-
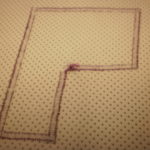
- Photo 27: Trim the threads close to the knot.
When doing round shapes – stitch a few stitches and then stop with the needle on the right. You will start to see the edge of the shape curve away from the centre of the foot. When that happens stop, lift the foot and turn your work a fraction – see video for how to pivot. You are turning your work, you are adjusting it a tiny fraction to ensure that the stitches are at a 90deree angle to the raw edge of the appliqué shape.
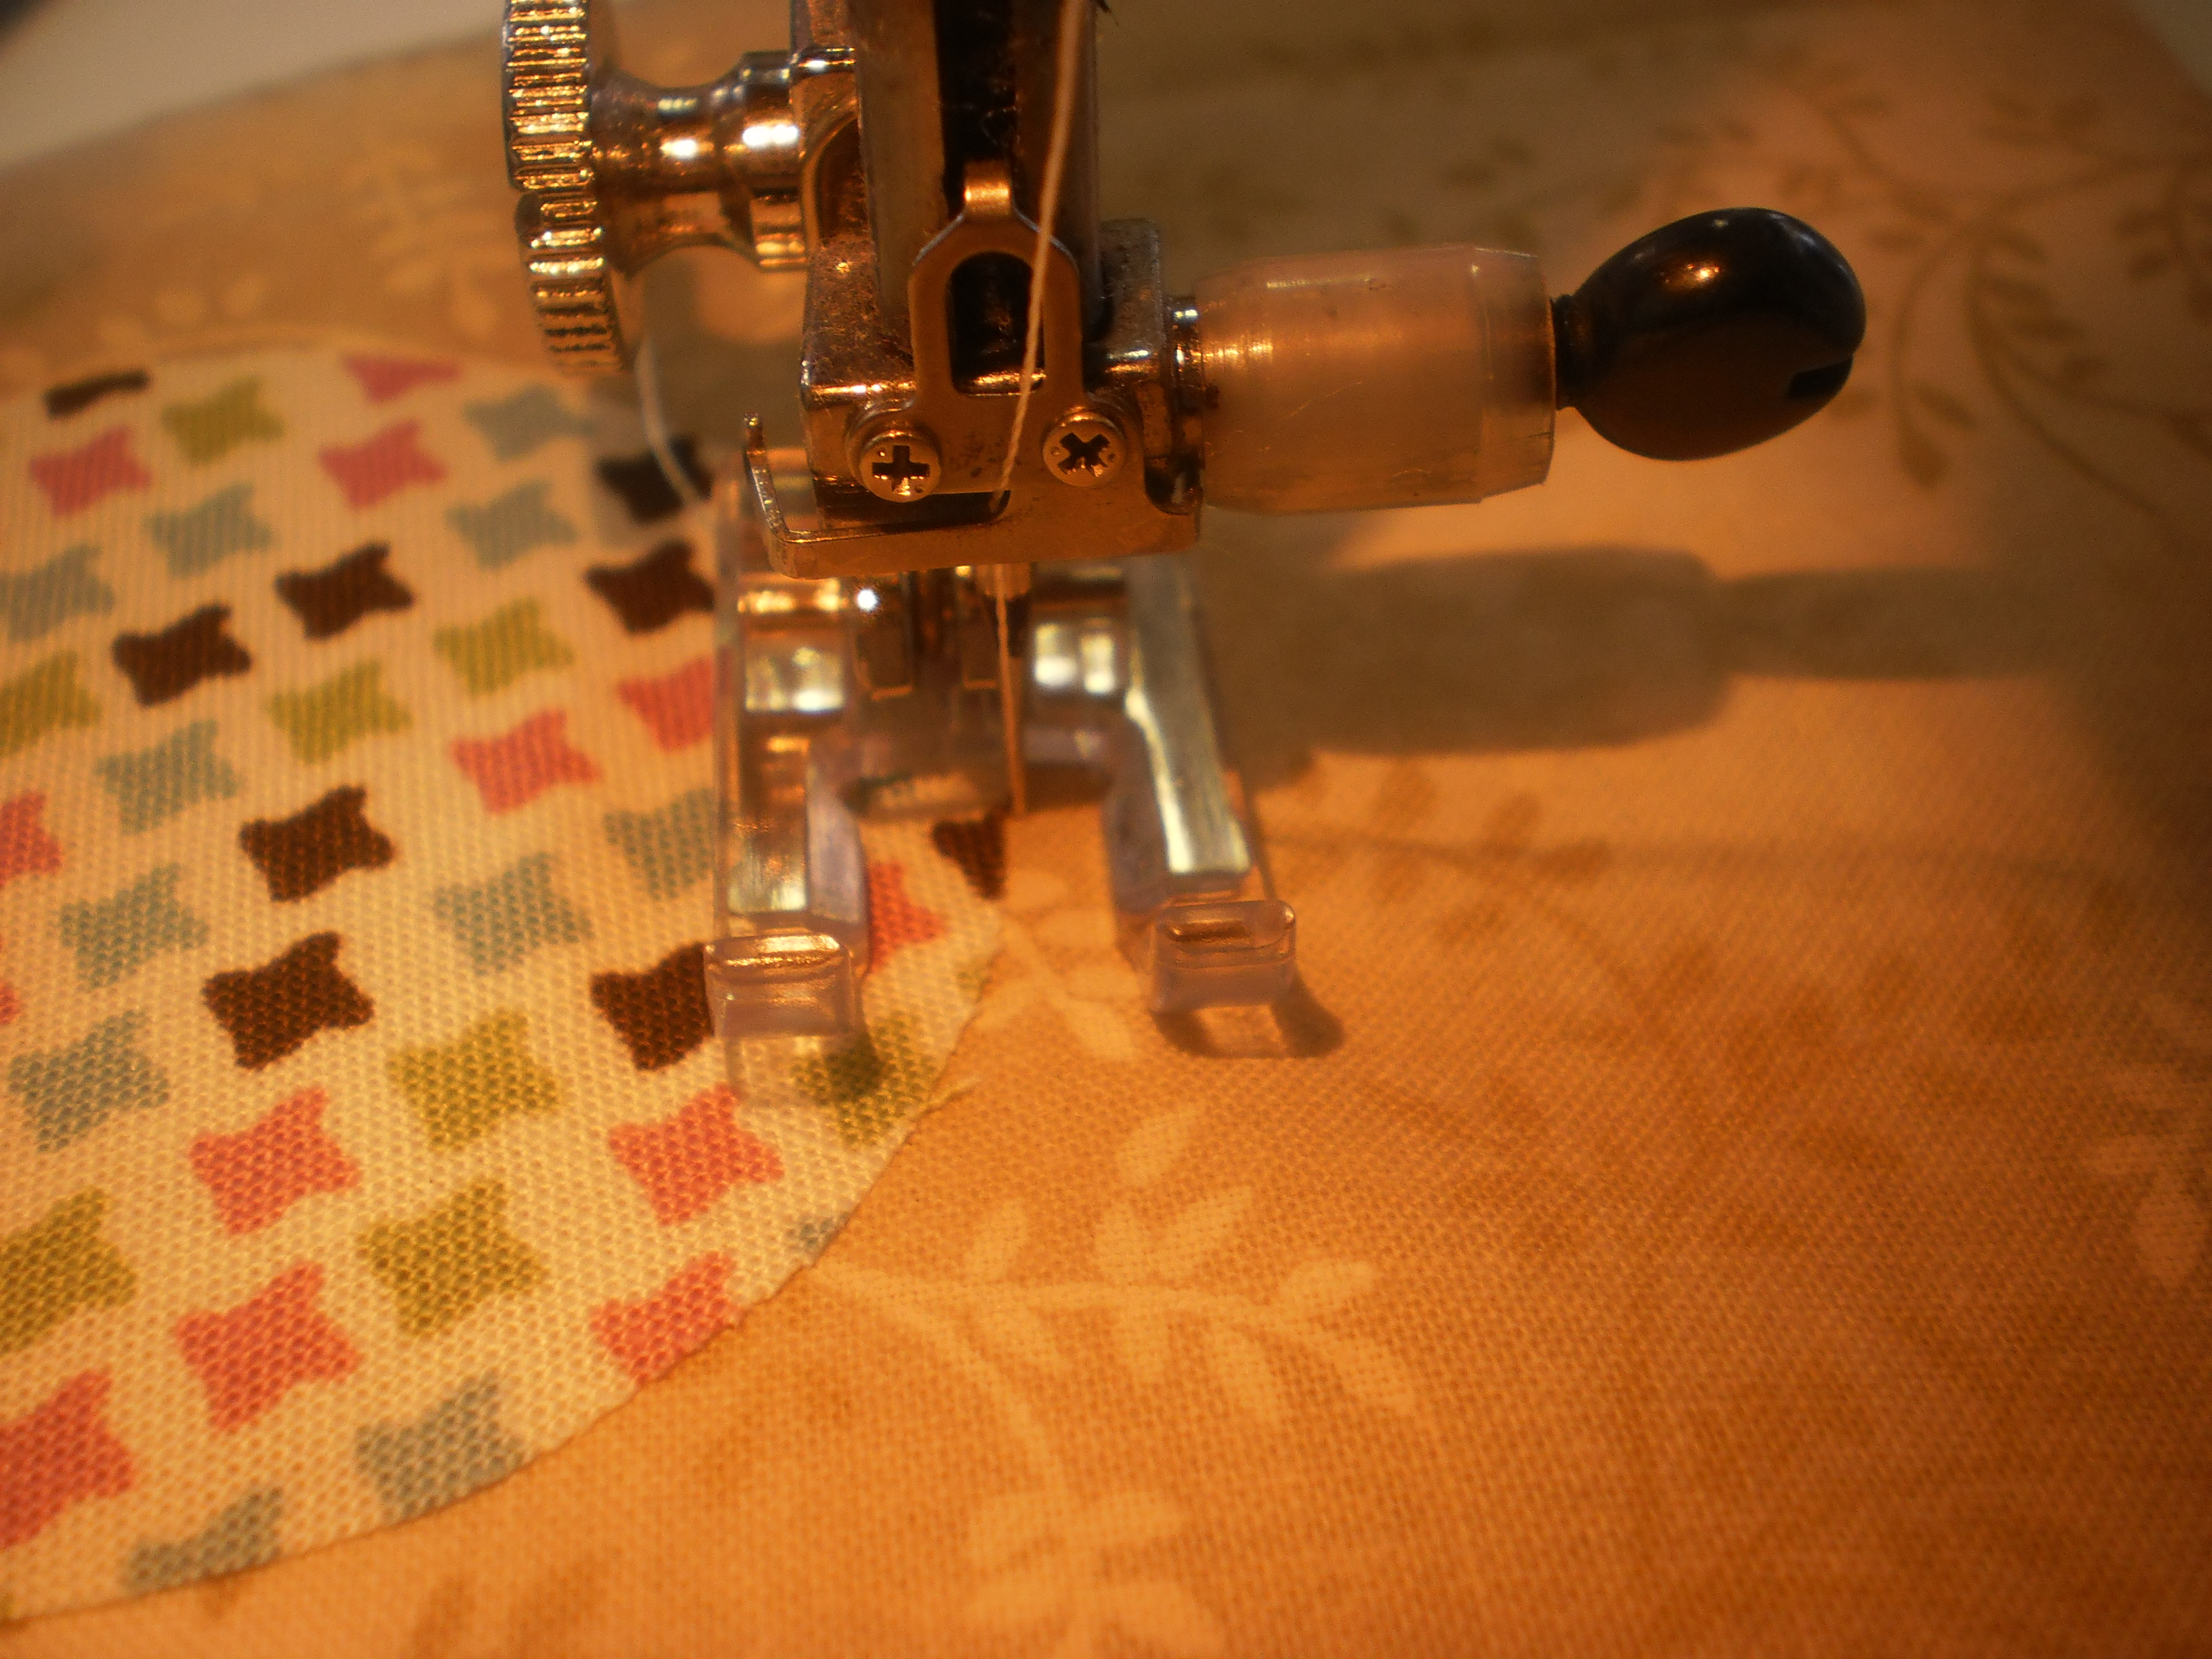
Photo 28: When doing round shapes – stitch a few stitches and then stop with the needle on the right. Lift the foot and turn your work a fraction – see video for how to pivot.
When stitching pointy sections – finish your edge as normal, leave the needle down on the right side and lift the foot. Turn your work 90degrees, foot down and make 2-3 stitches. This will bring you in line with the other edge. Needle down on the right, lift the foot and turn your work, lining up the next edge. Foot down and continue stitching.
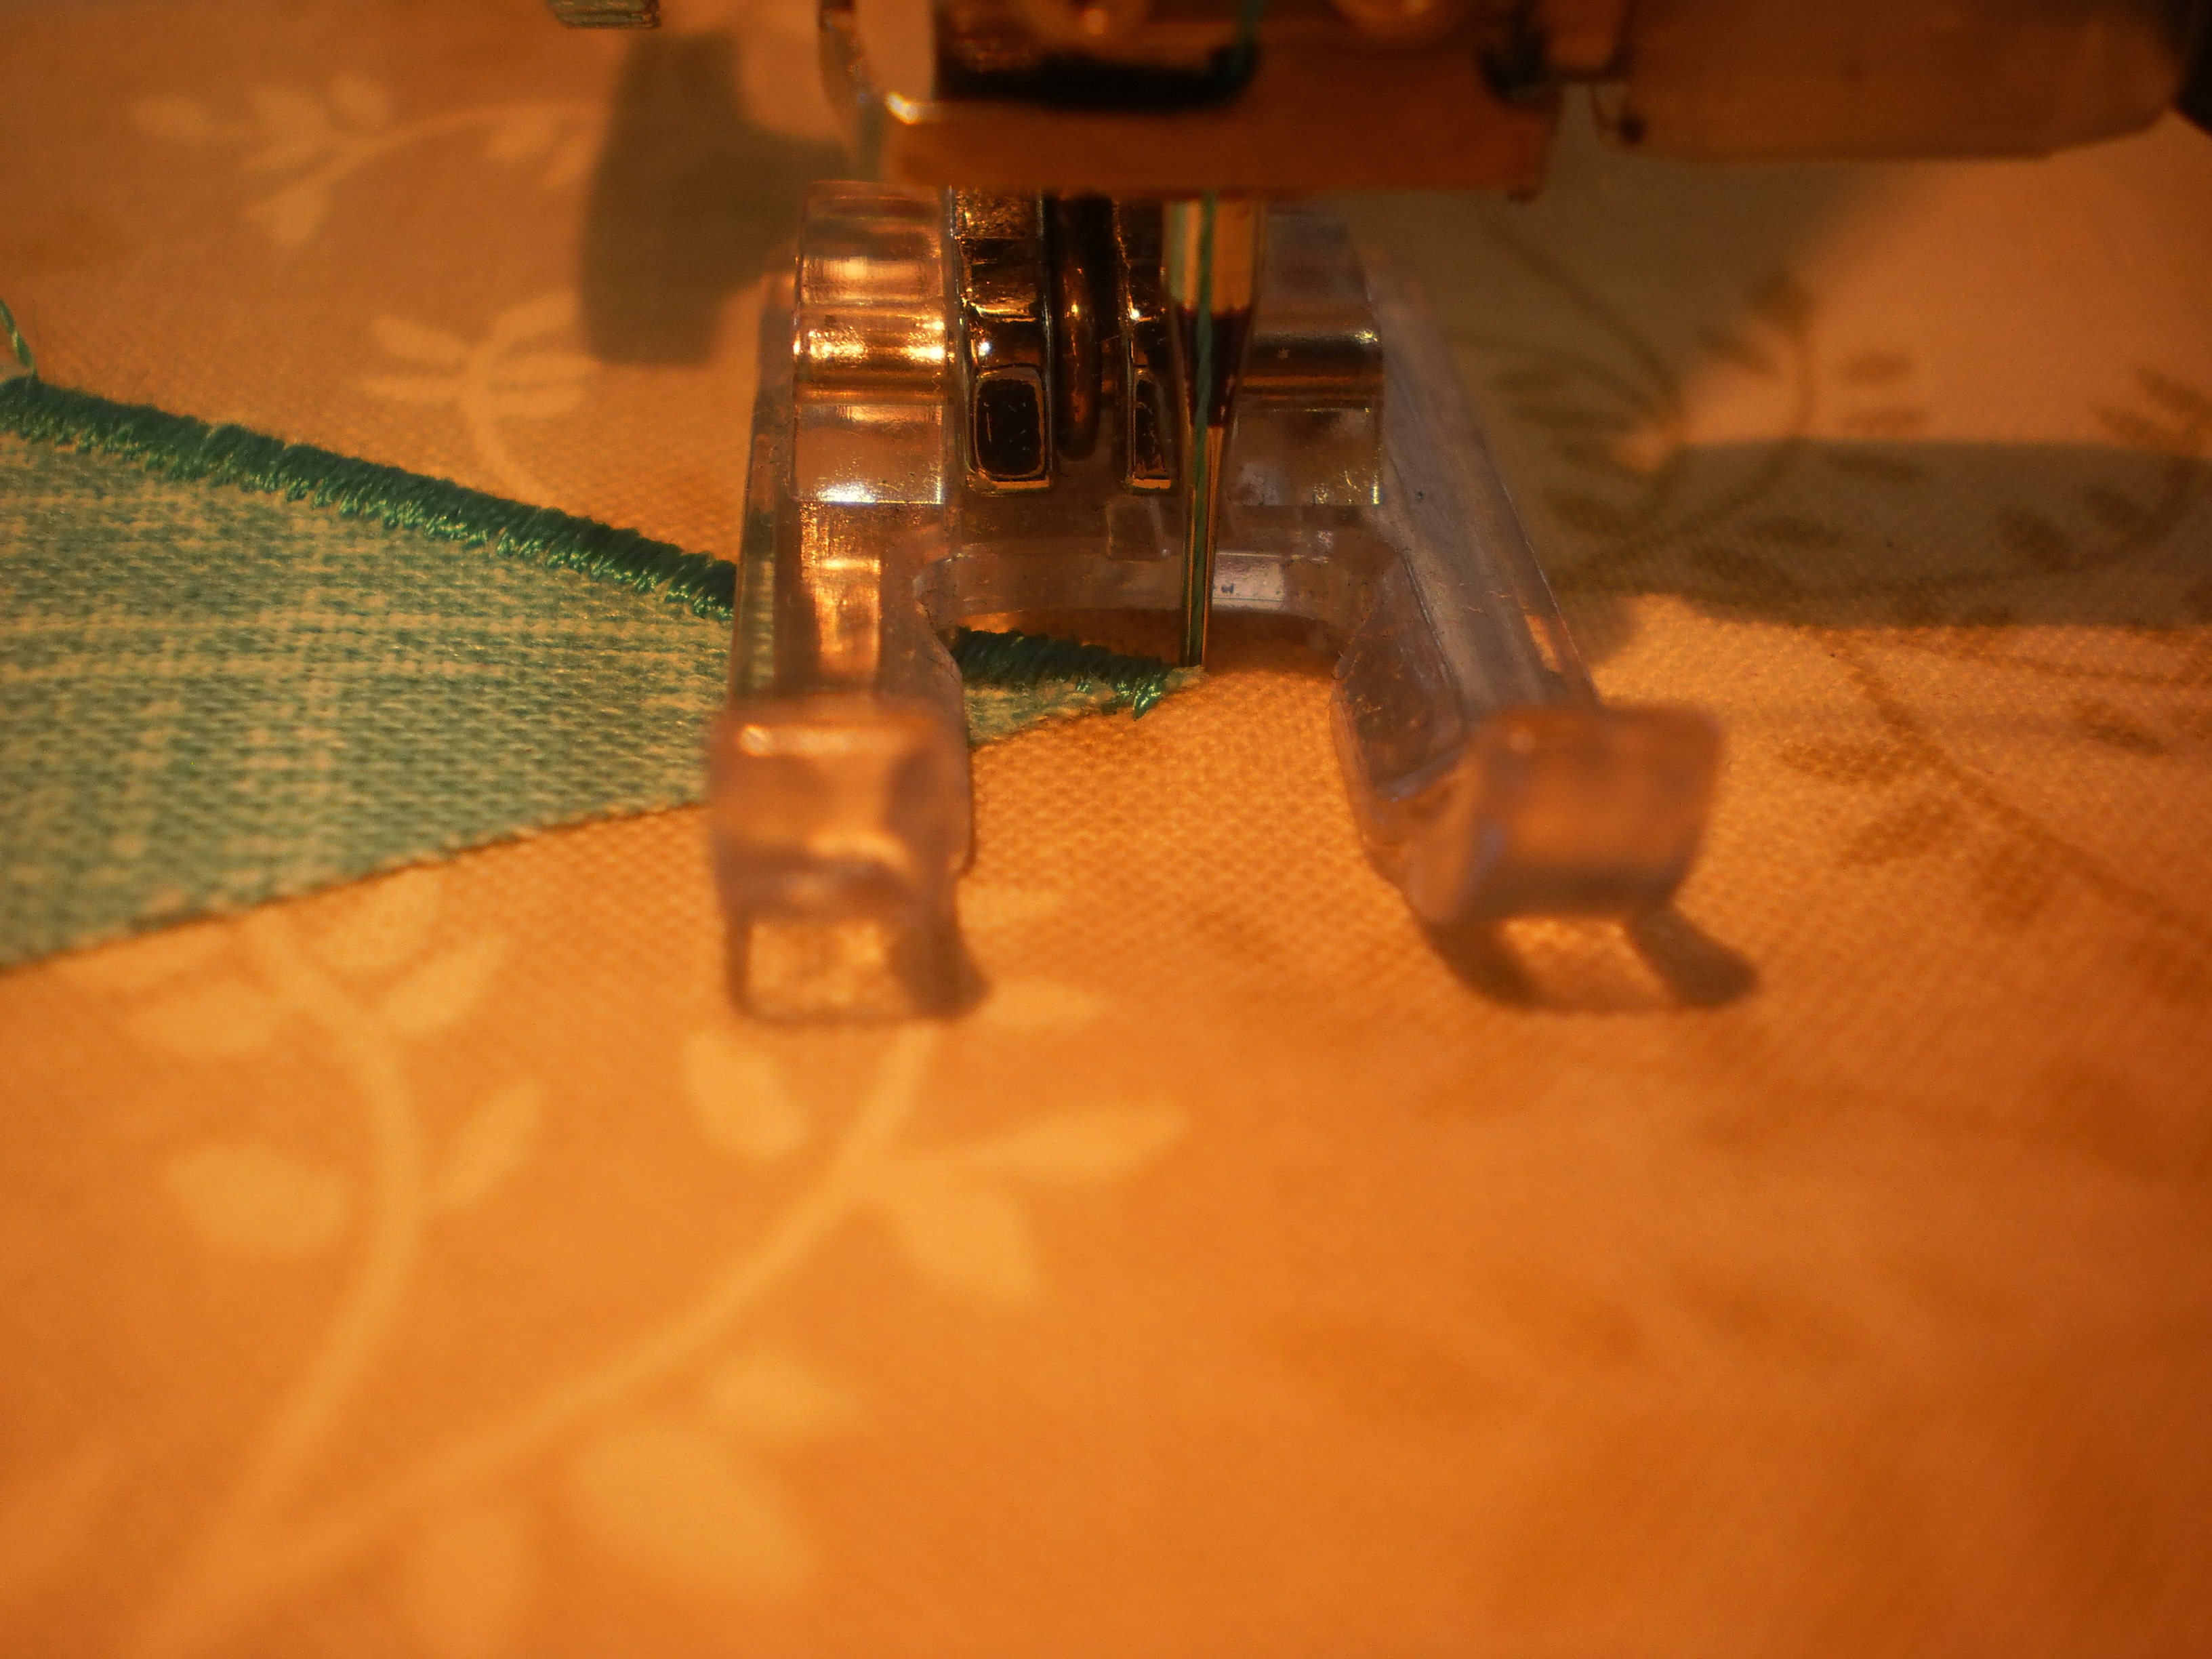
Photo 29: Finish your edge as normal, leave the needle down on the right side and lift the foot. Turn your work 90degrees, foot down and make 2-3 stitches. This will bring you in line with the other edge.
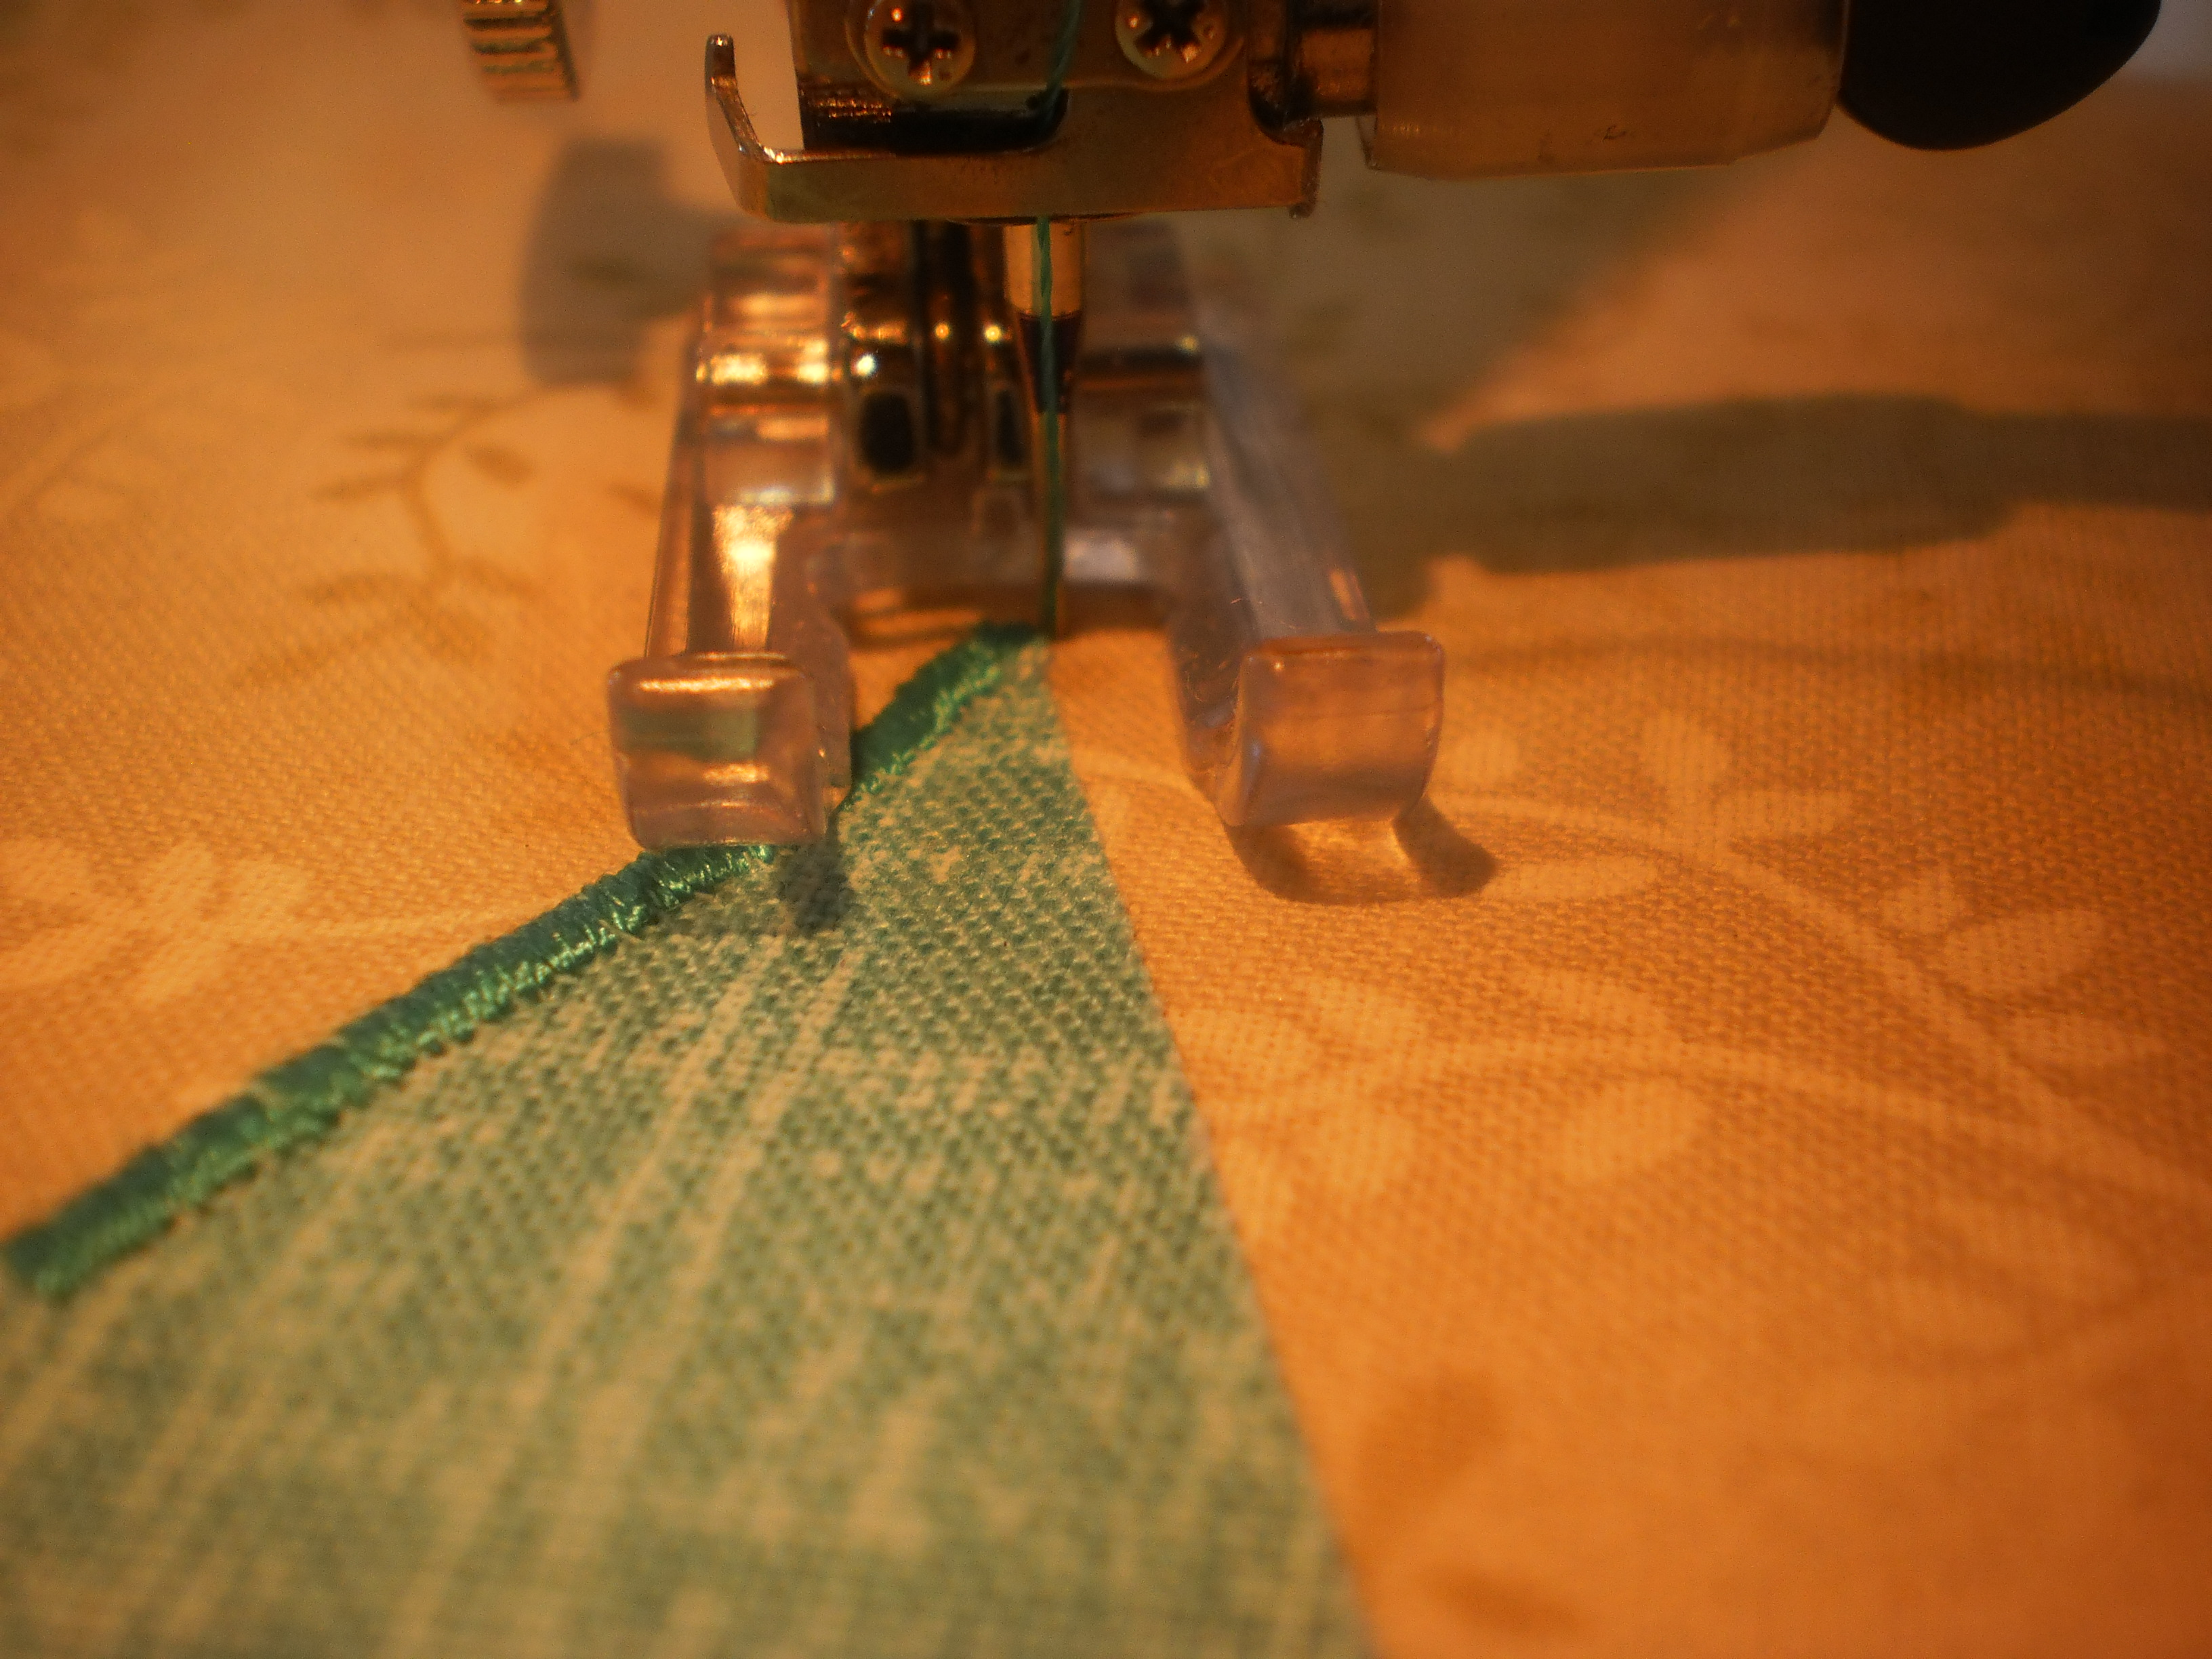
Photo 30: Needle down on the right, lift the foot and turn your work, lining up the next edge.
When stitching an internal point – stitch all the way along the edge prior to the point, leave the needle down on the right, lift the foot and turn your work so the needle is parallel to the point. Put the foot down and make 2-3 stitches in the centre of the point. Leave the needle down, lift the foot and turn your work, lining up the next edge.
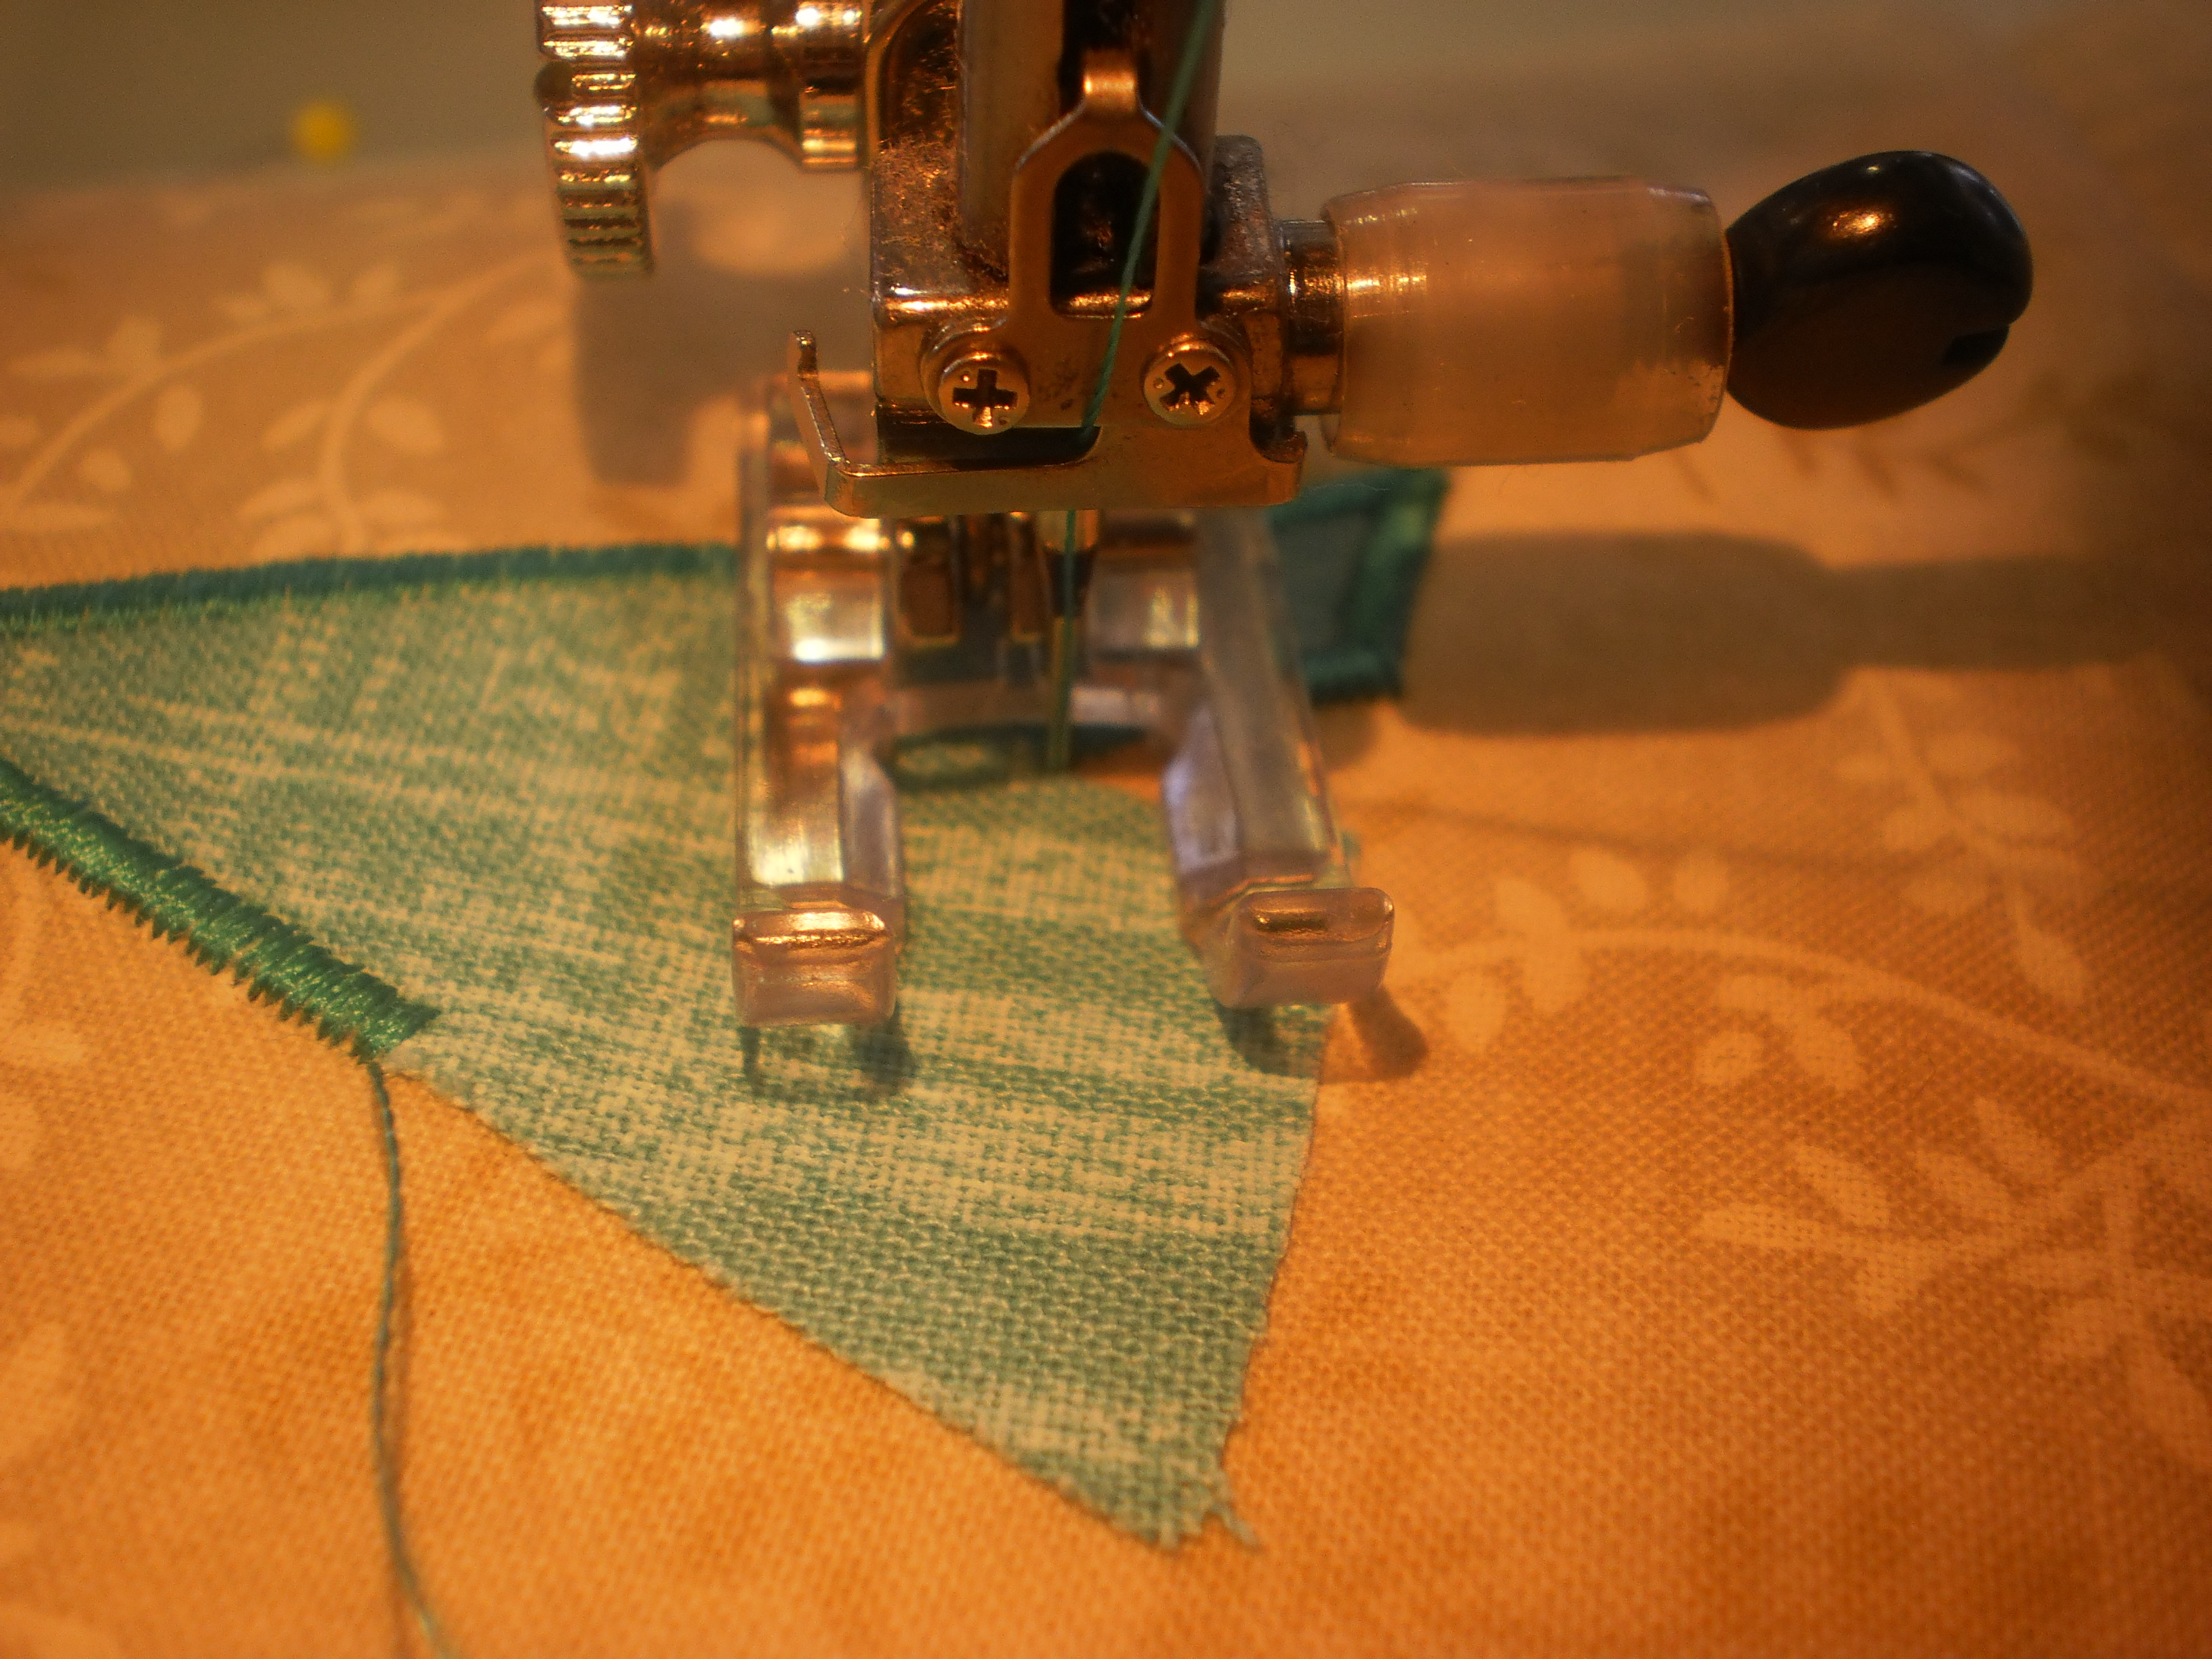
Photo 31: Stitch all the way along the edge prior to the point, leave the needle down on the right, lift the foot and turn your work so the needle is parallel to the point. Put the foot down and make 2-3 stitches in the centre of the point. Leave the needle down on the right side, lift the foot and turn your work, lining up the next edge.
Once you’ve finished stitching all of your applique shapes and tying off the threads, turn your block over and start to remove the Stitch-N-Tear. Support the stitches with your fingers and gently tear away the Stitch-N-Tear – it has been perforated by the stitches so it doesn’t need cutting.
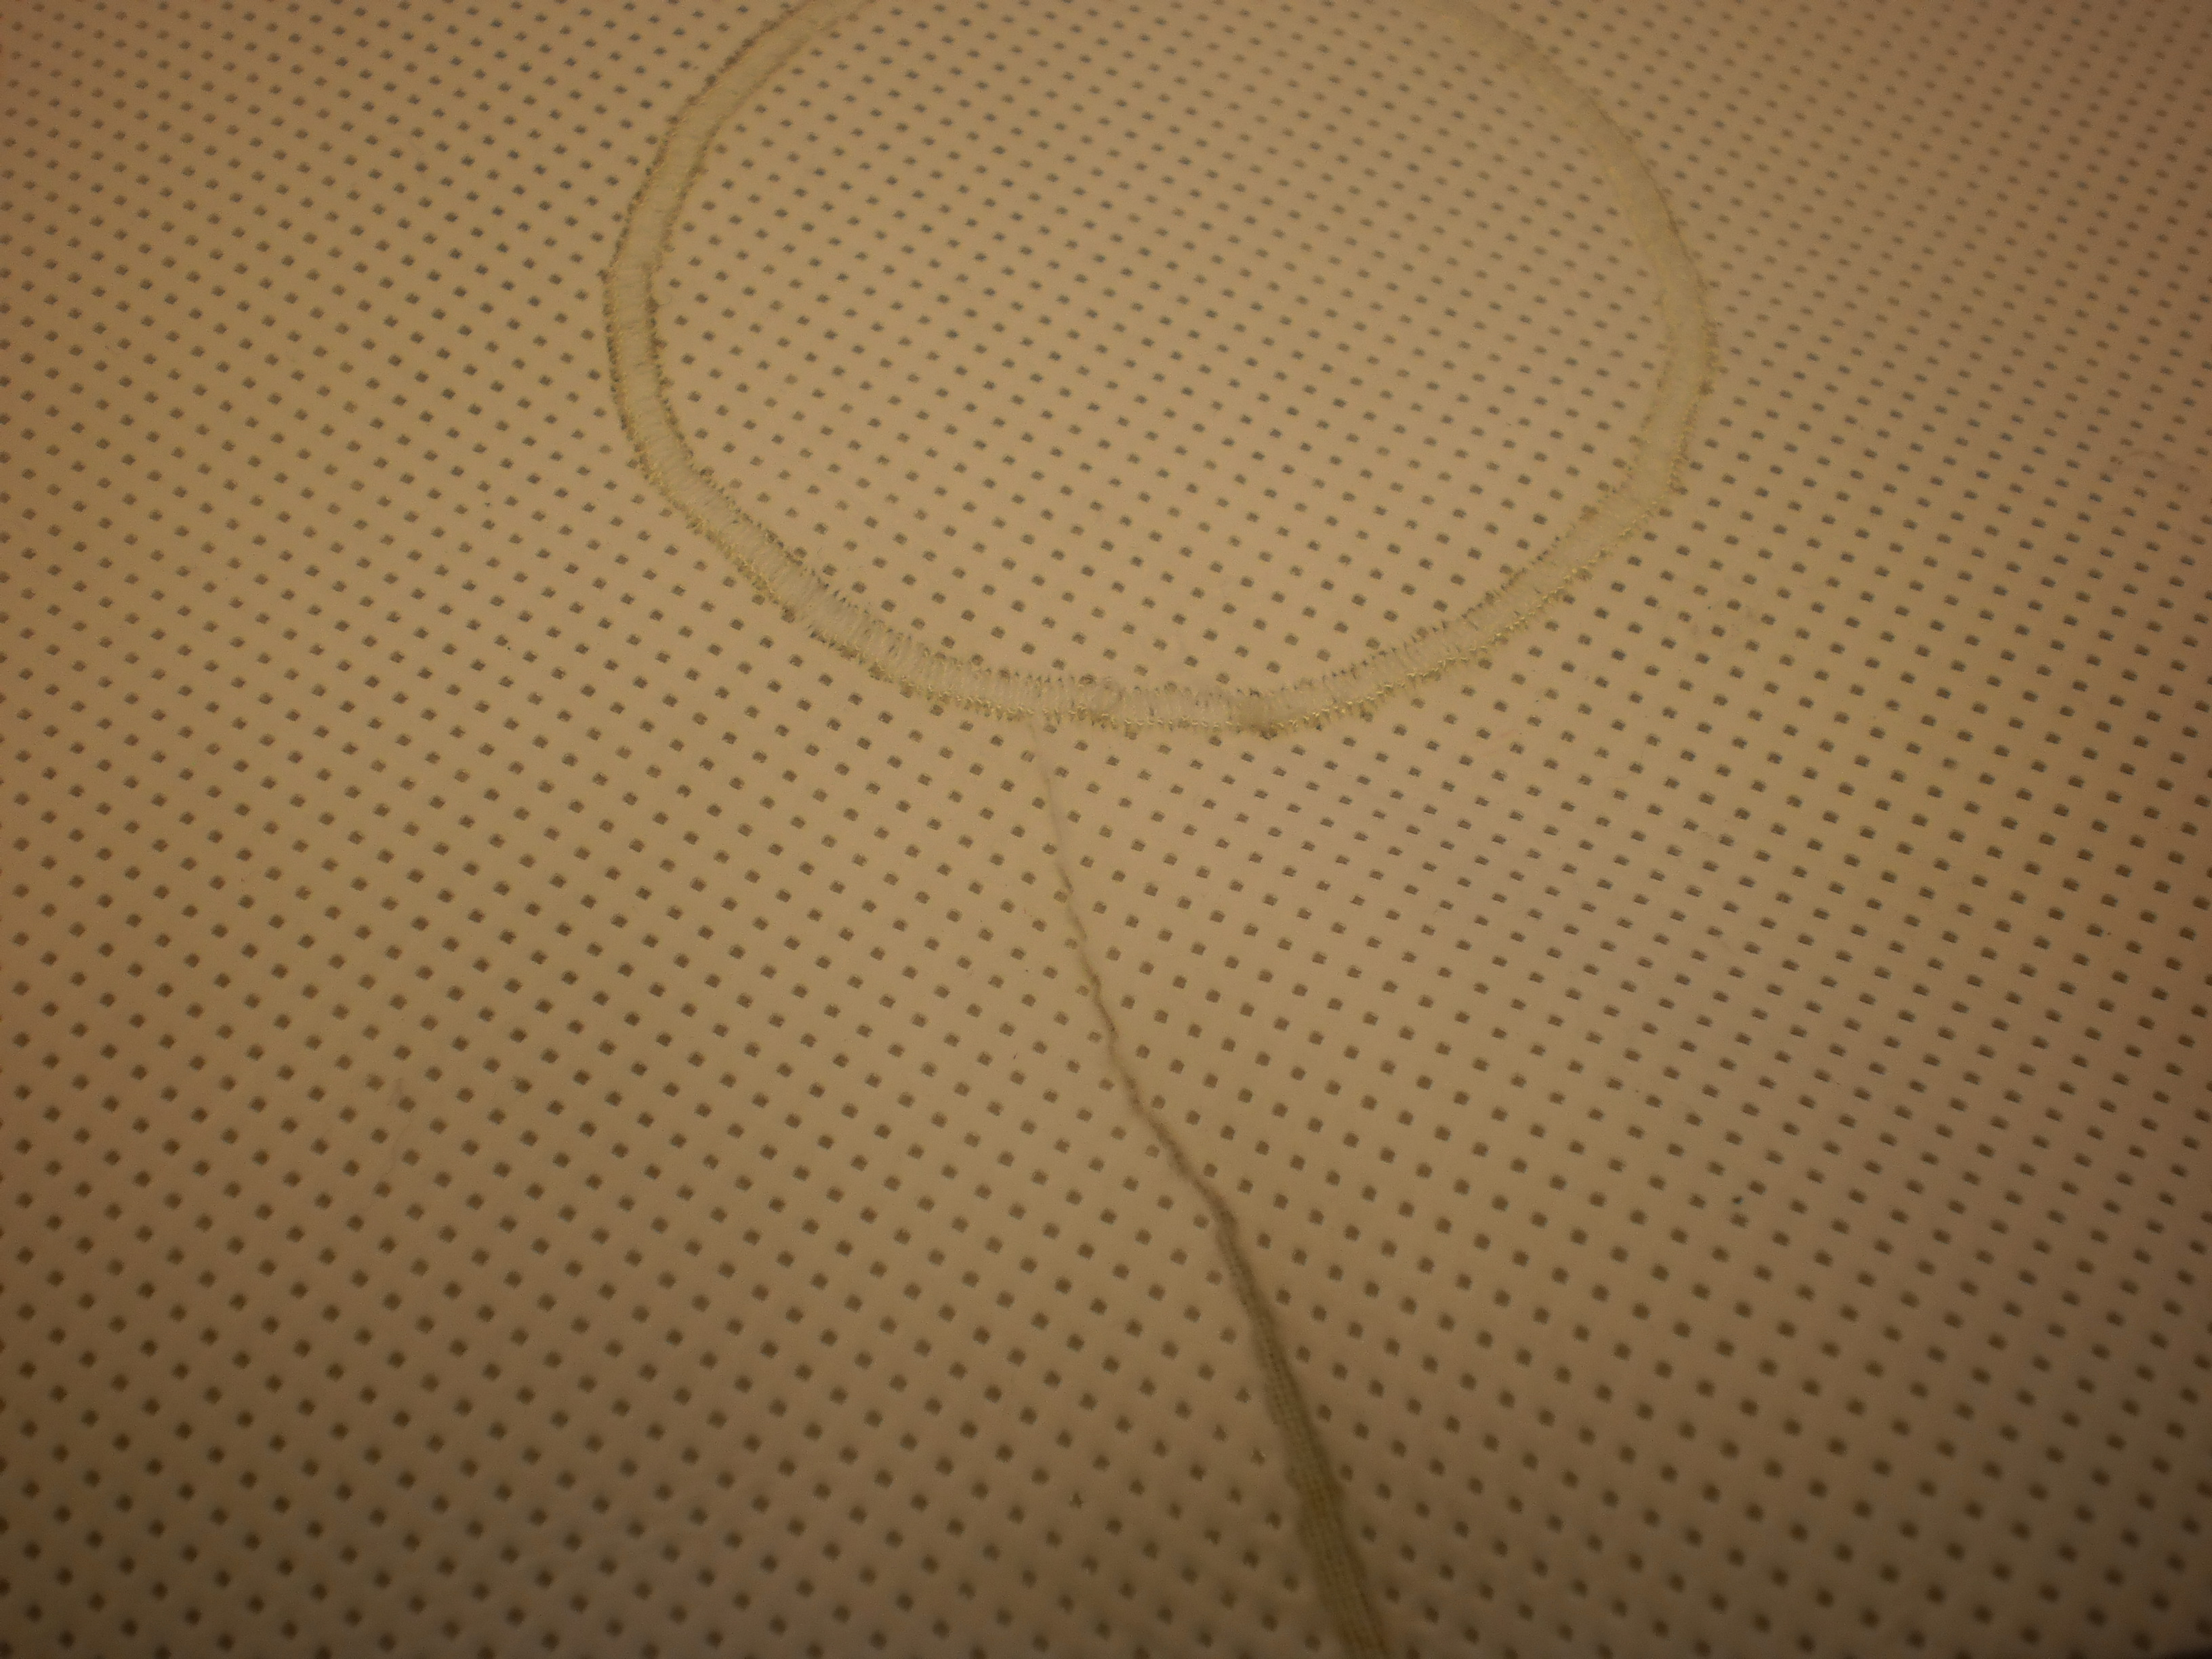
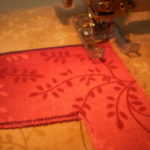
Photo 32: Once you’ve finished stitching all of your applique shapes and tying off the threads, turn your block over and start to remove the Stitch-N-Tear.
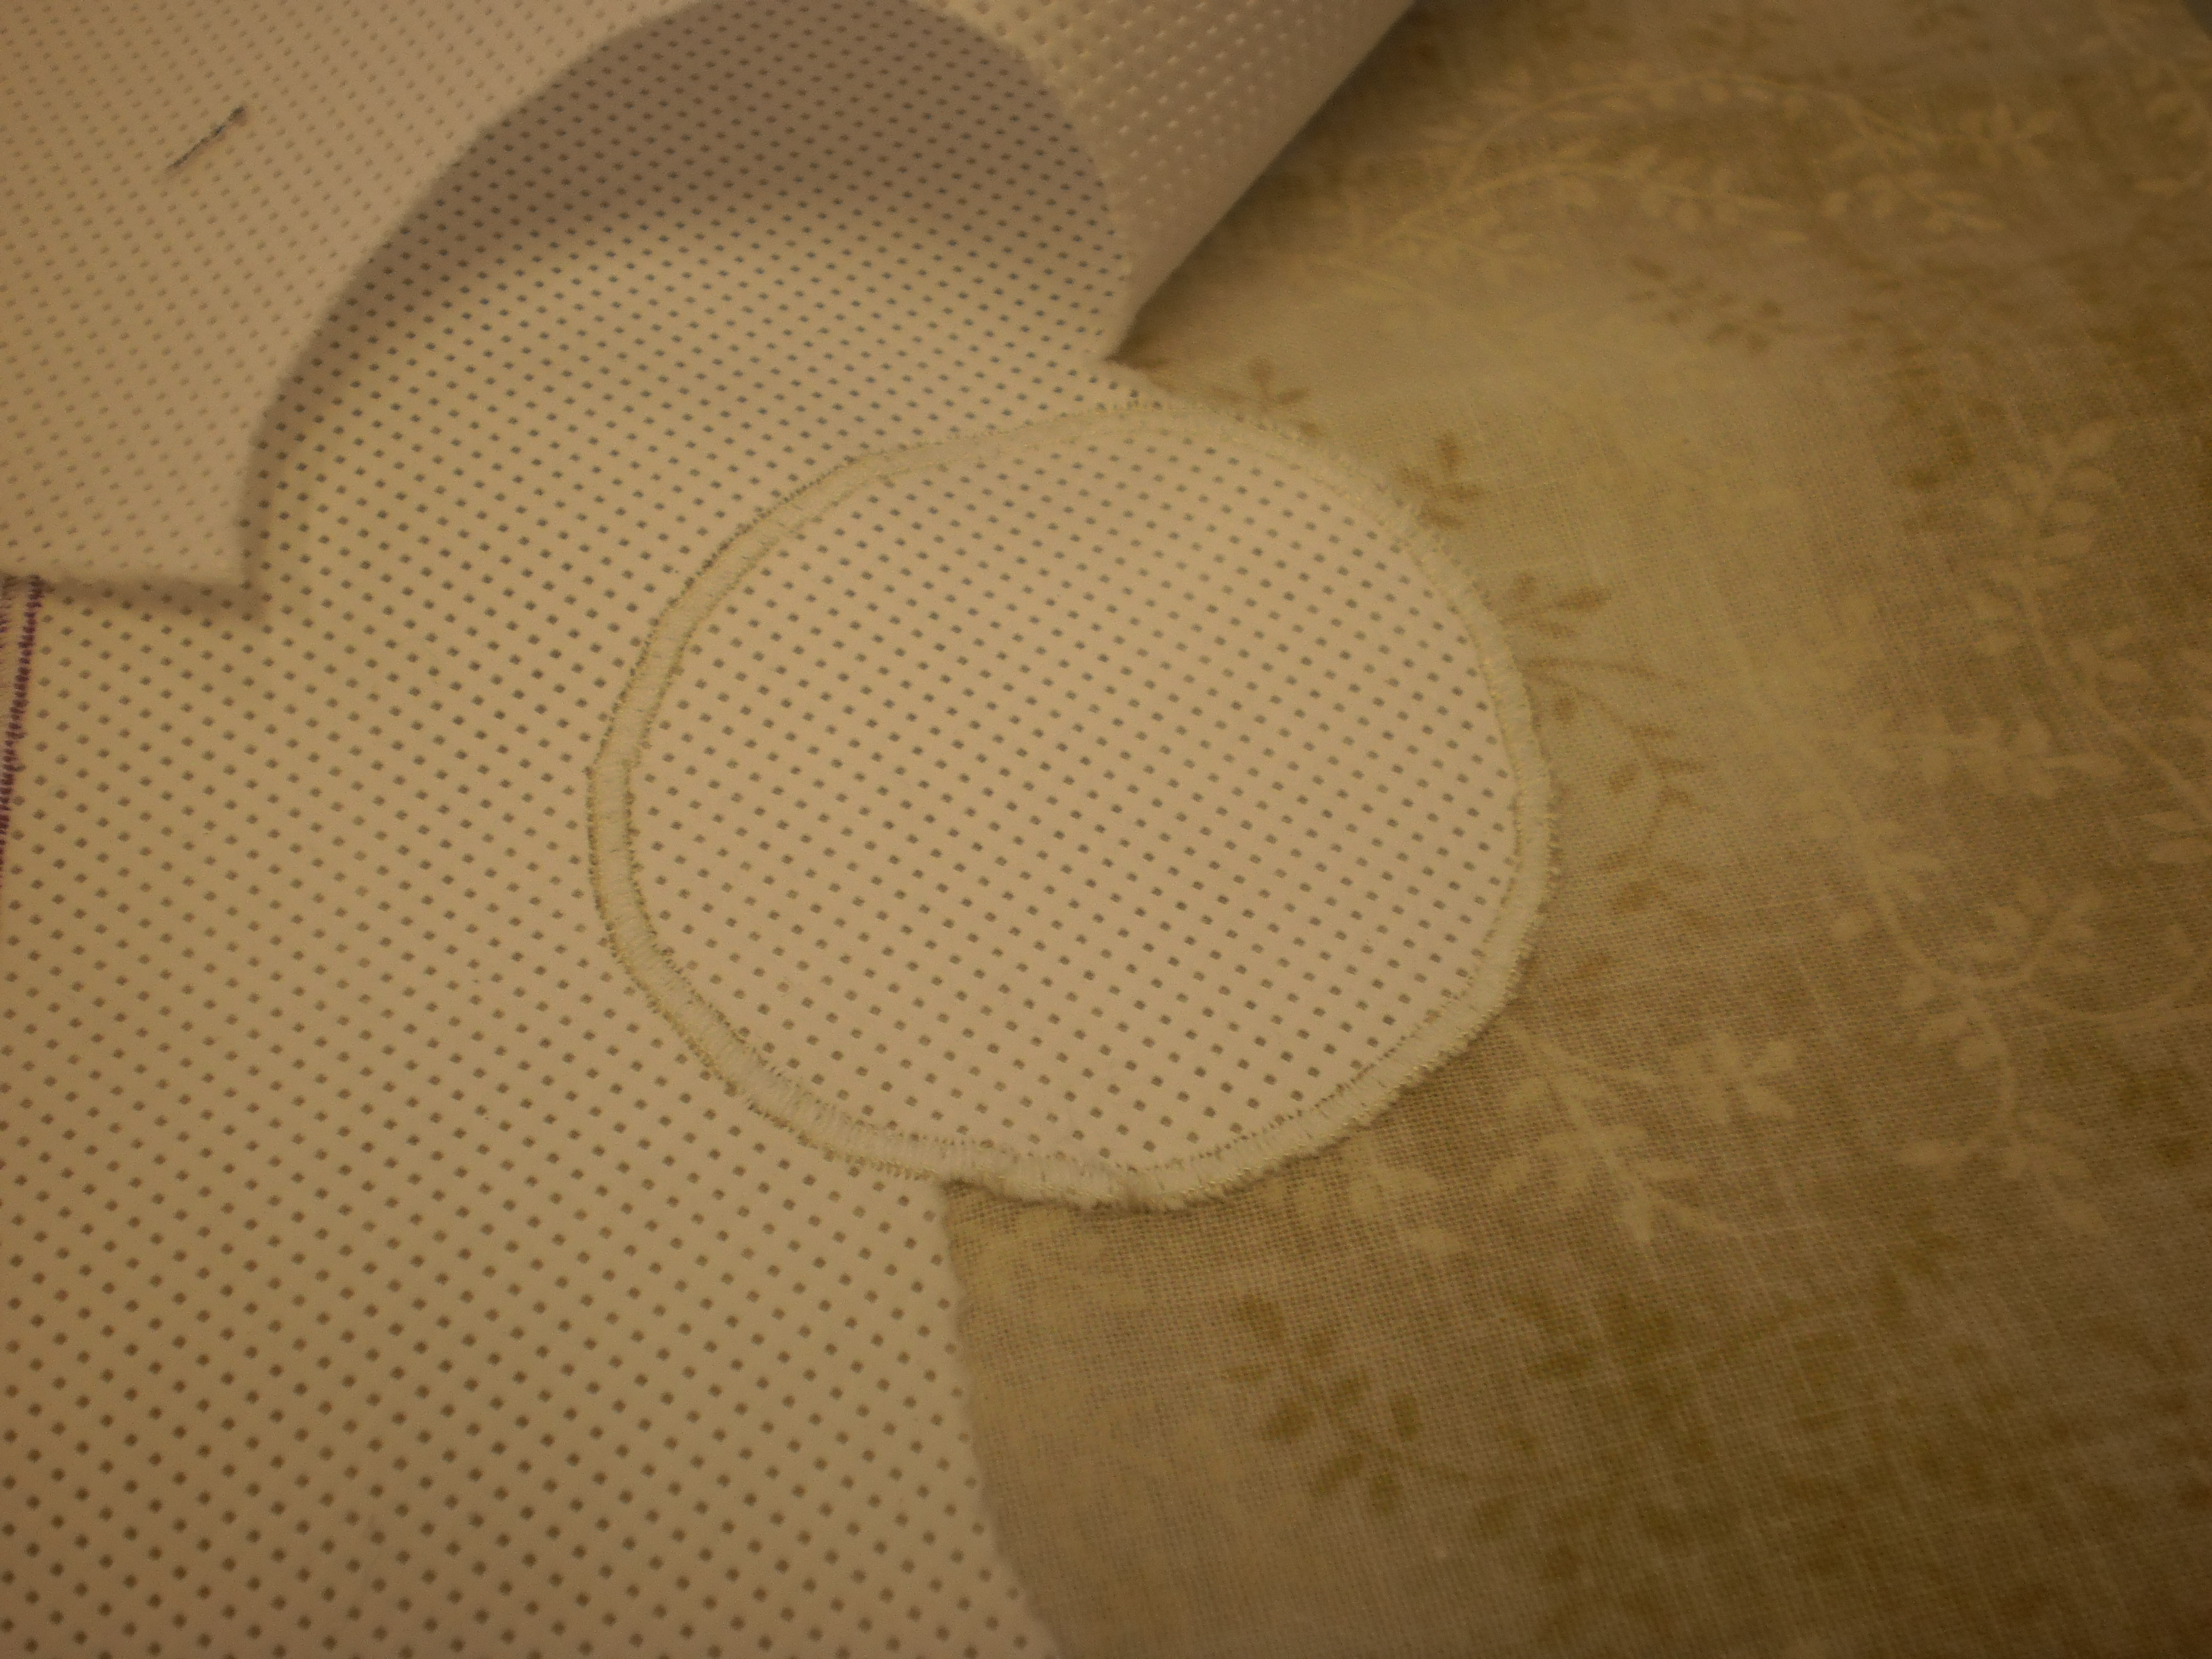
Photo 33: The Stitch-N-Tear has been perforated by the stitches so it doesn’t need cutting.
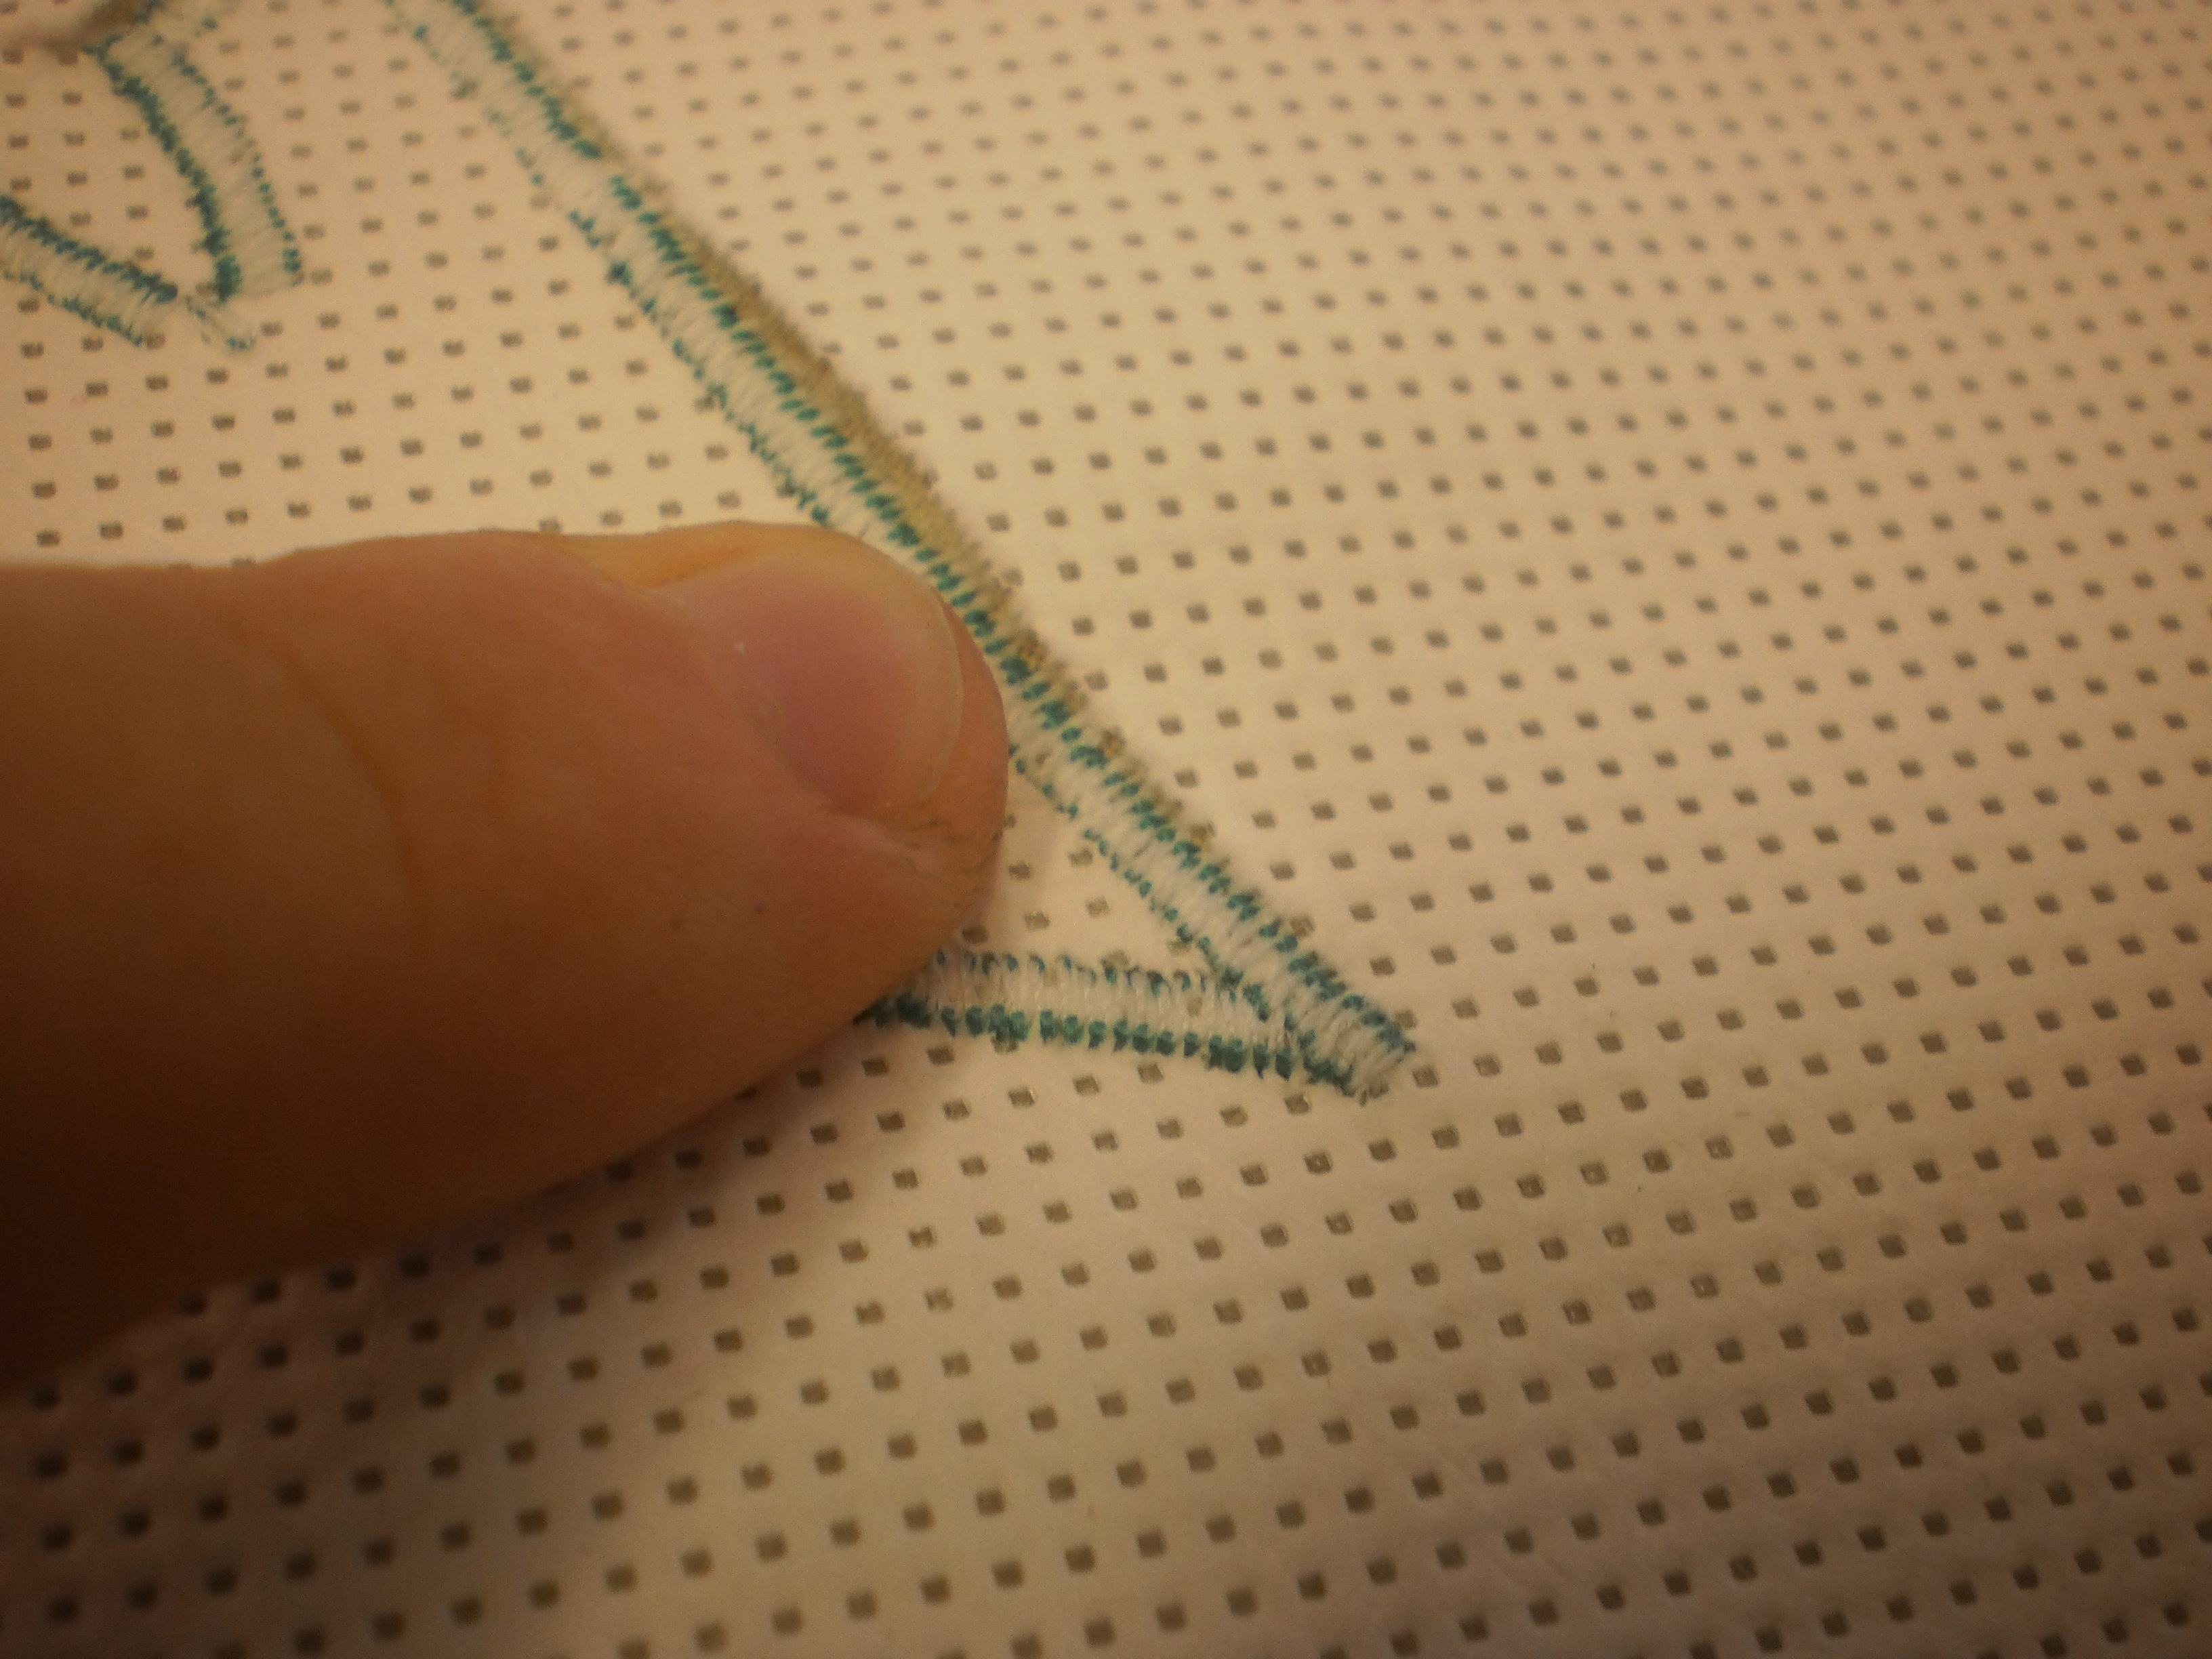
Photo 34: Support the stitches with your fingers and gently tear away the Stitch-N-Tear.
If you are going to embellish your appliques with some embroidery remove all of the Stitch-N-Tear.
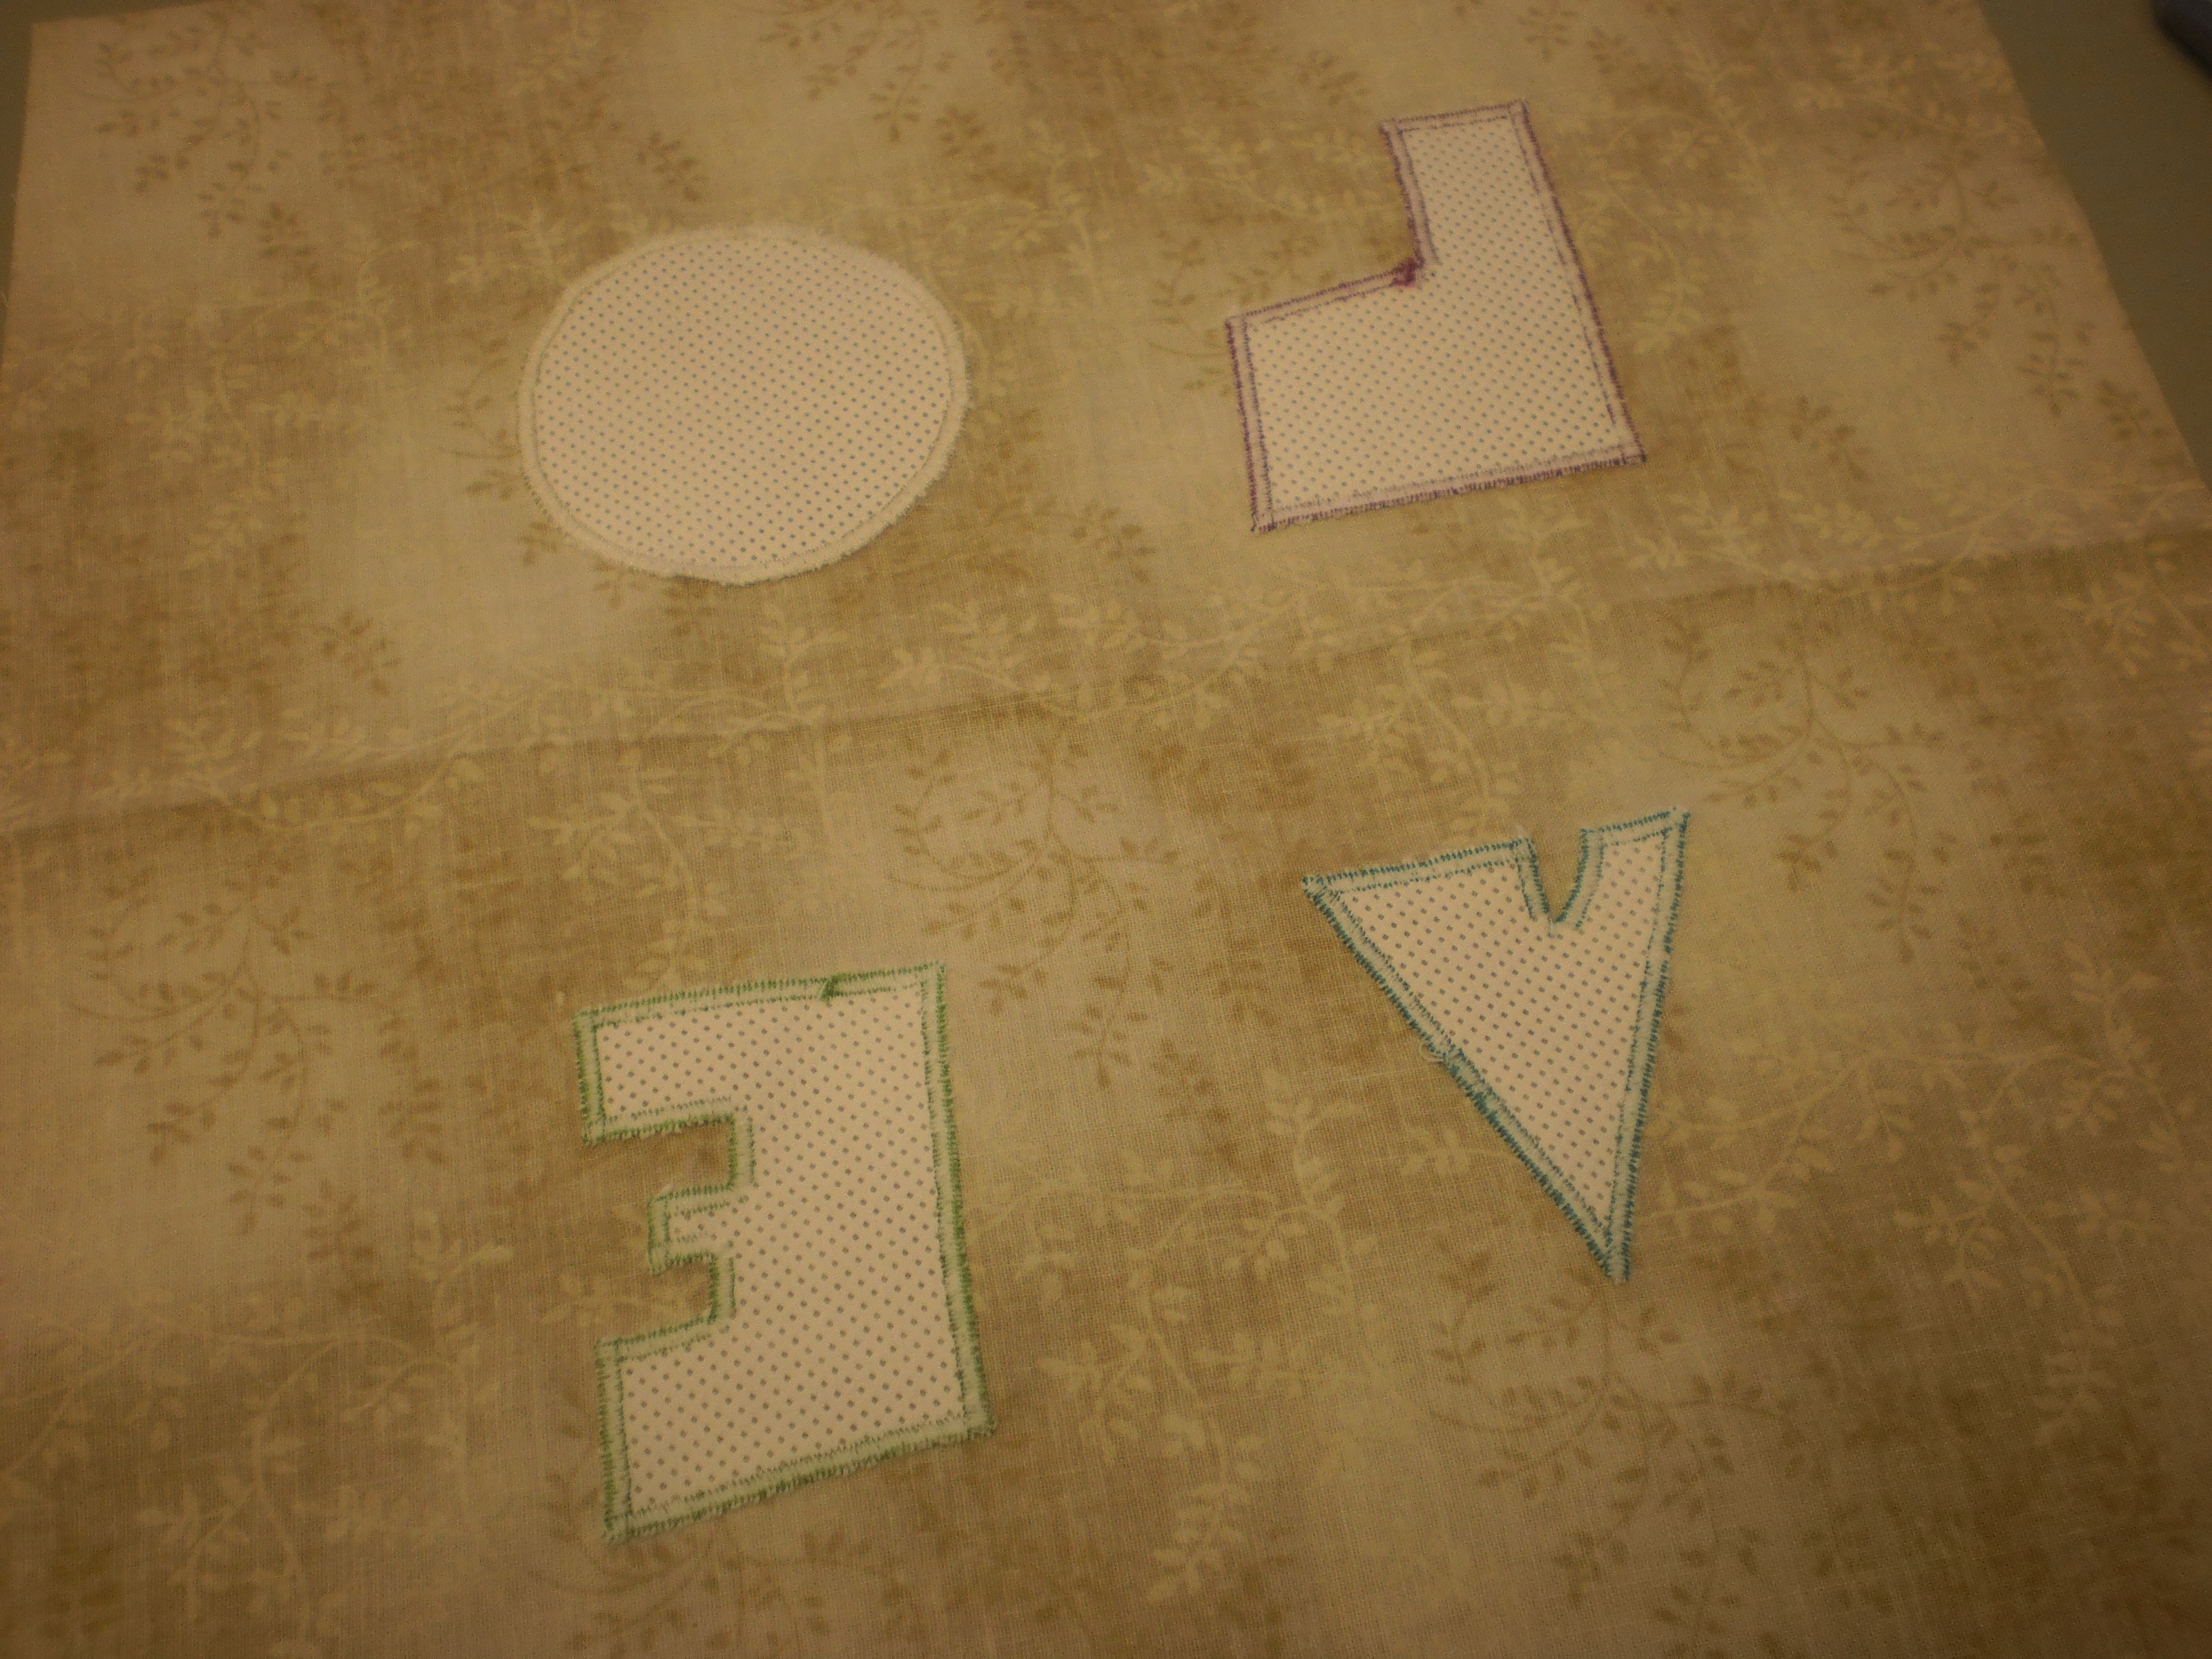
Photo 35: If you are going to embellish your appliques with some embroidery remove all of the Stitch-N-Tear.
Embellish as you please. Here is a link to the Embroiderers’ Guild and a list of stitches and how to do them.
Press your block and put aside in a flat space until we are ready to assemble the quilt.
Notes:
Ironing temperatures –
- Your standard cotton fabrics will need to be ironed on the highest setting with steam (or spray with water as you iron).
- Vliesofix needs to be ironed with a hot but dry iron. Steam will cause the Vliesofix to bubble, buckle and pucker.
- When pressing blocks when you are finished stitching the appliques use a pressing cloth (another piece of fabric or a Teflon mat) to protect the threads (Rayon threads can melt at the high temperatures that cotton needs to be pressed with).
That brings us to the end of Block 1 – please feel free to send me photos of your finished blocks.
Marni x