Machine Maintenance
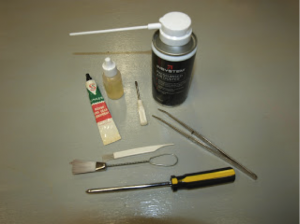
The right stuff – Can of air from Officeworks $2.50
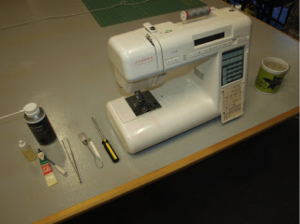
3. Unthread the machine and remove the bobbin.

4. Take your time and make sure you don’t lose any screws you remove, making sure you keep an eye on what screw came from where and the various sizes.
5. Don’t use oil on your machine unless you know that it needs it. Many machines these days don’t require oiling as they are made from different materials/parts than machines that do need a bit of oil.
6. Make sure that the dust and other particles you clean out of your machine are thrown out. A common bit of debris found inside machines are broken needle tips, which can be a hazard.
7. Put the machine back together and test sew to make sure everything is okay. Adjust tensions and rethread as necessary.
8. To prevent any disasters with your machine plug it into a power board with a surge protector. And when travelling with your machine make sure it’s stored in a suitable box/bag/trolley and that your machine’s pressure foot is in the down position.
Take off the storage tray.
Remove the needle and foot including the shank.
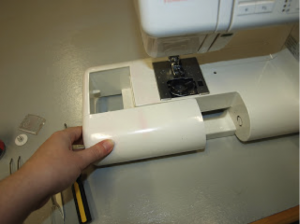
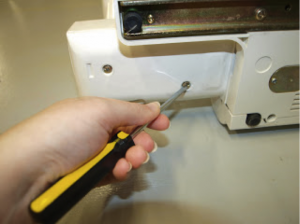
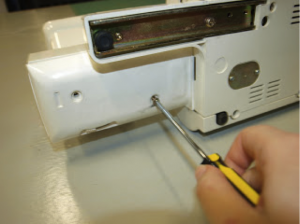
Unscrew the faceplate.
Remove faceplate.
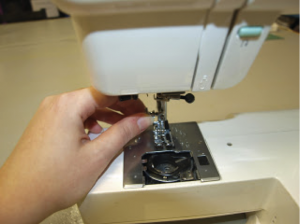
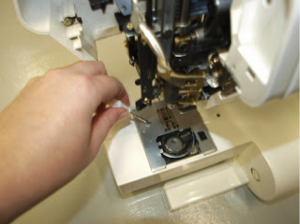
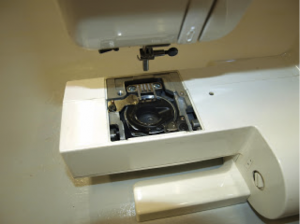
Remove bobbin case.
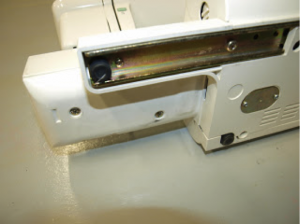
Lie machine on its back.
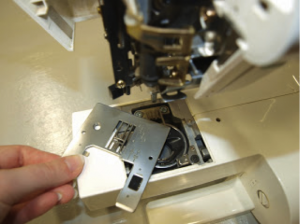
Unscrew the cover plate.
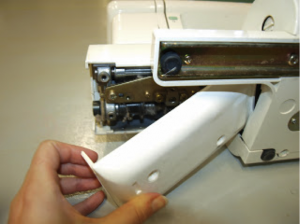
Remove cover plate.
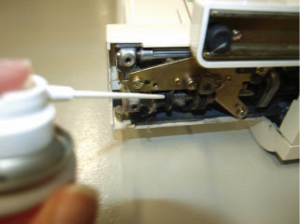
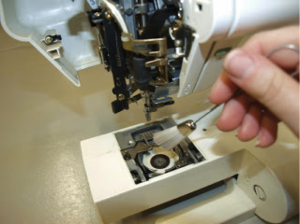
Attach the nozzle on your can of air and blow the dust away!
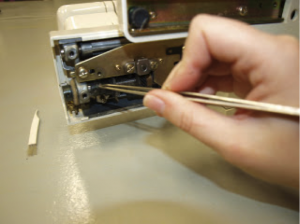
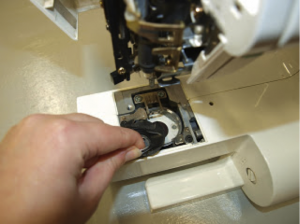
Use tweezers to remove any clumps of dust that are stuck.
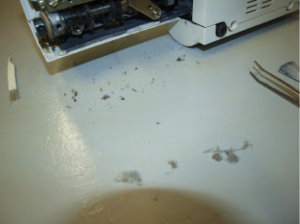
Dust!
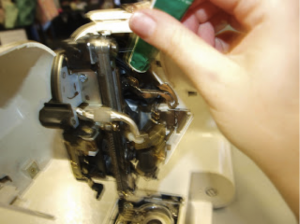
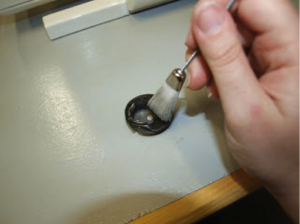
Turn the machine back up and use a small brush to remove any more dust you can see.
Oil any spots that require it or that your machine manual advises to.
DO NOT oil if your machine doesn’t need it.
Lie the machine back down and reattach the cover plate.
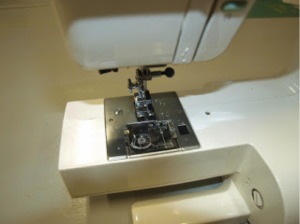
Put the machine back up. Dust out the bobbin case (front and back)
Put the bobbin case back into position.
Screw the faceplate back on, return the needle and foot/shank
back to their rightful homes.
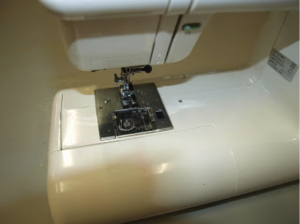
Pop the storage tray back on. Rethread the machine, power up and
test your stitches and tension.
Then back to work!
NOTE: This tip in no way replaces the need for you to have your machine serviced yearly. There are things that a mechanic will check that you cannot do yourself.


