Hello and welcome to Frankenstein’s Fabrics! My name is Marni Franks and I’ll be one of your Queens for November’s block party.
The block I’ve chosen is one I designed, taking inspiration from traditional star and crown style blocks adding a little twist here and there.
When I first designed this quilt it was for a magazine commissioned piece and was sea-themed so in my head it was all about the ‘crown’ feel of the block – like sea anemones and sea urchins.
WARNING: This block has 69 pieces in it. I made 25 of these blocks for my quilt and it can be tedious making so many but making one block is fairly straight forward.
So let’s get started!
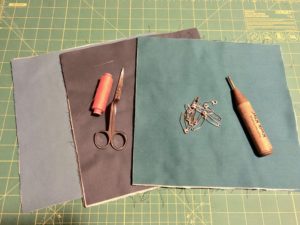
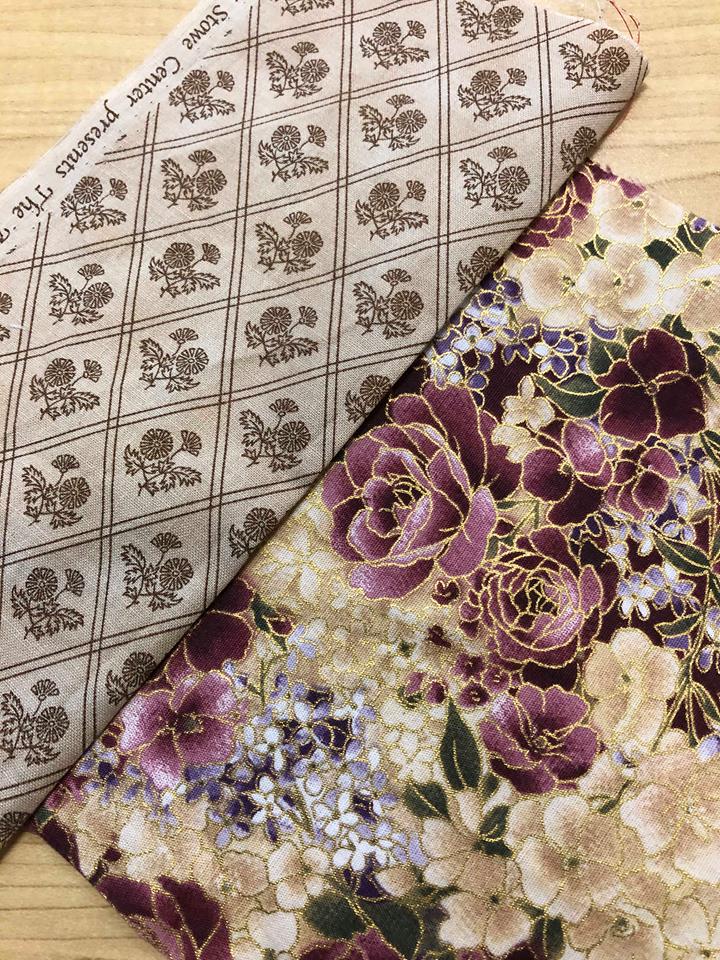
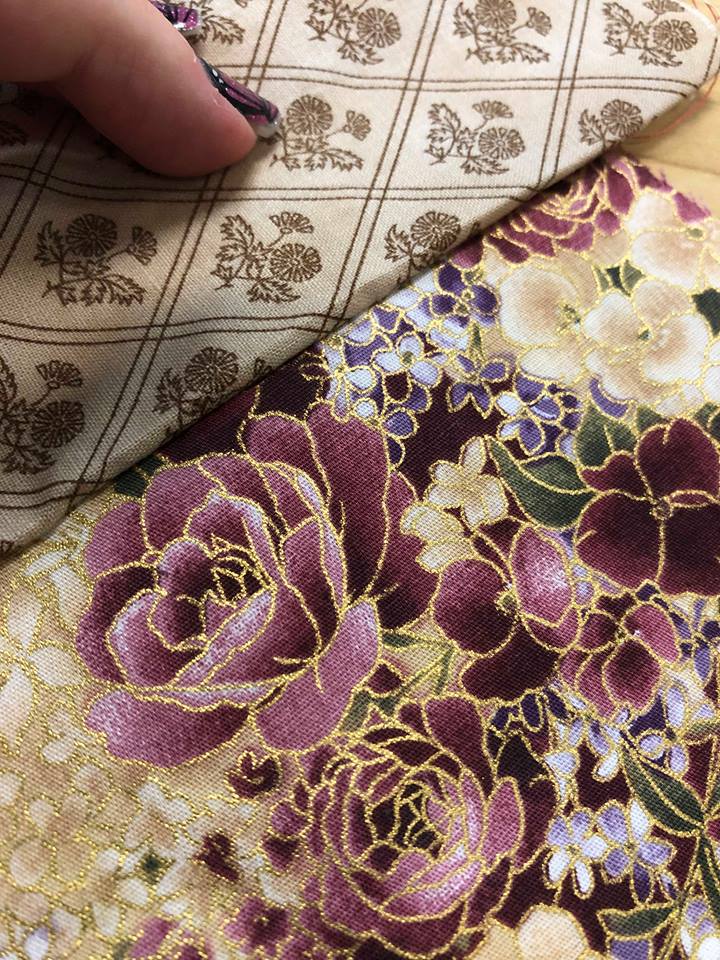
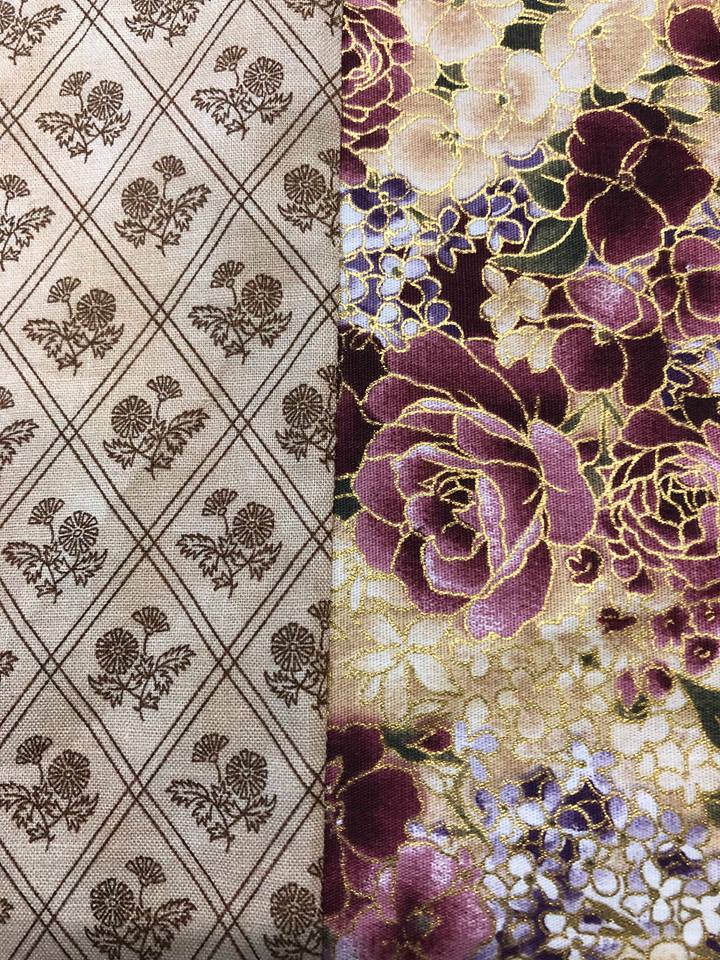
Note: Fabric descriptions as per my block
You will need:
Four, 4 1/2in squares of halloween character print
Four, 2in squares of dark sludge green spider web print
Four, 2 1/2in squares of light purple plain batik
Five, 2 1/2in squares of dark purple tone-on-tone spot
Four, 2 1/2in squares of light sludge green tone-on-tone spot
Eight, 1 1/2in x 2 1/2in rectangles of dark purple tone-on-tone spot
Eight, 1 1/2in squares of dark dark sludge green spider web print
Four, 3 1/2in squares of dark dark sludge green spider web print
Four, 3 1/2in squares of light purple plain batik
Eight, 3 1/2in squares of light sludge green tone-on-tone spot

Here we go!
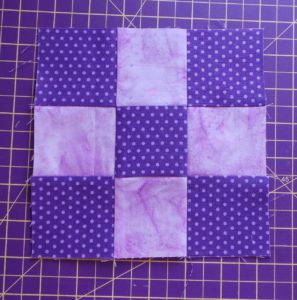
9-Patch centre
Dark Unit: Take one square of 2 1/2in light purple and two squares of dark purple. Stitch one dark square to either side of the light purple square and press the seams to the darker fabric. Make 2 units like this.
Light Unit: Take one square of 2 1/2in dark purple and two squares of light purple. Stitch one light square to either side of the dark square and press the seams to the darker fabric. Make 1 unit like this.
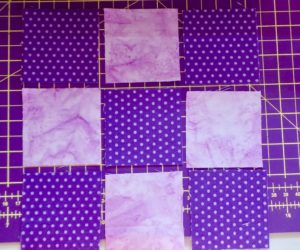
Abutting the seams stitch one dark unit to the side of a light unit. Press the seams. Attach a second dark unit to the other side of the light unit. Press the seams and set aside.
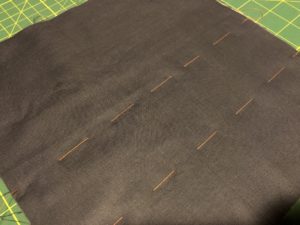
Half-Square Triangles
Pair up 4, 3 1/2in squares of light green with 4, 3 1/2in squares of light purple. With right sides facing, draw a pencil line diagonally from corner to corner across the wrong side of the pairs of squares. Stitch 1/4in either side of the drawn line. Cut along the drawn line and press open. Trim the squares down to 2 1/2in.
Note: I always make my HST units a little bigger than I need so I can trim down to size without any dramas. If you don’t feel comfortable with cutting squares at 3 1/2in go up to the 4in mark.
Repeat this for the remaining 4, 3 1/2in squares of light green and the 4, 3 1/2in squares of dark green.
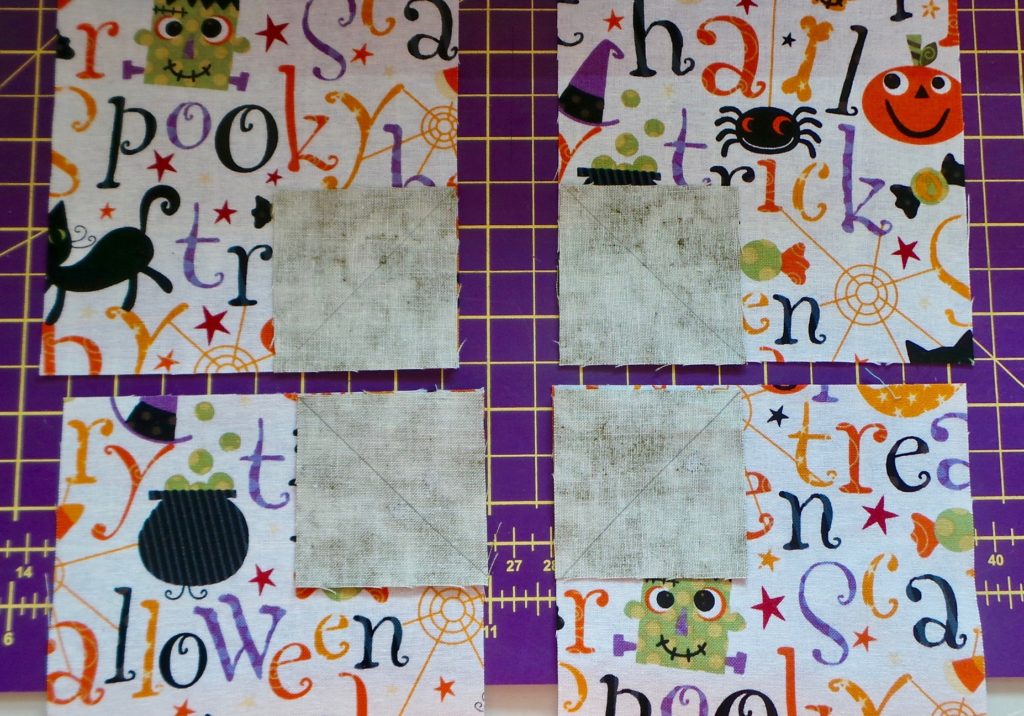
Corners – make 4
Take one 4 1/2in square of halloween character print and in one corner place with right sides facing, a 2in square of dark green. Stitch across the diagonal, trim away the excess, 1/4in from the seam and press the corner open. NOTE: Please make note of rotation of your 4 1/2in square before attaching your dark green corners, in case you have a directional print like I do.
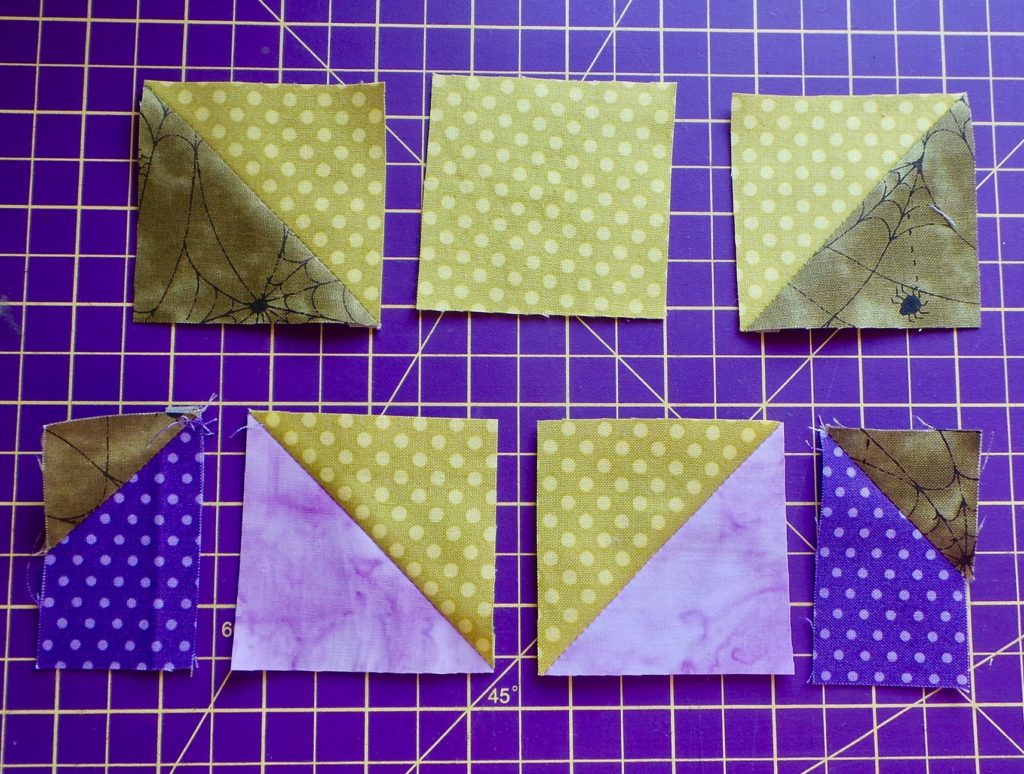
Tails – make 8
NOTE: Separate your pieces in half (two lots of four). You need to do this so that when you stitch them together you create a left and right-hand unit. 
Take a 1 1/2in square of dark green and a 1 1/2in x 2 1/2in rectangle of dark purple. Place the dark green square, with right sides facing, at the top of the purple rectangle. Stitch across the diagonal (either left or right), trim away the excess, 1/4in from the seam and press the corner open. Make 4 left and 4 right units.
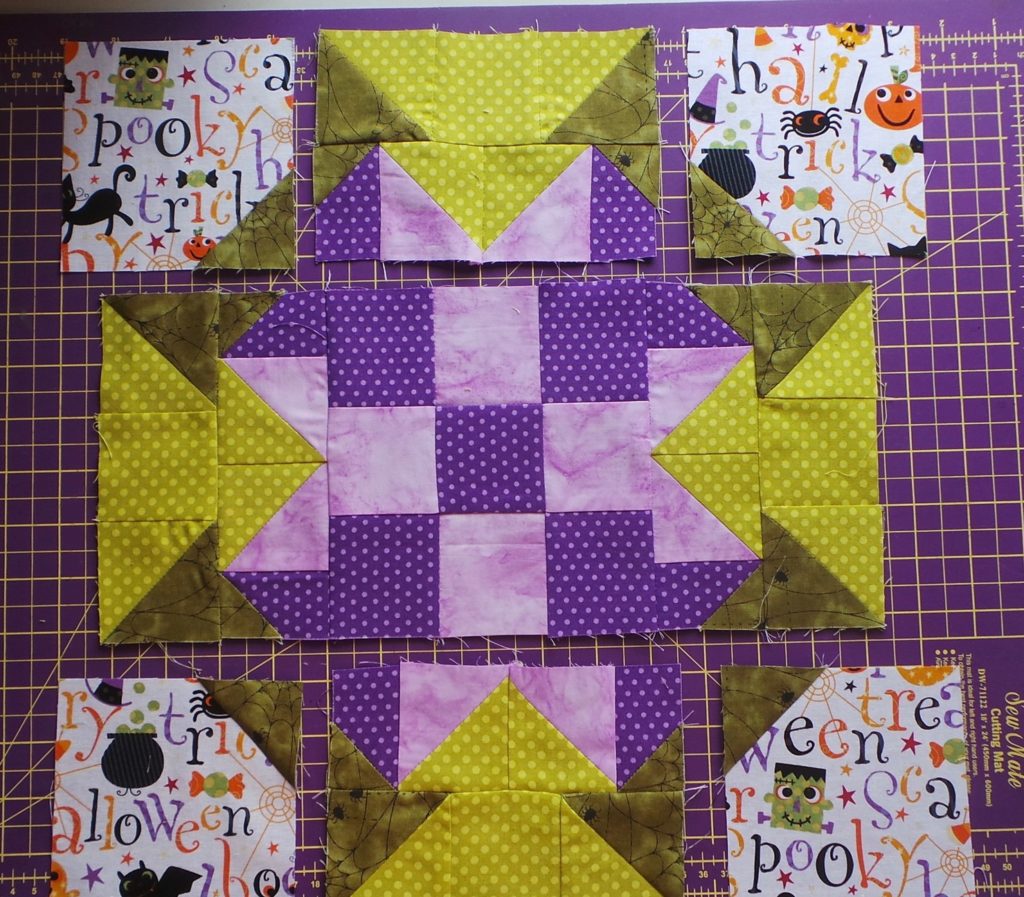
Crown Unit – make 4 of each
Using the photos as a guide lay out the units, checking their orientation.
Take one light green 2 1/2in square and attach a dark green/light green HST unit to either side (check rotation). Press the seams. Piece 4 green units like this.
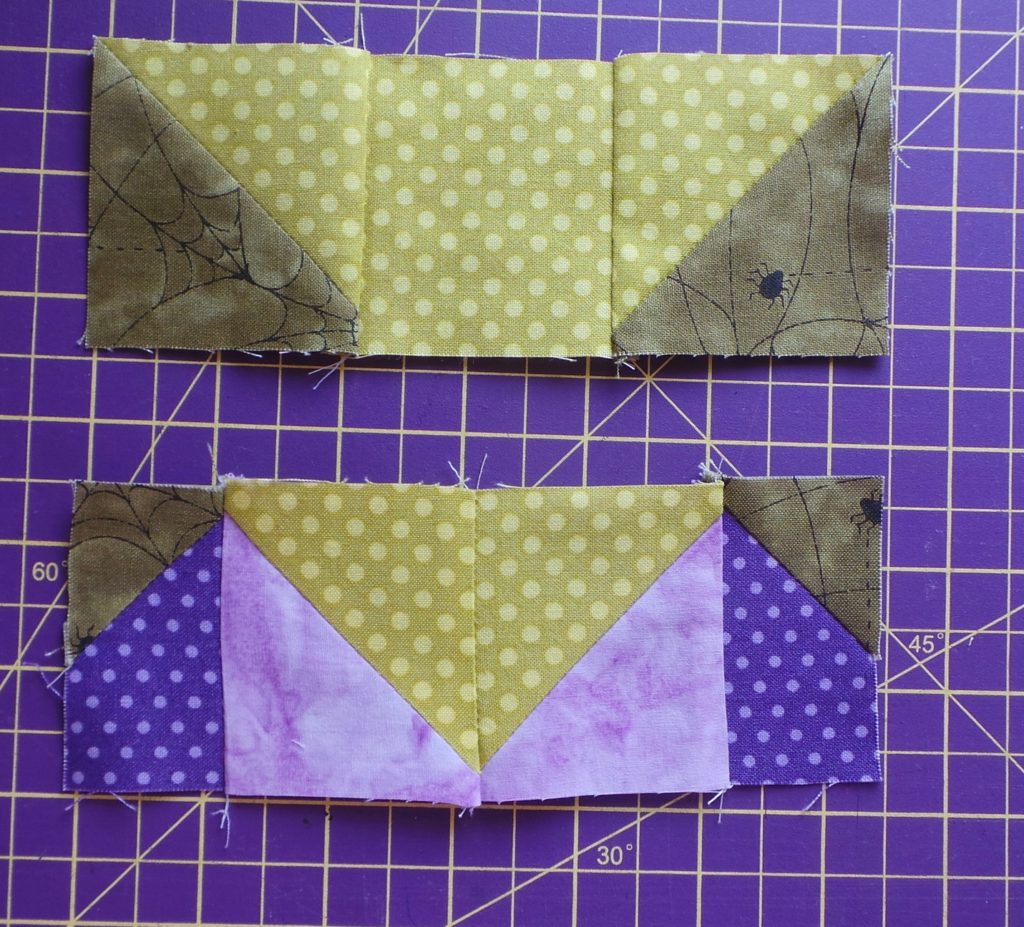
Take two light green/light purple HST units and piece them together (check rotation). Press the seam. Attach one left and one right tail unit to either side of the paired HST. Check the rotation of the tail unit. Press the seams. Make 4 units this way. See photo above.
Join a pair of the above units together lengthways. Press the seams. Repeat for all 4 units.
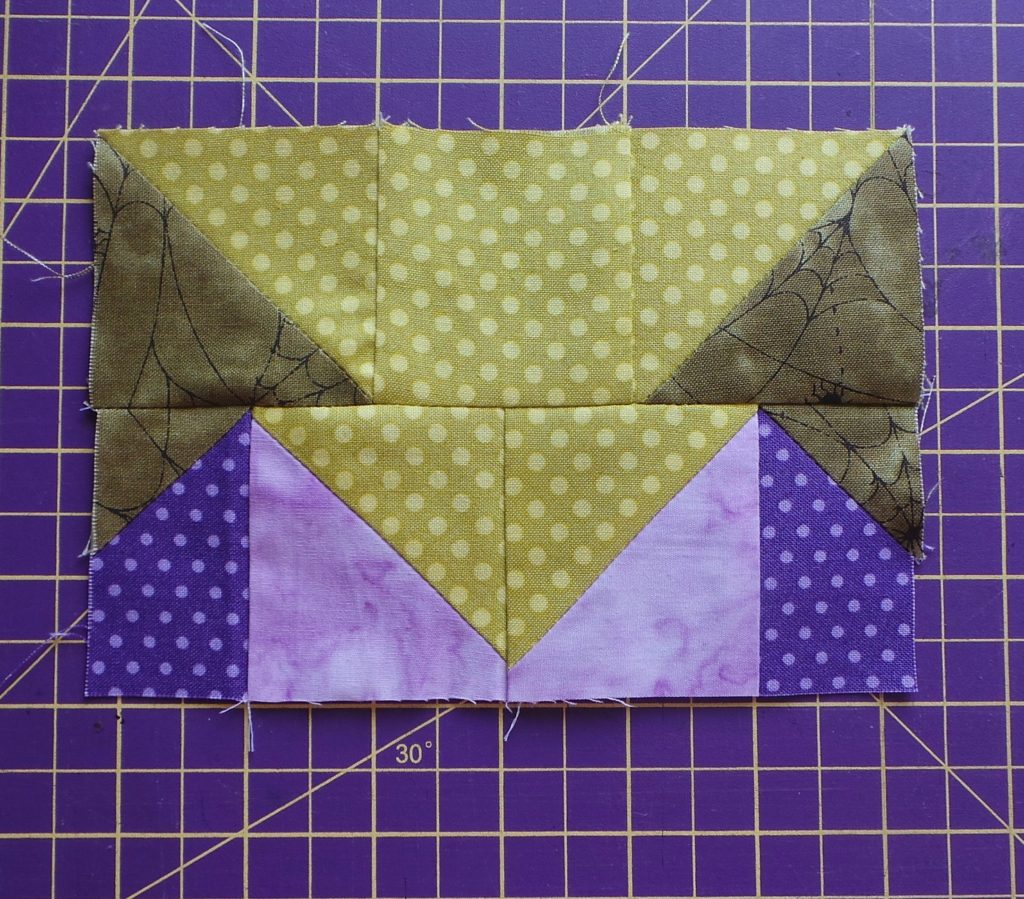
Take 2 Crown units and join them to either side of each of the 9-Patch centre. Press the seams.
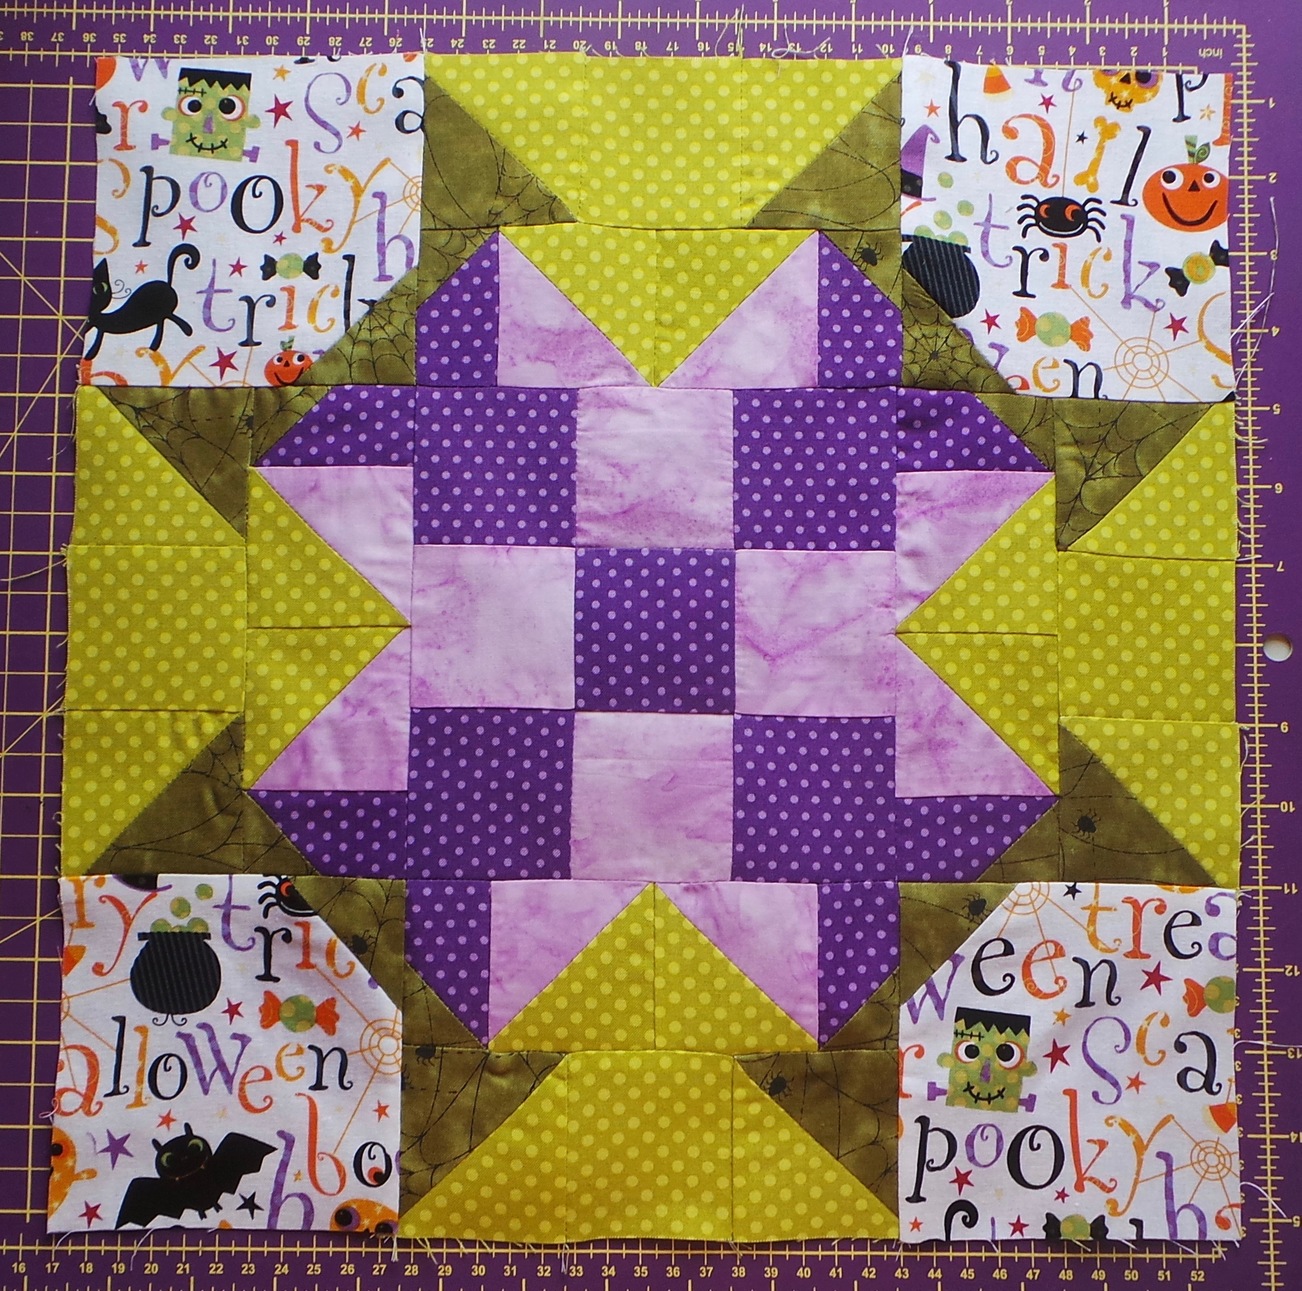
Finishing the block
Take one of the Crown units and two 4 1/2in halloween character/dark green corner squares and attach one to each end rotating so that the dark green corner is in the bottom corner, use the photo as a guide. Repeat pairing up corners and units to make 2.
Using the above photo as a guide join one corner/Crown row to the upper edge of the Crown/9-Patch row, press the seams. Repeat with another corner/Crown row on the lower edge ensuring you check the rotation is correct. Press the seams.
Ta da!
Below is the quilt I made for Australian Patchwork & Quilting magazine – it’s actually the current issue Volume 27 No 8 and is available now. As you can see the use of just two colours in a light and dark tone really reveals the tertiary and secondary designs that the block creates.

If you have any questions about this block you can comment below, email frankensteinsfabrics@hotmail.com, ring me on 0416 023 637 or you can find me in the Honey Pot Bee group on FB.
I can’t wait to see your blocks!
Happy sewing!
Marni xx